The following category lists screenshots taken in the game.
Subcategories
This category has the following 3 subcategories, out of 3 total.
Media in category "Screenshots"
The following 200 files are in this category, out of 235 total.
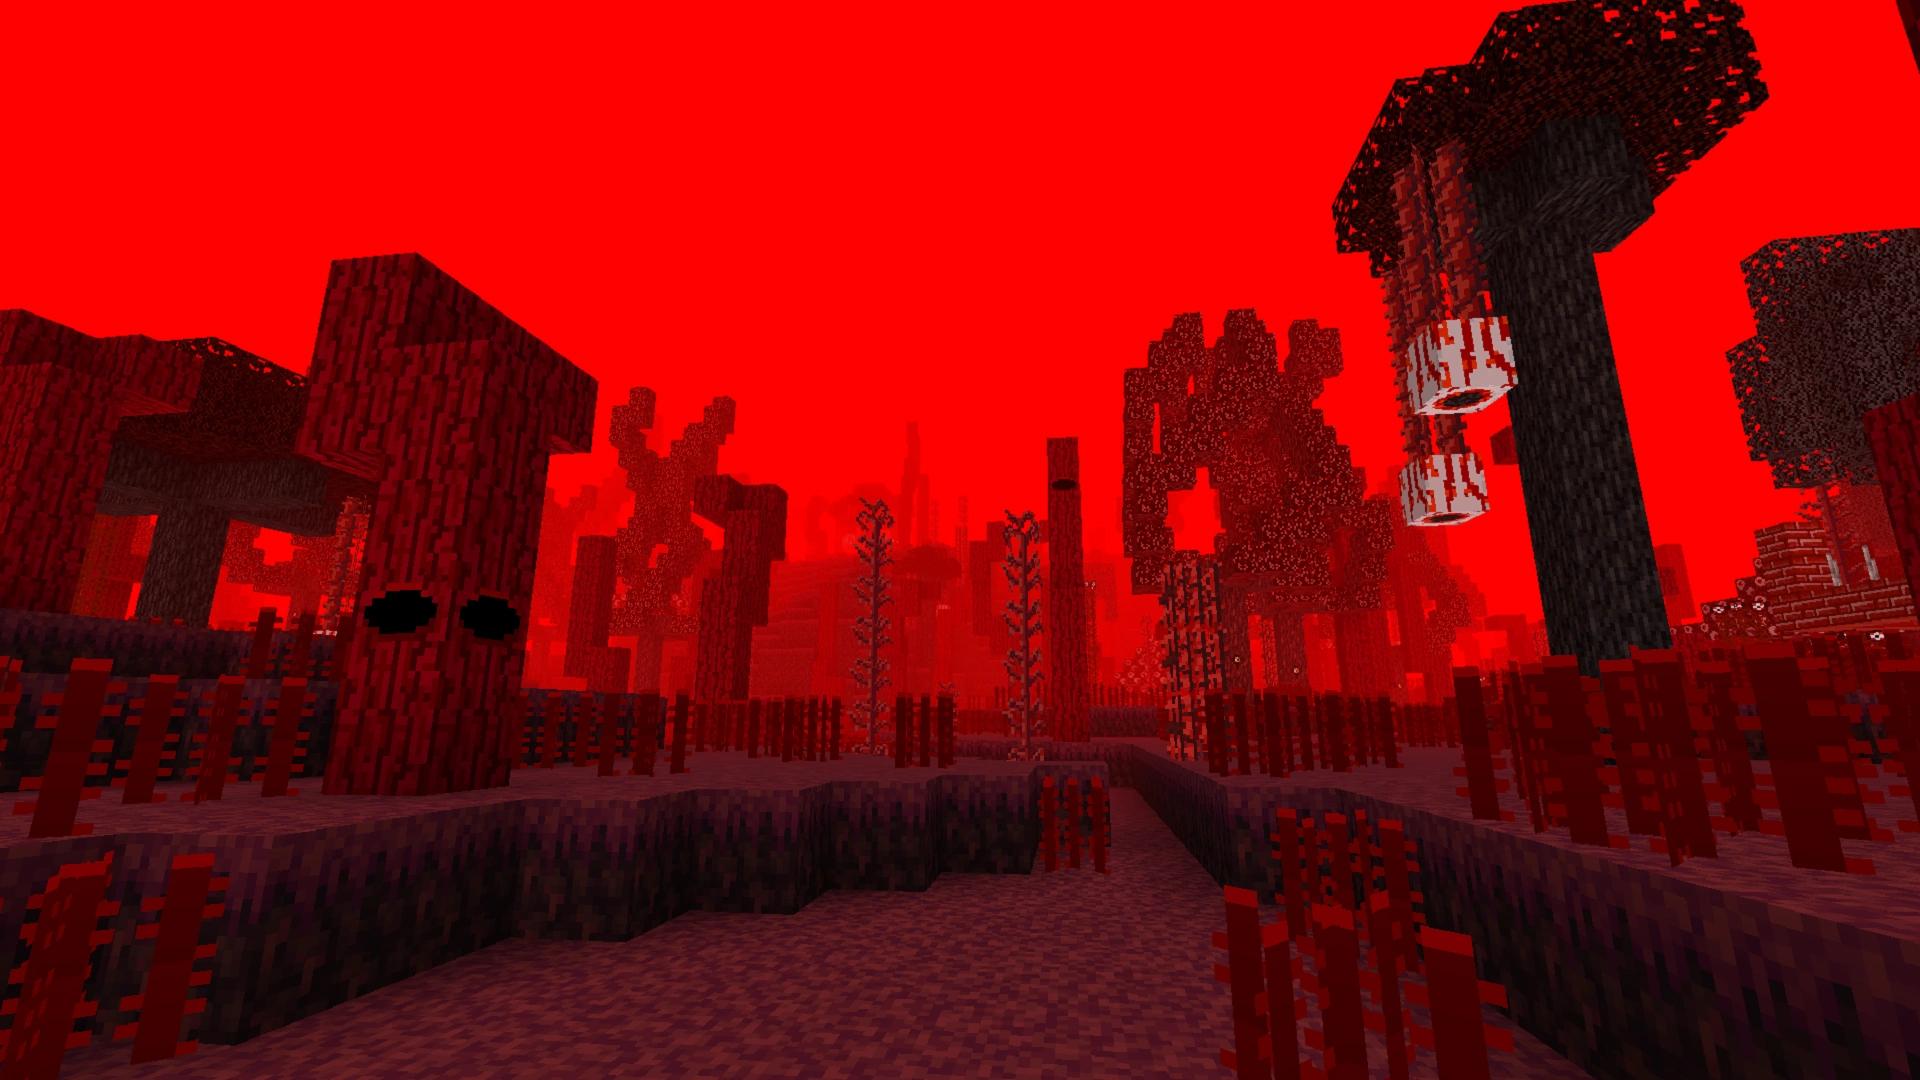
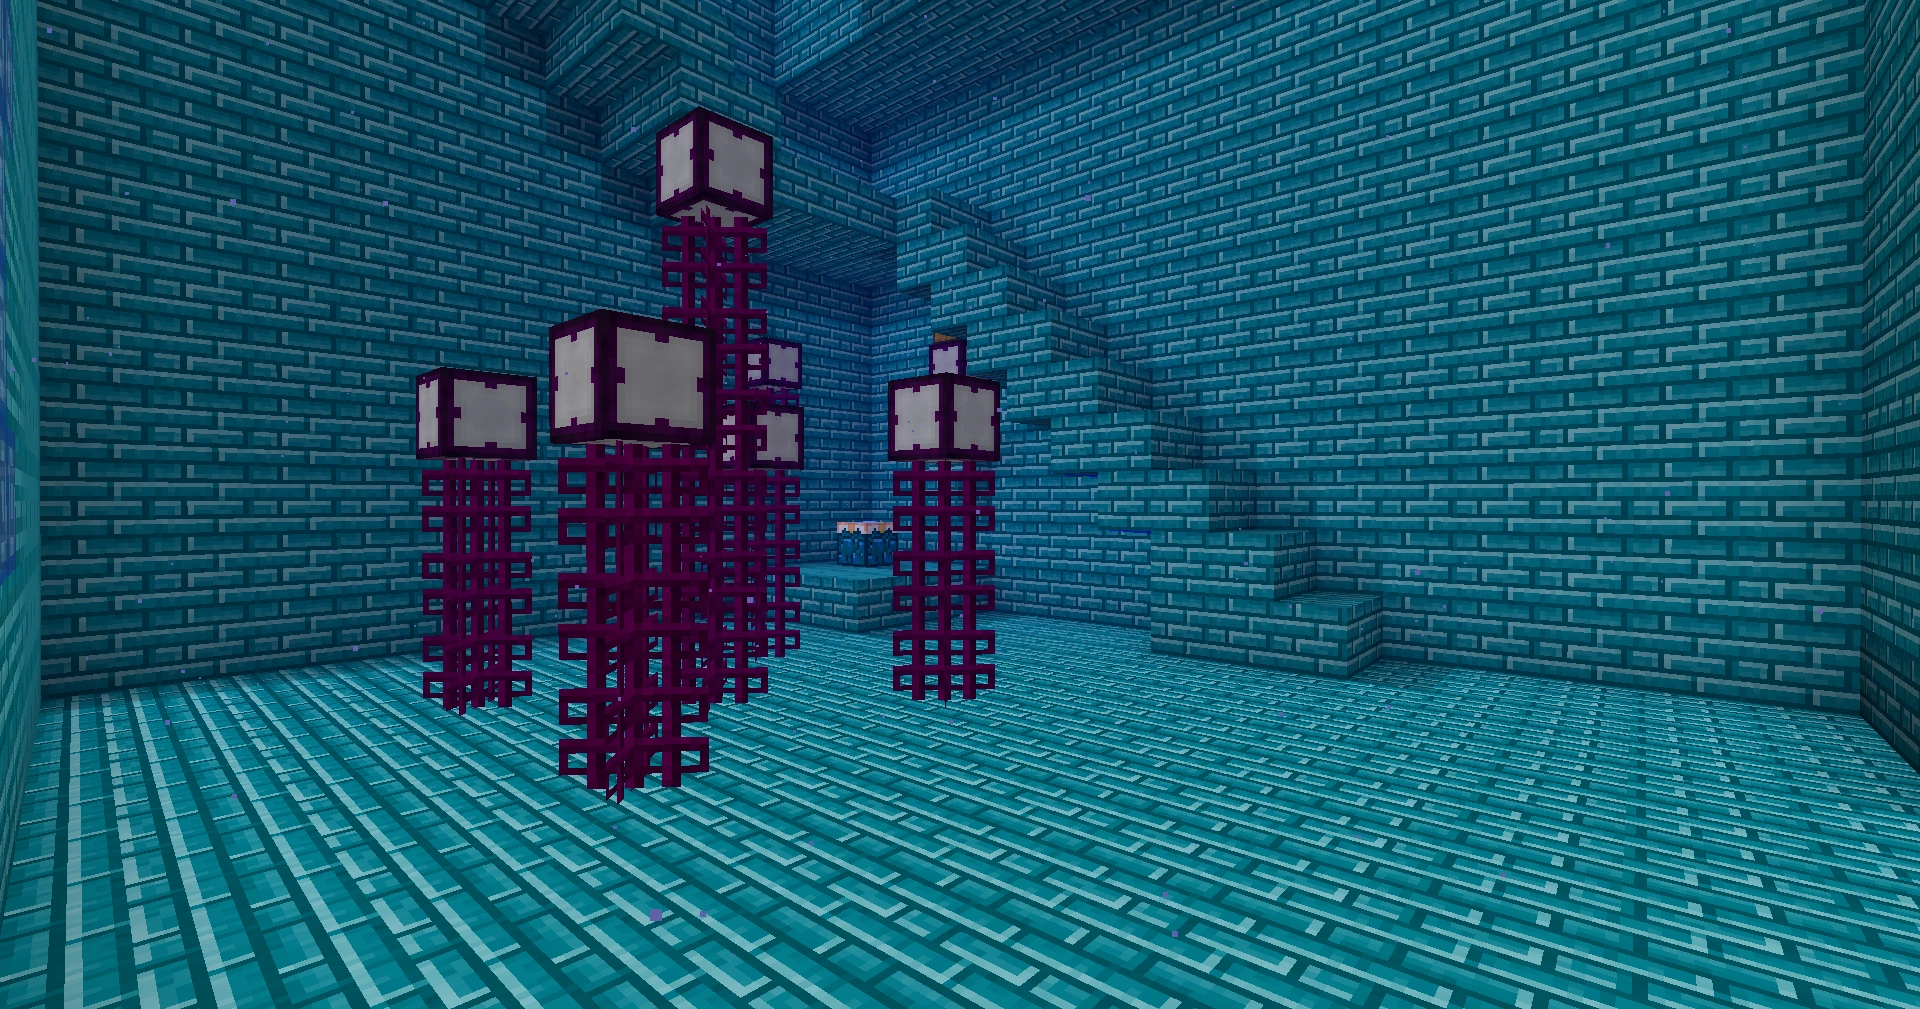
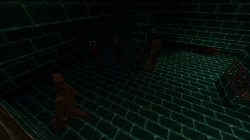
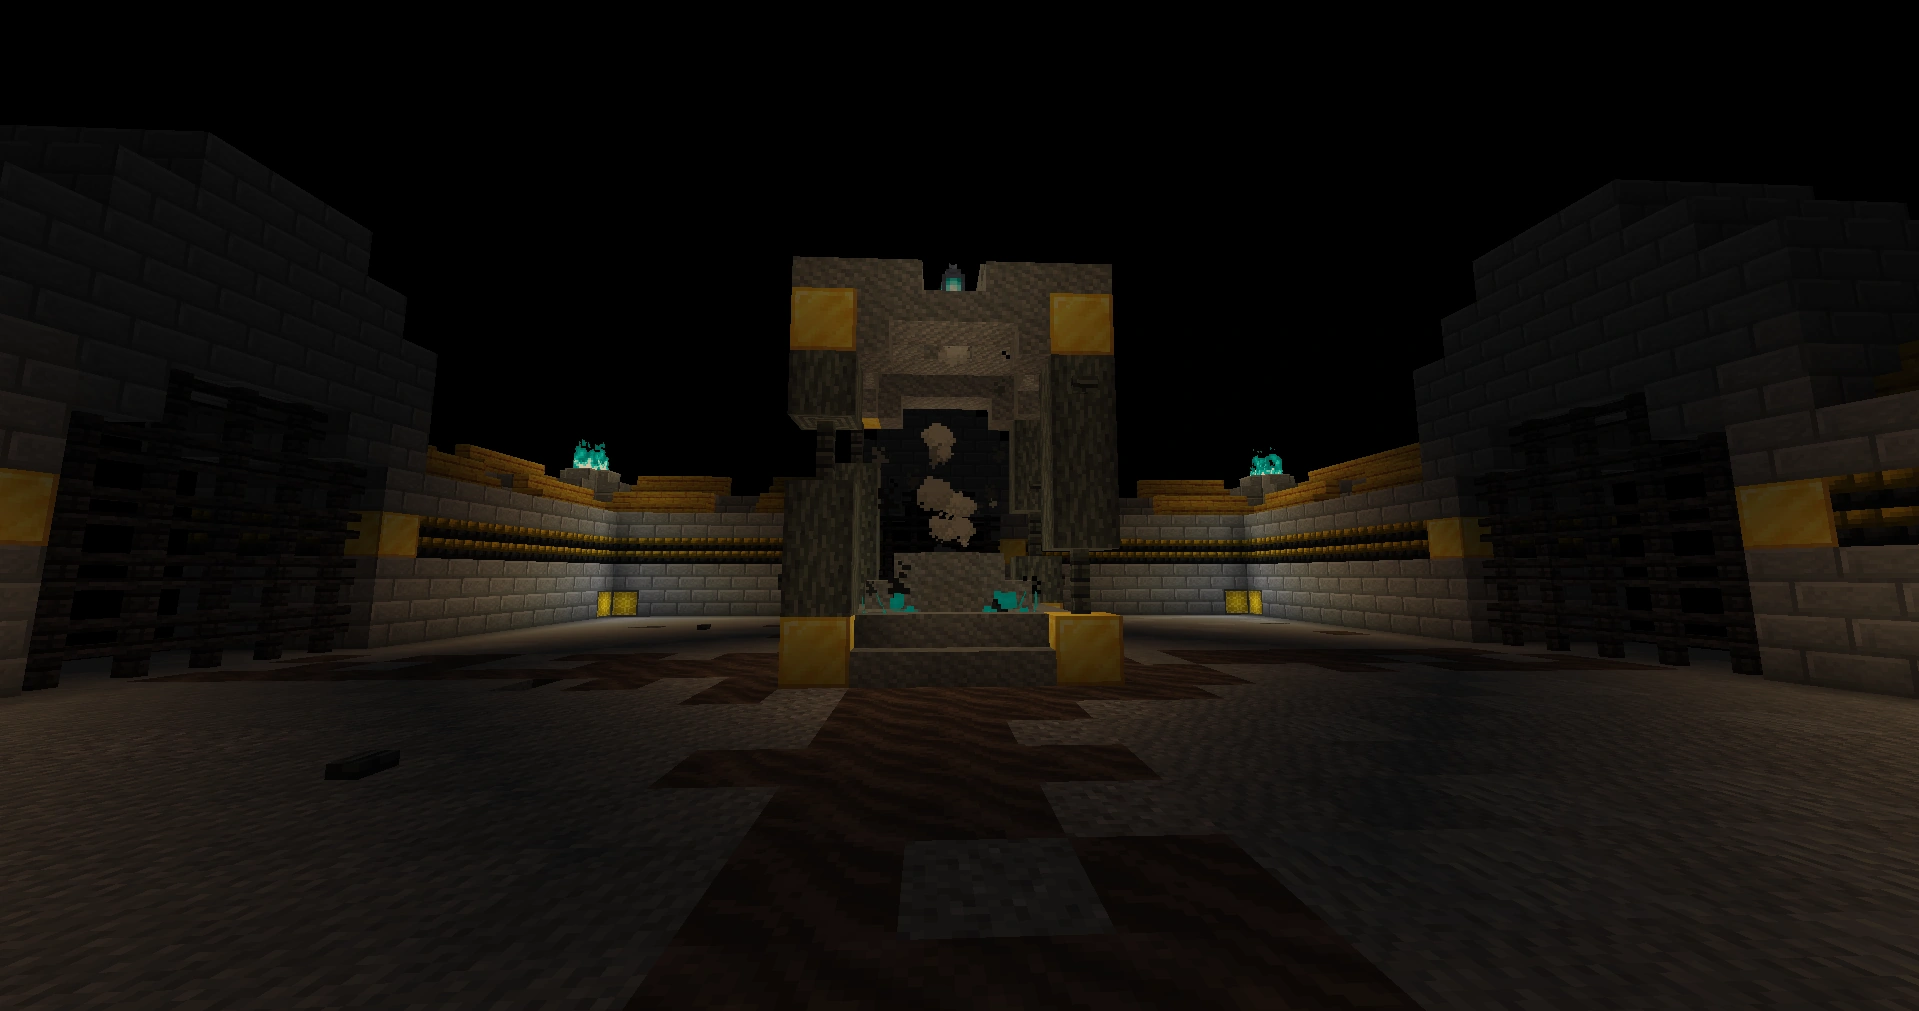
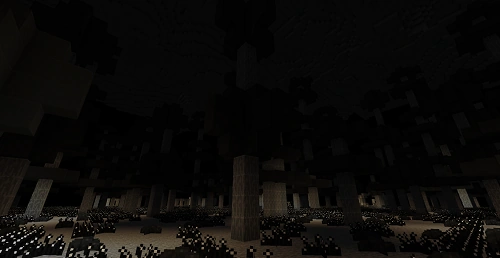
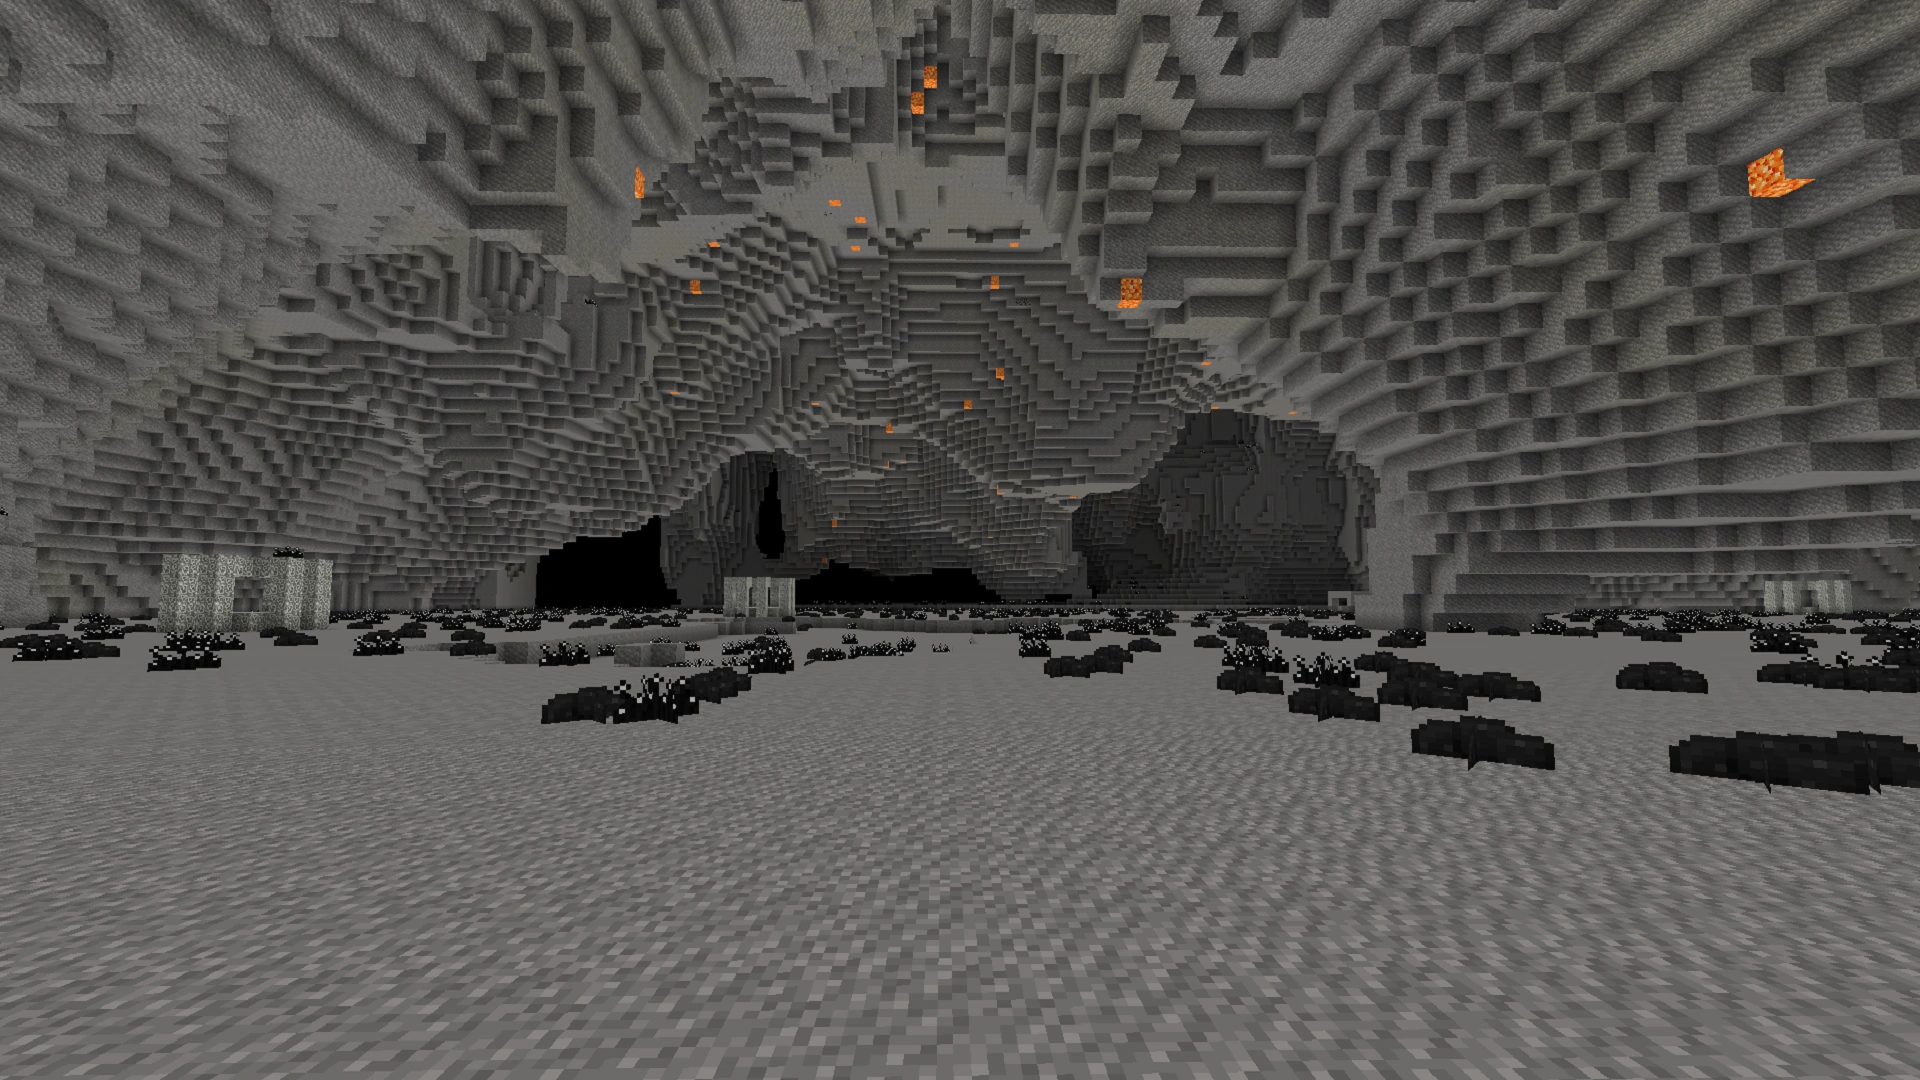
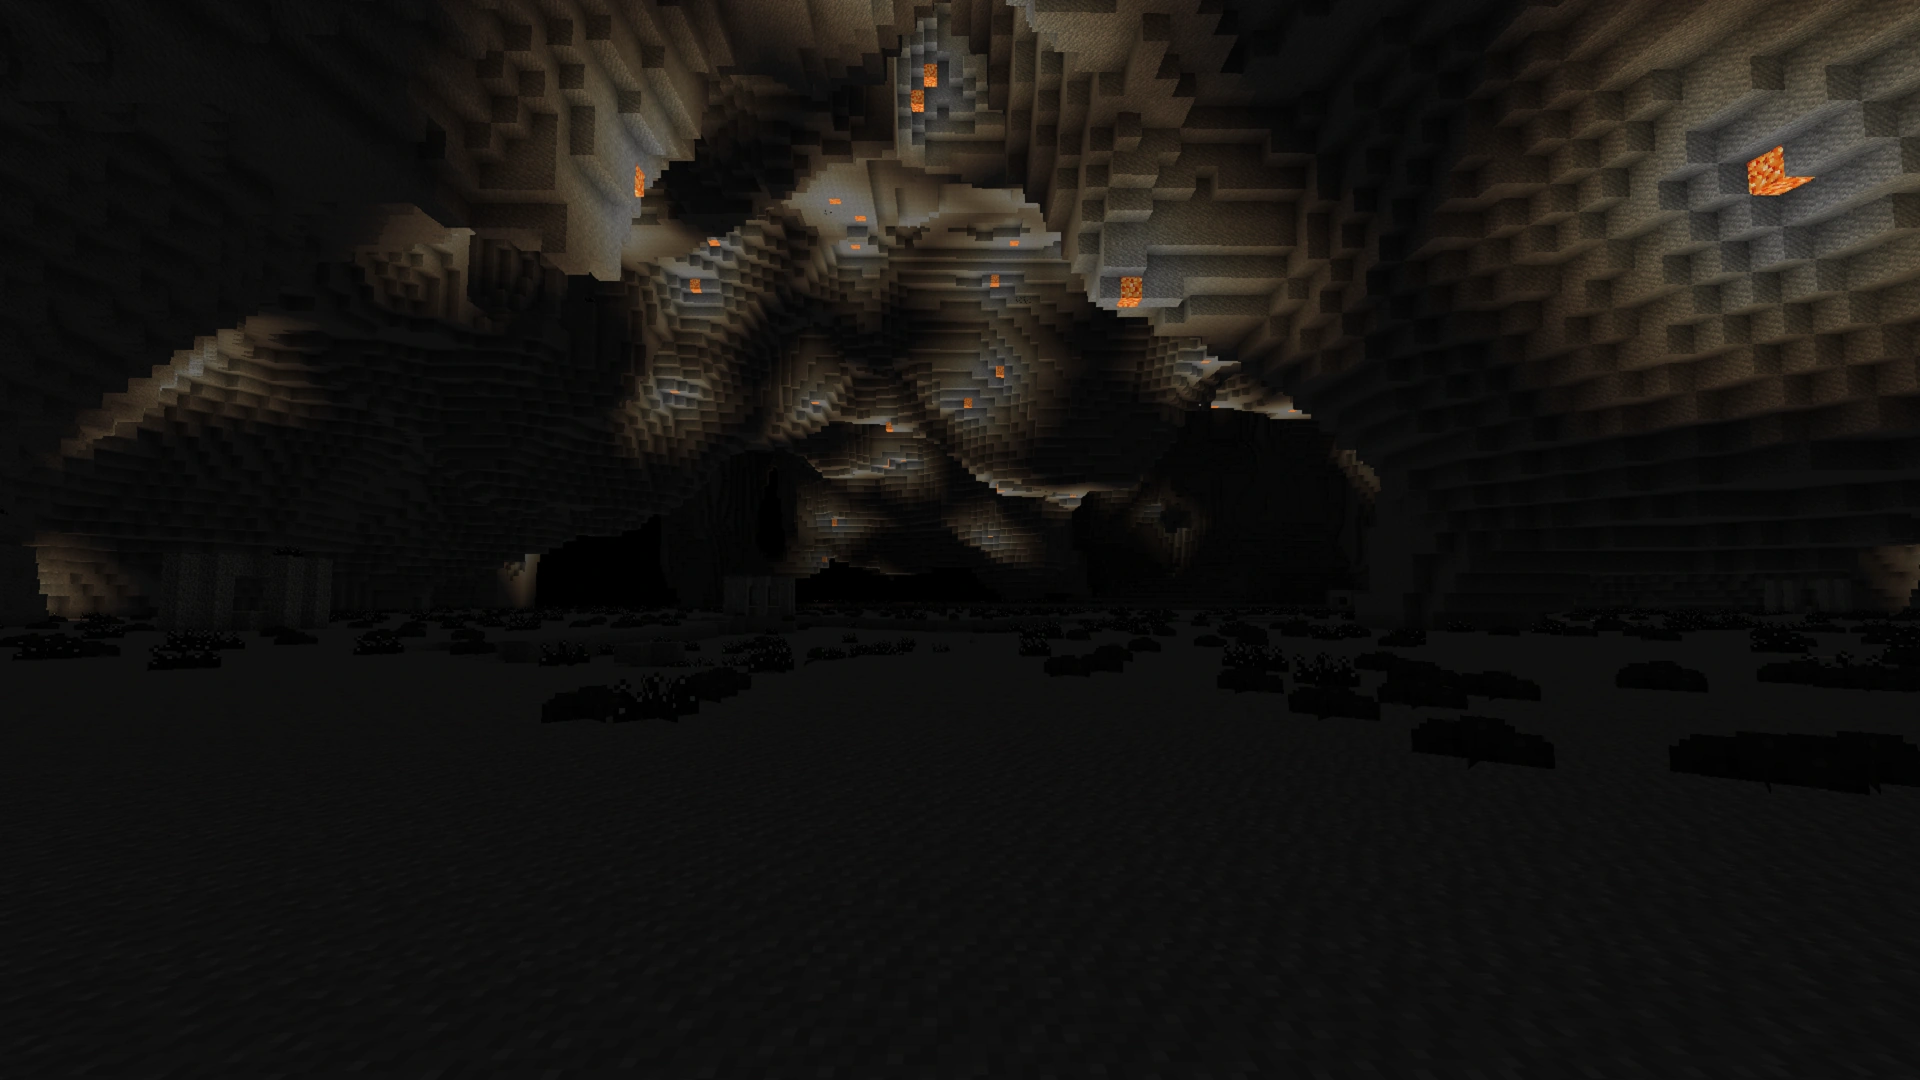
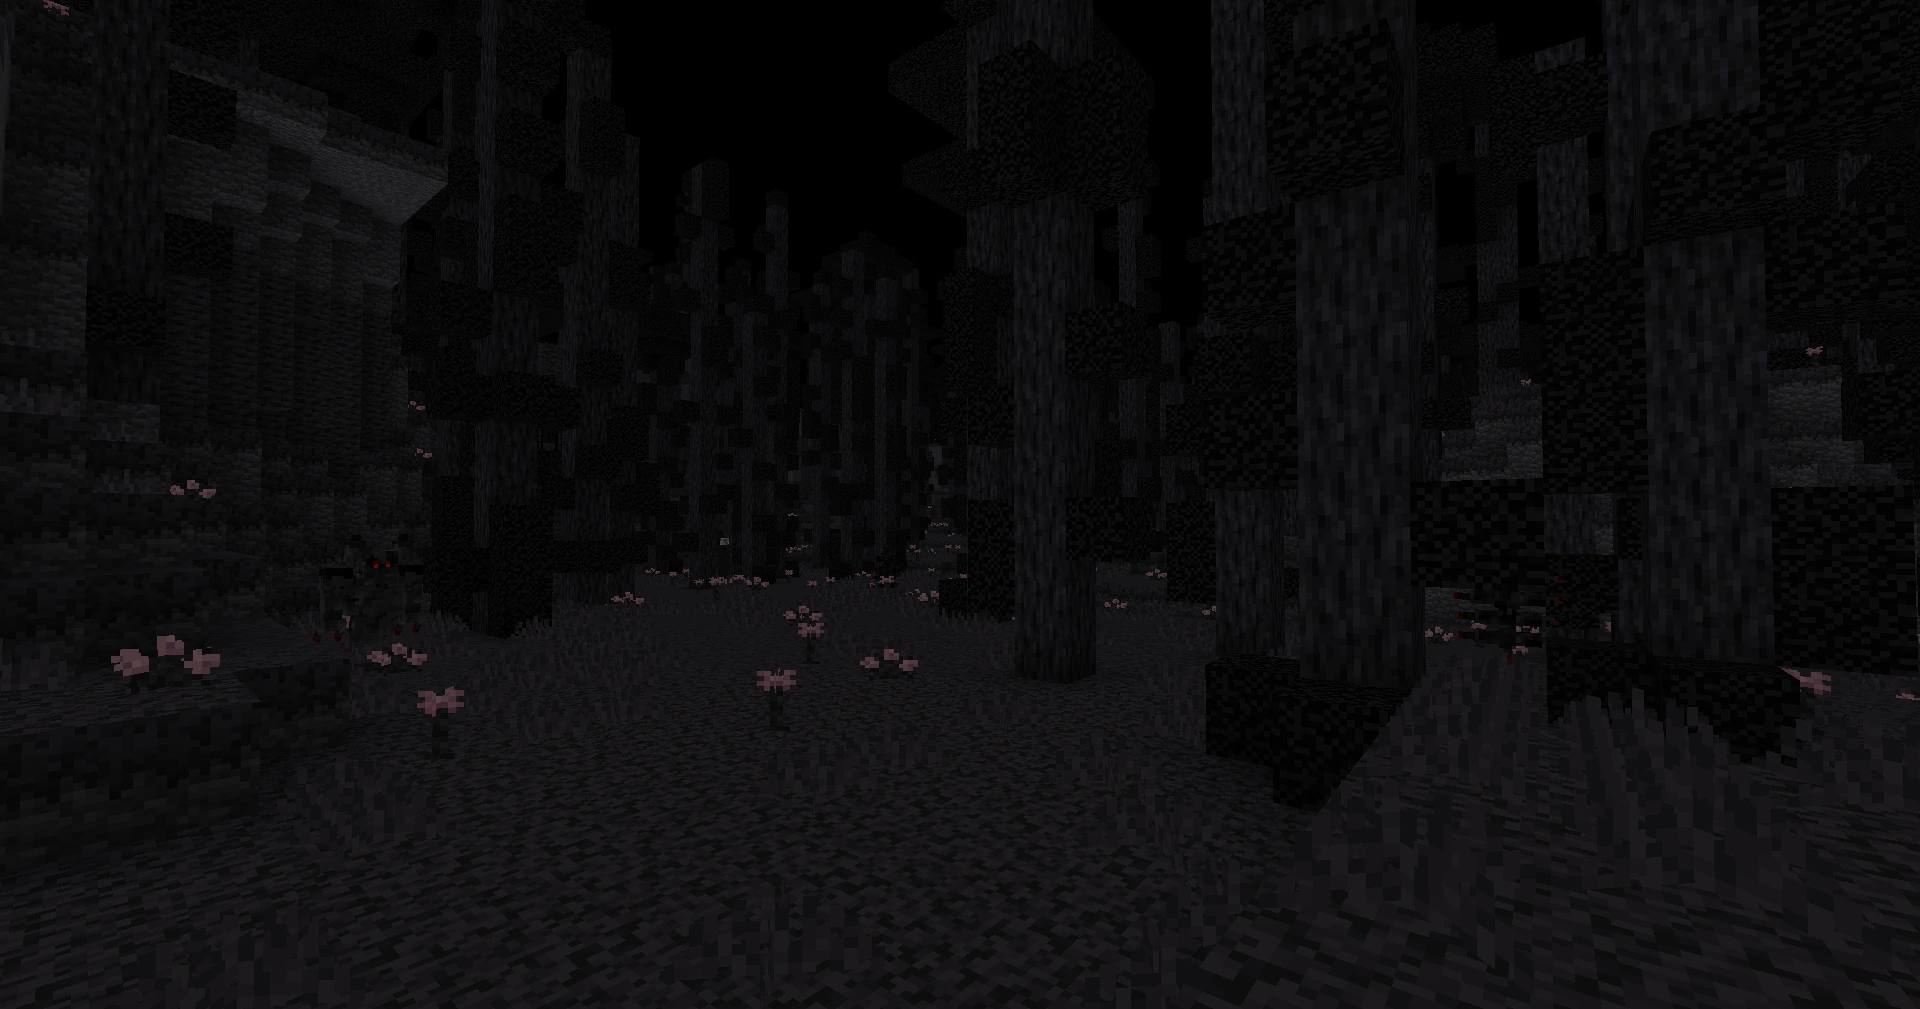
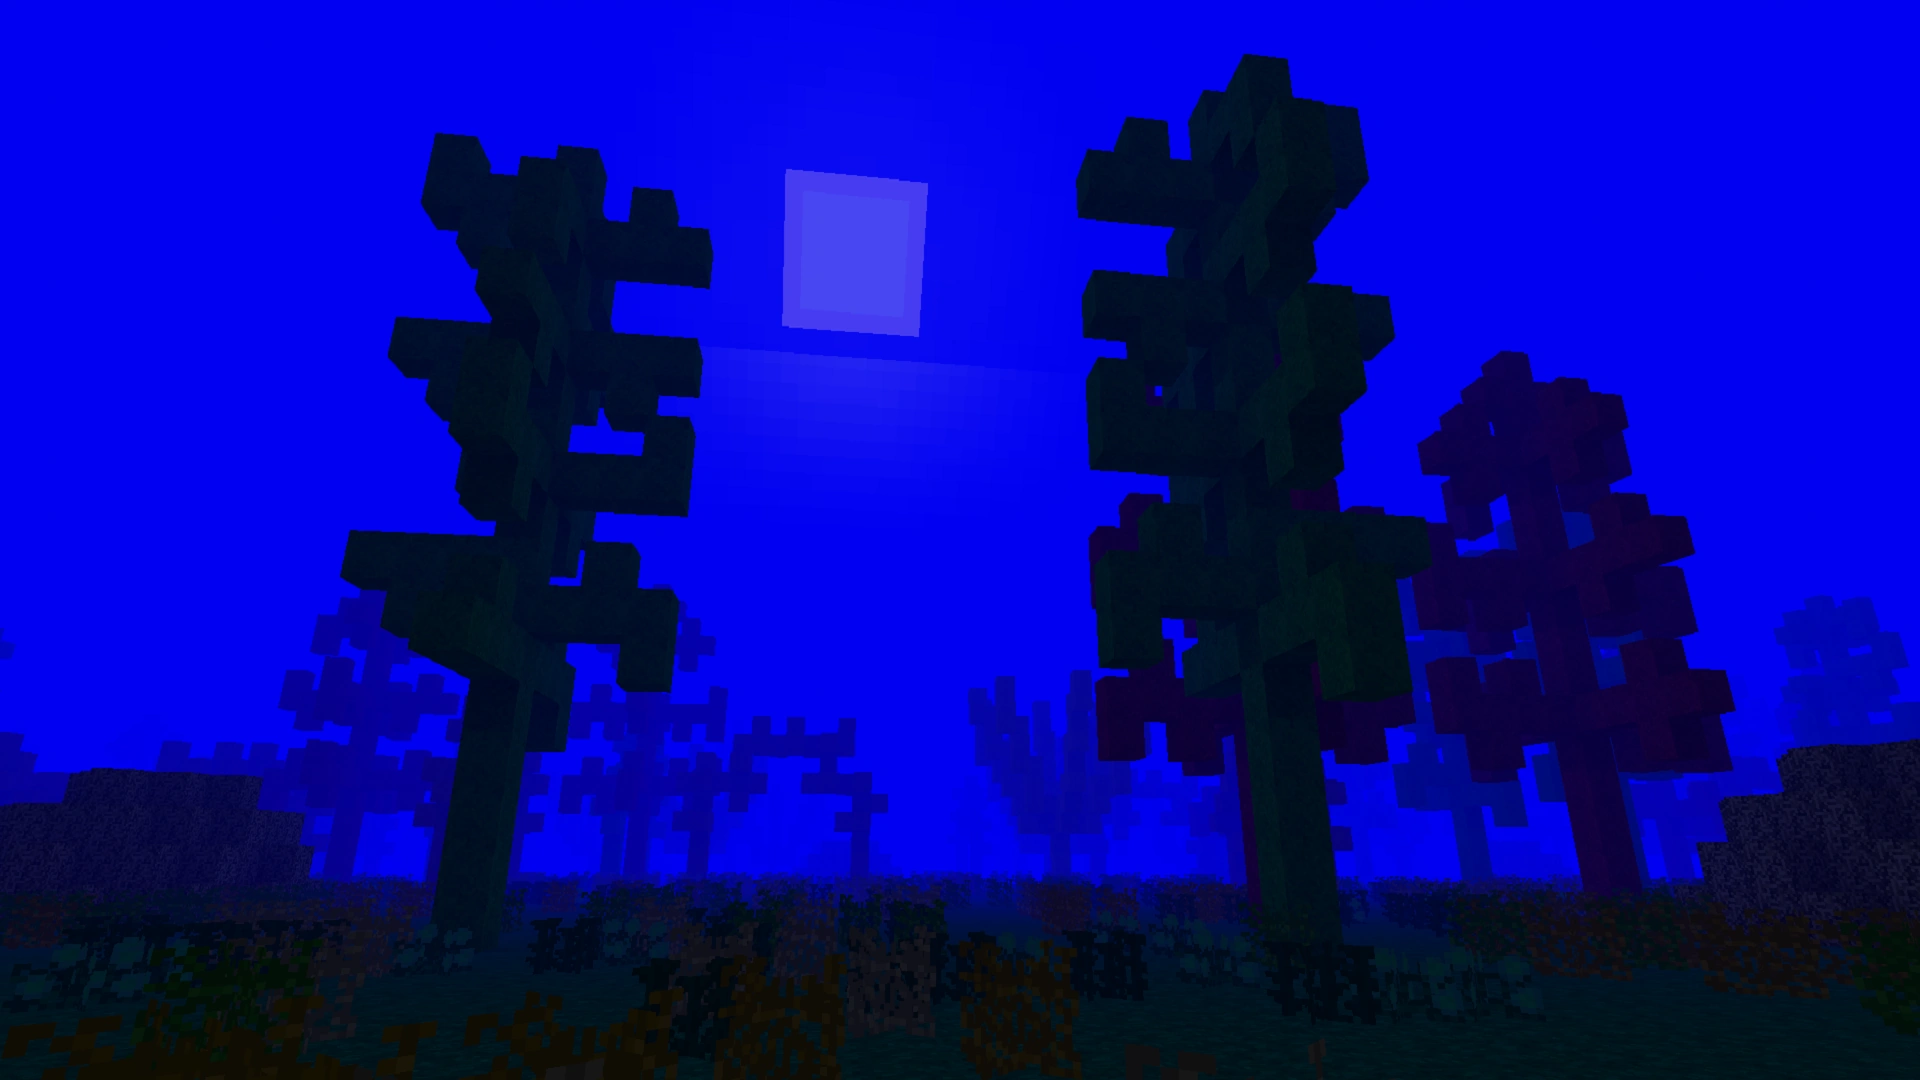
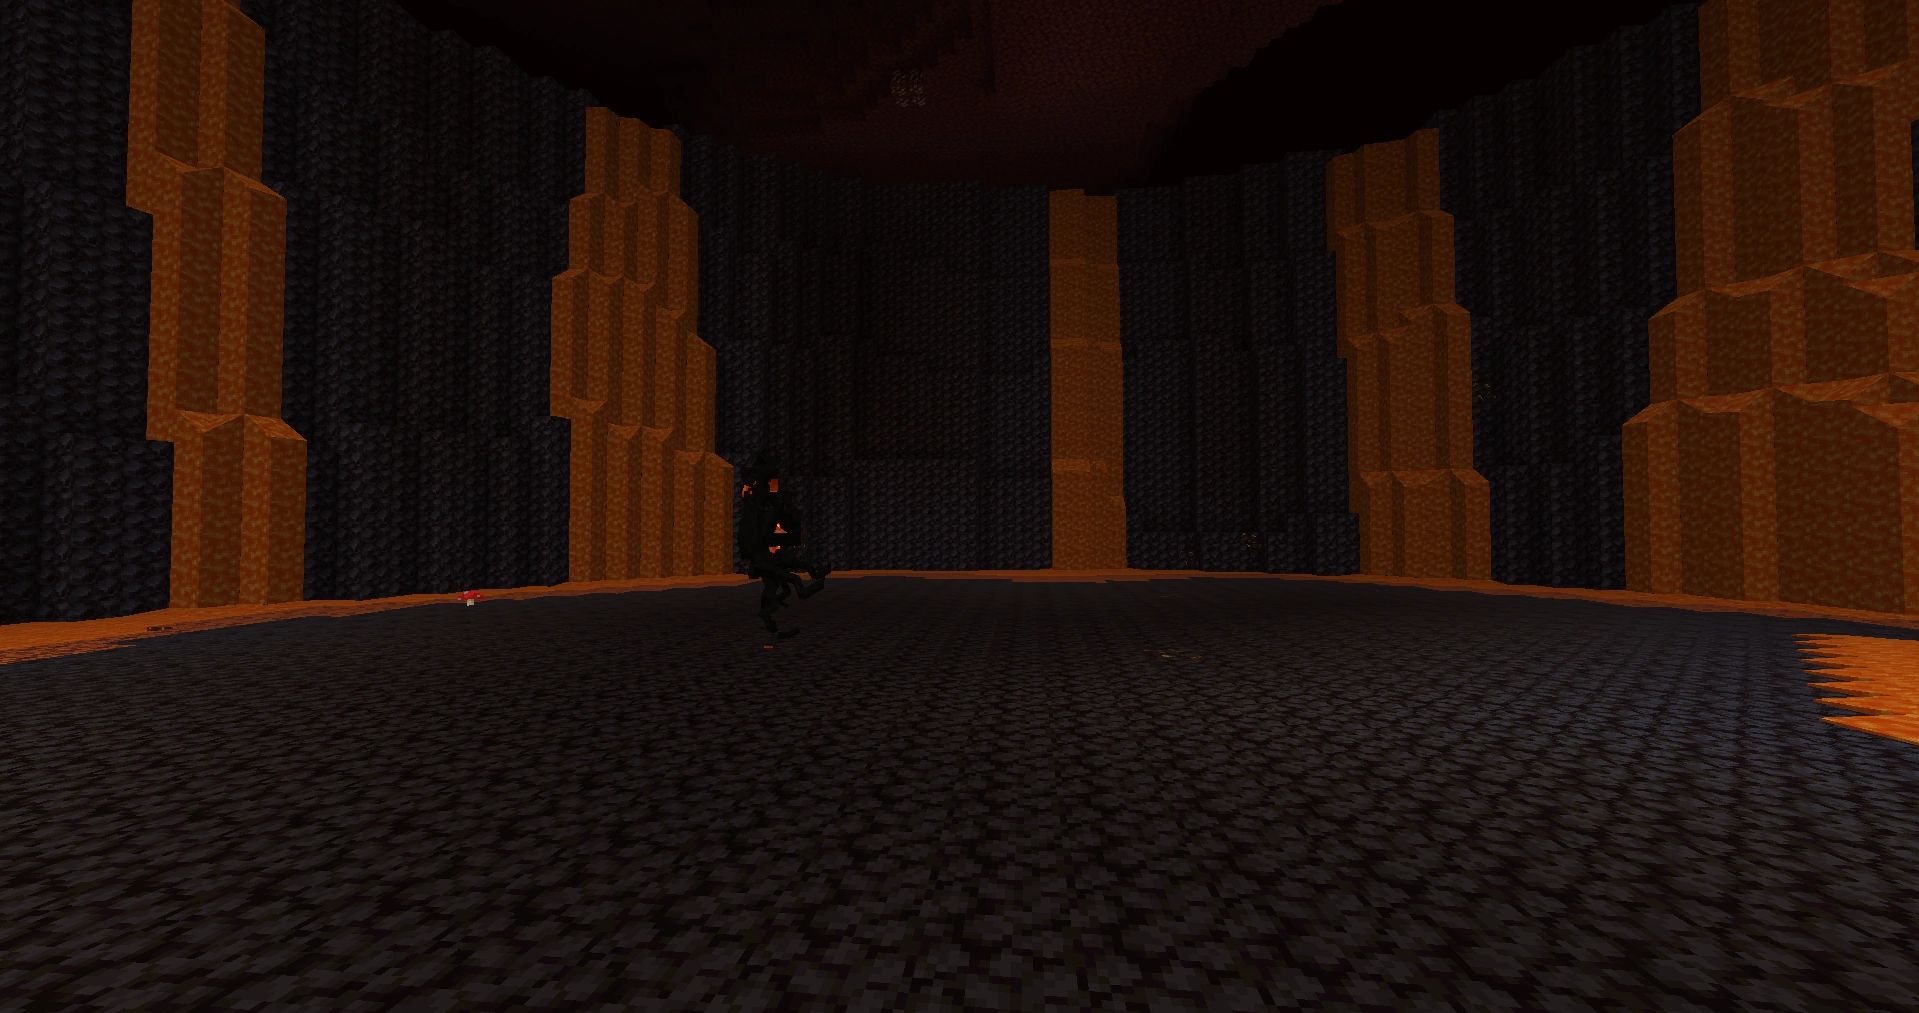
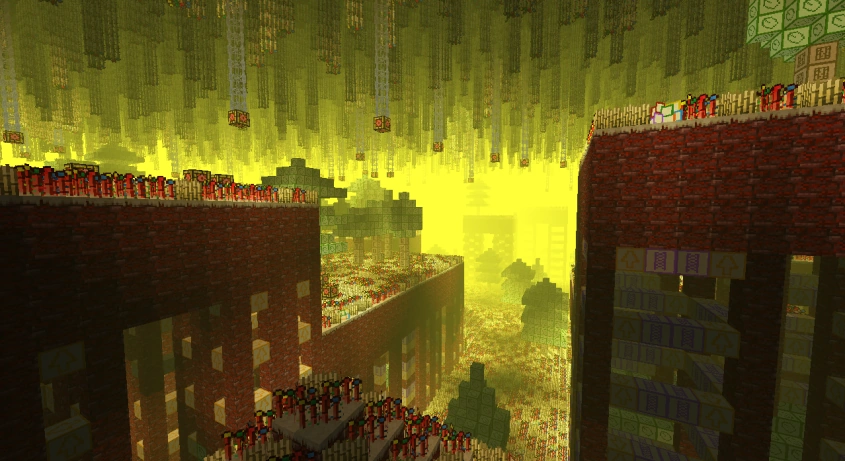
(previous page) (next page) Abyss (Night Vision).png 1,920 × 1,080; 1.66 MB
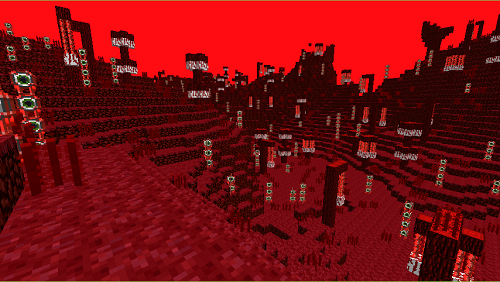
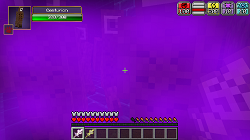
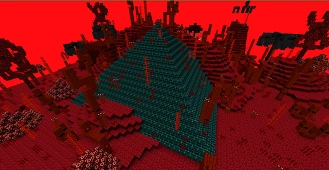
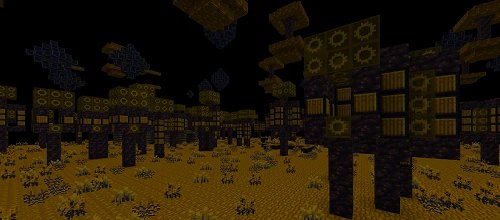
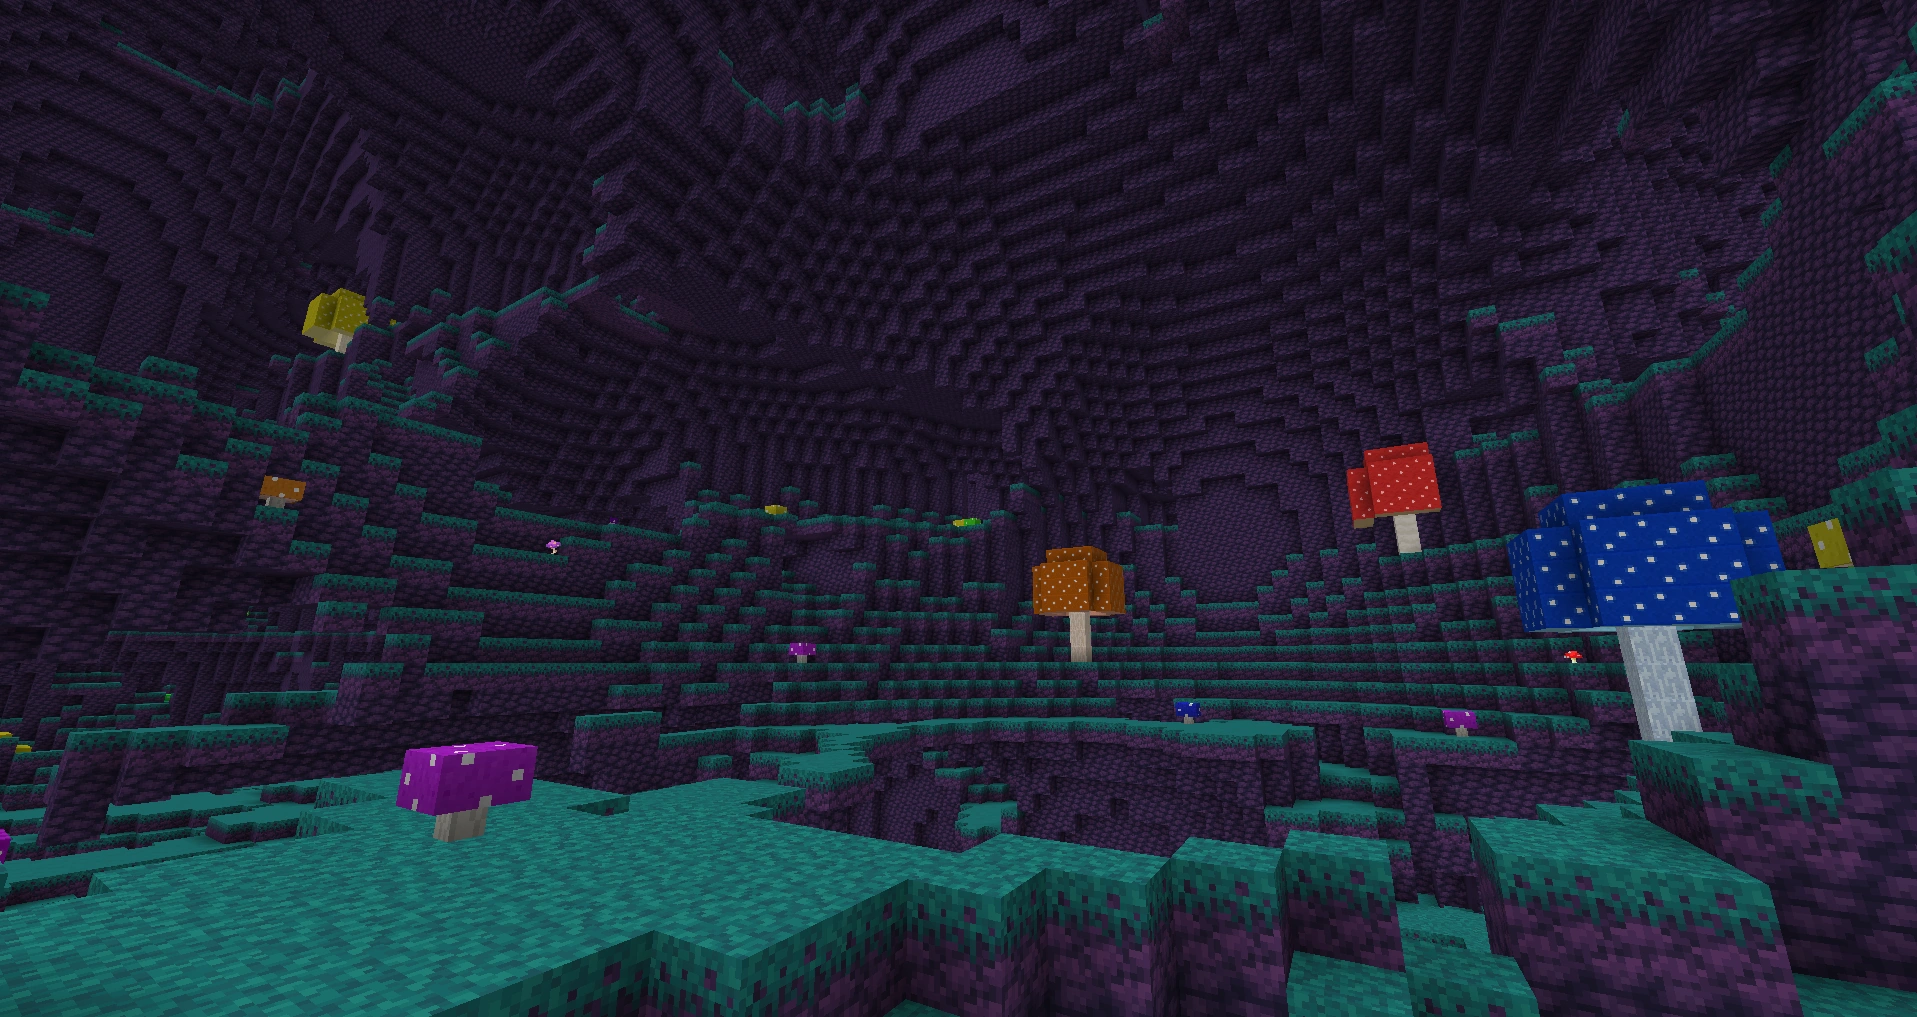
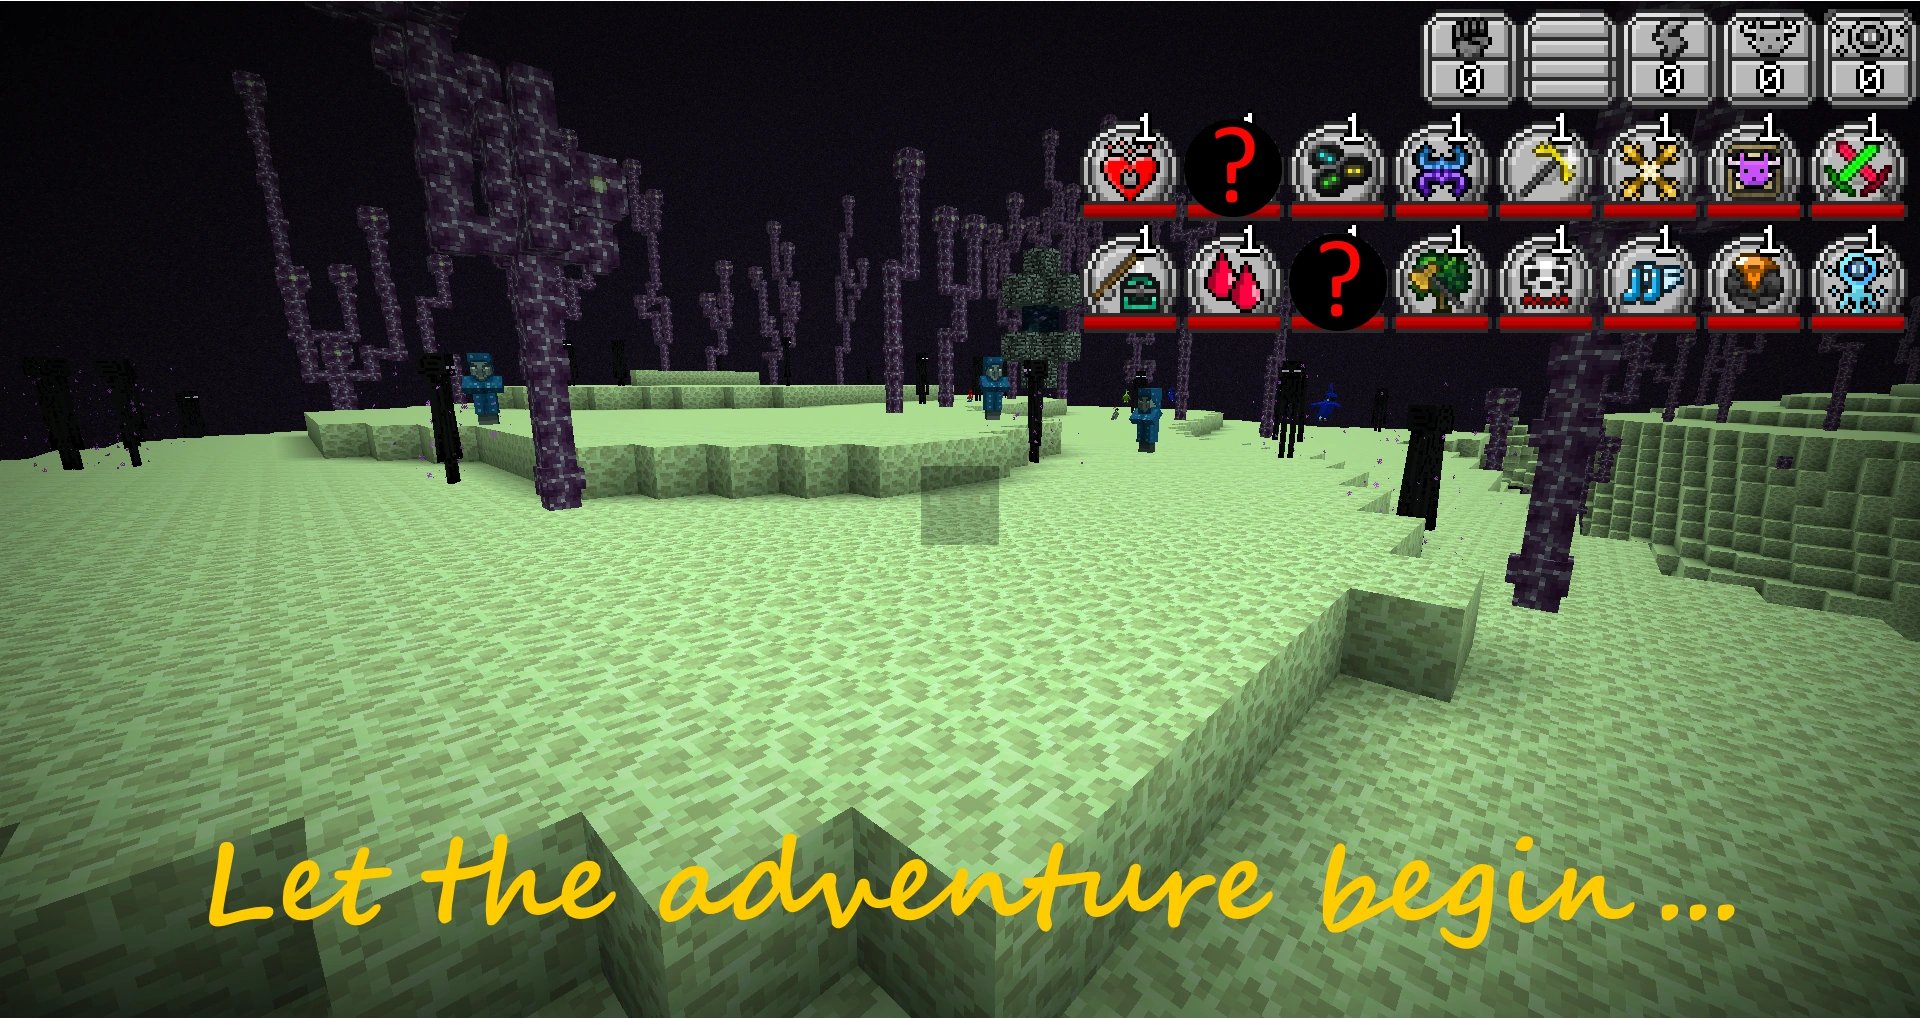
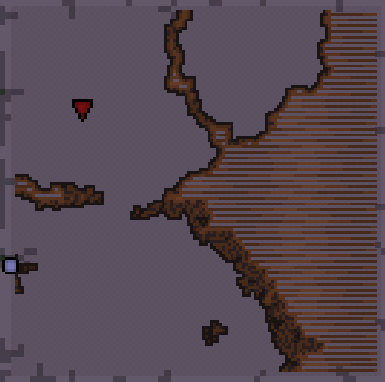
 Abyssal Eyelands (Night Vision).png 500 × 282; 237 KB
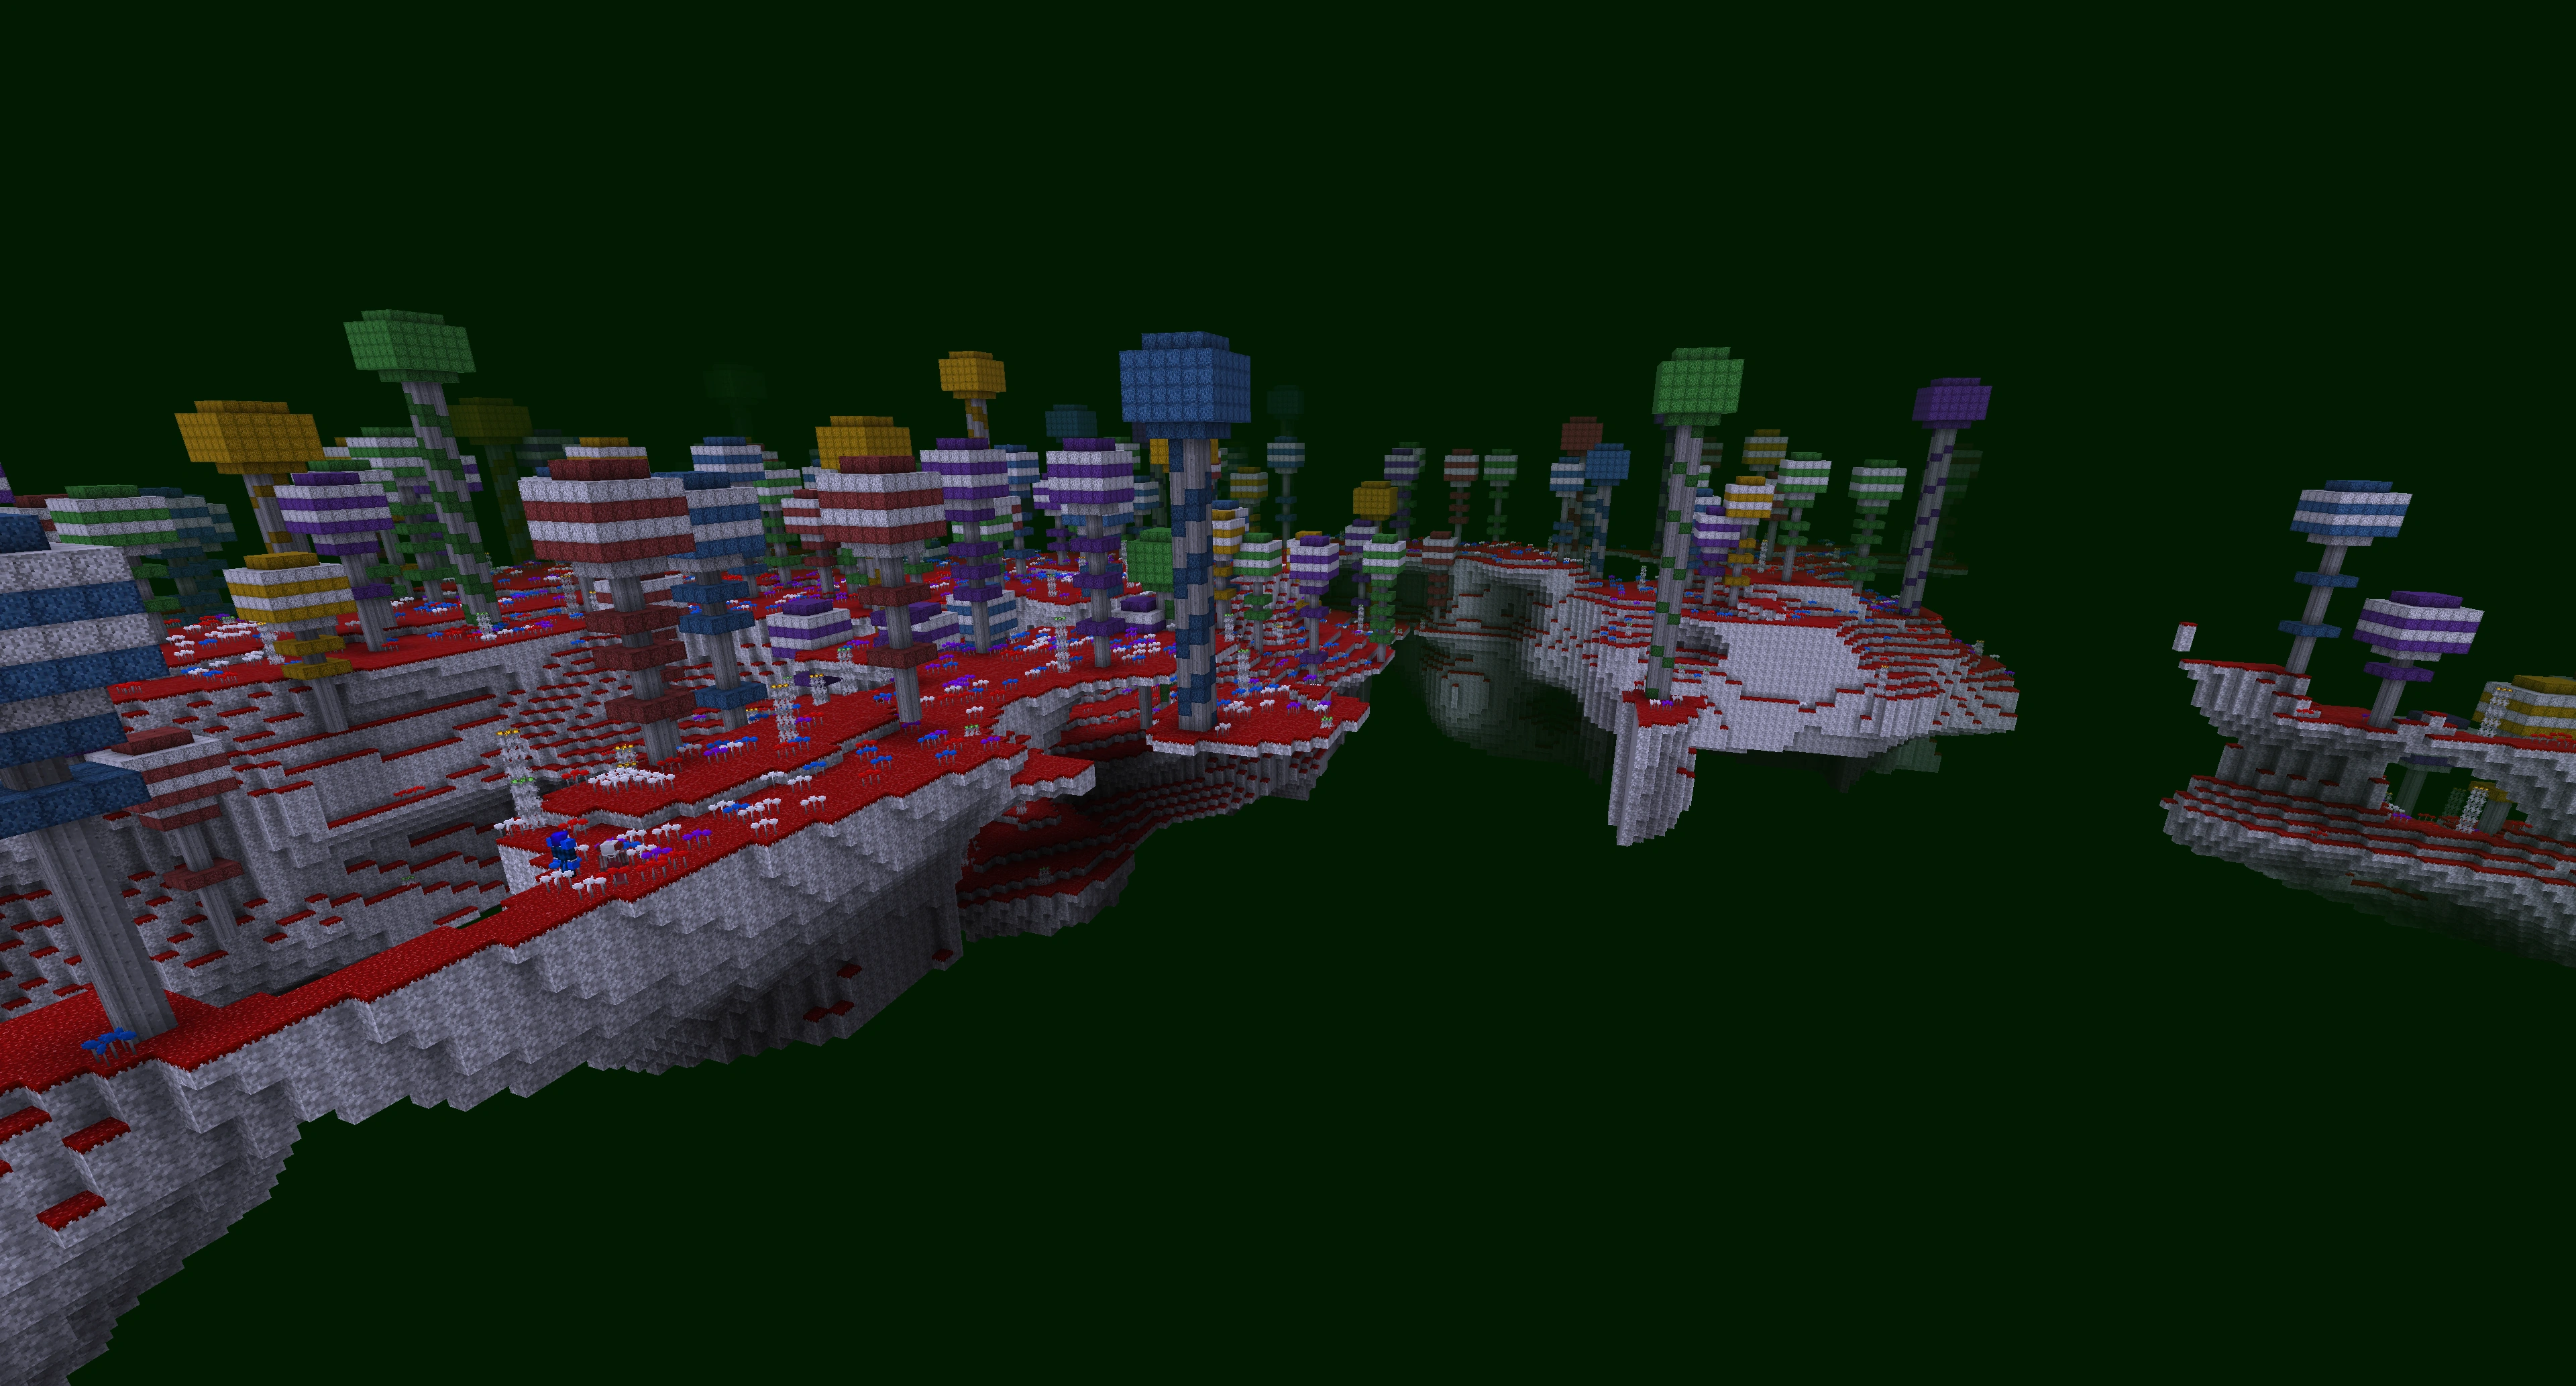
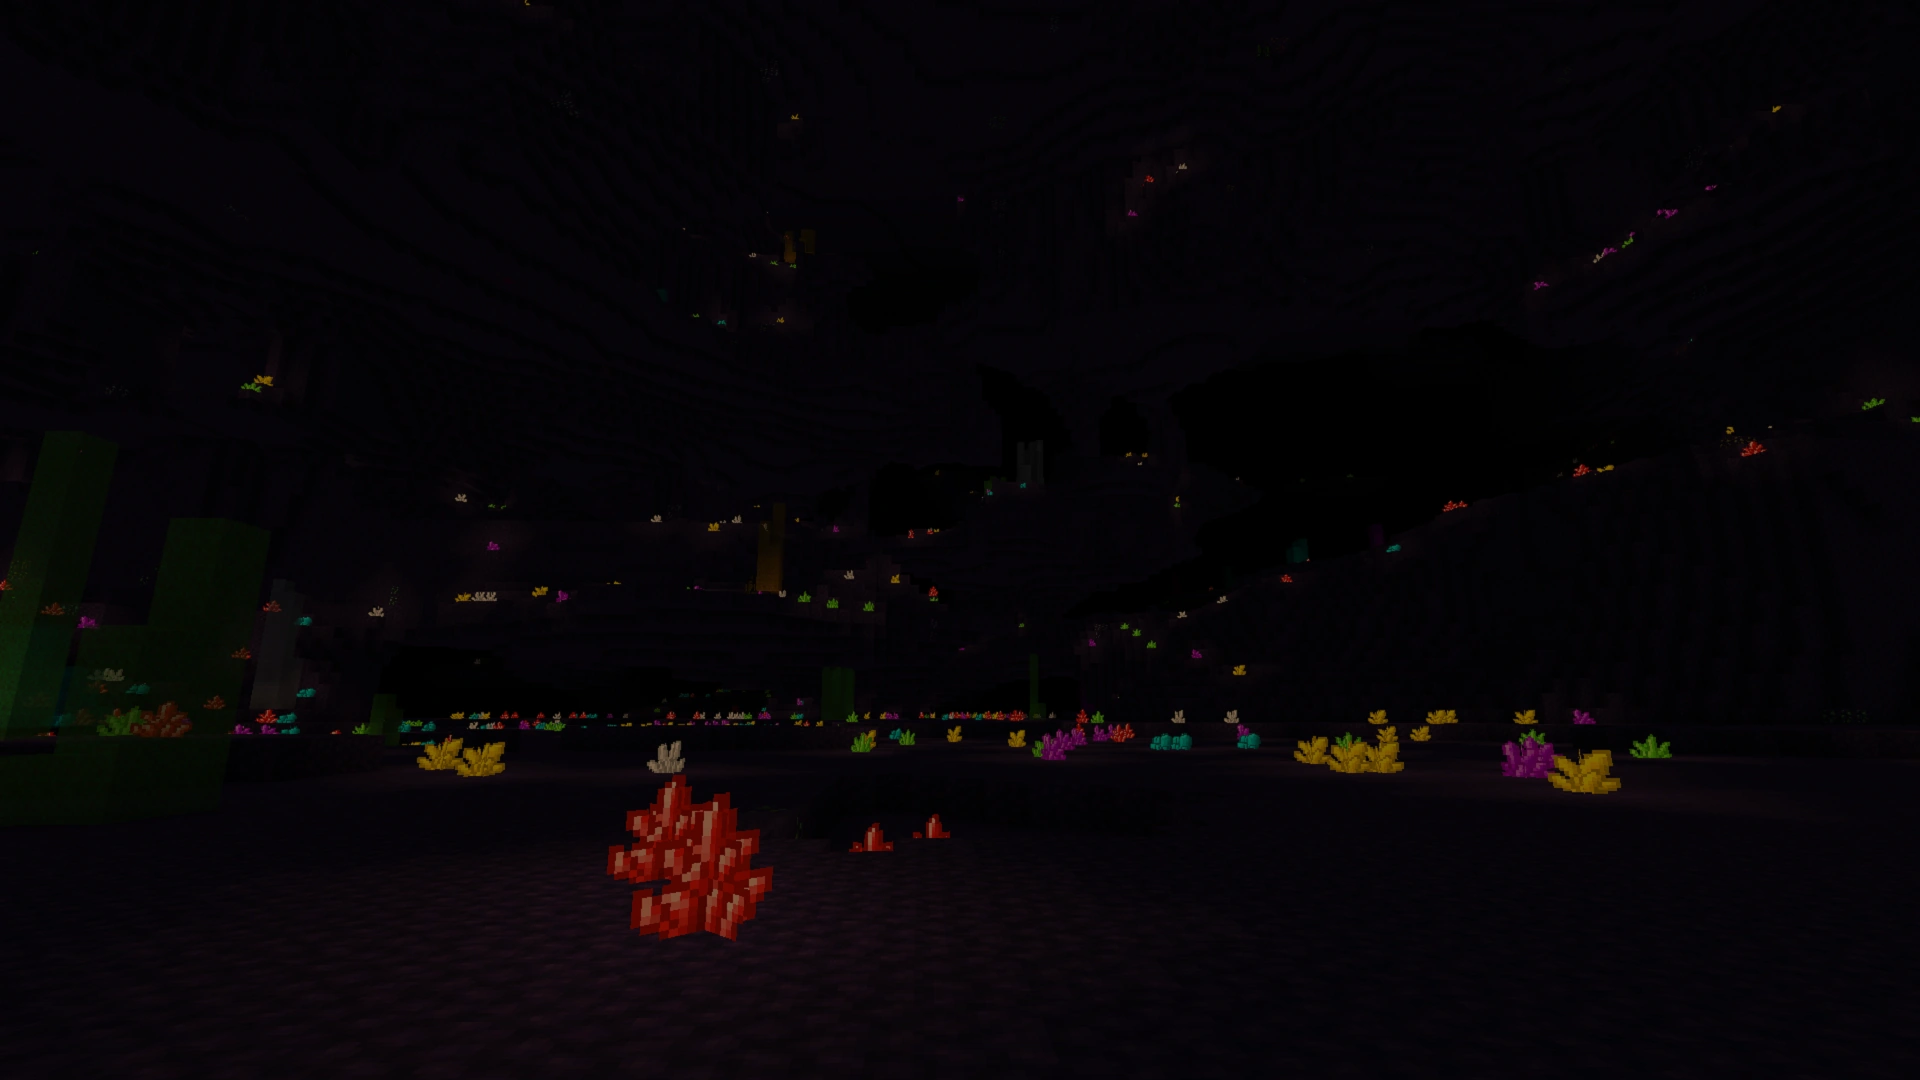
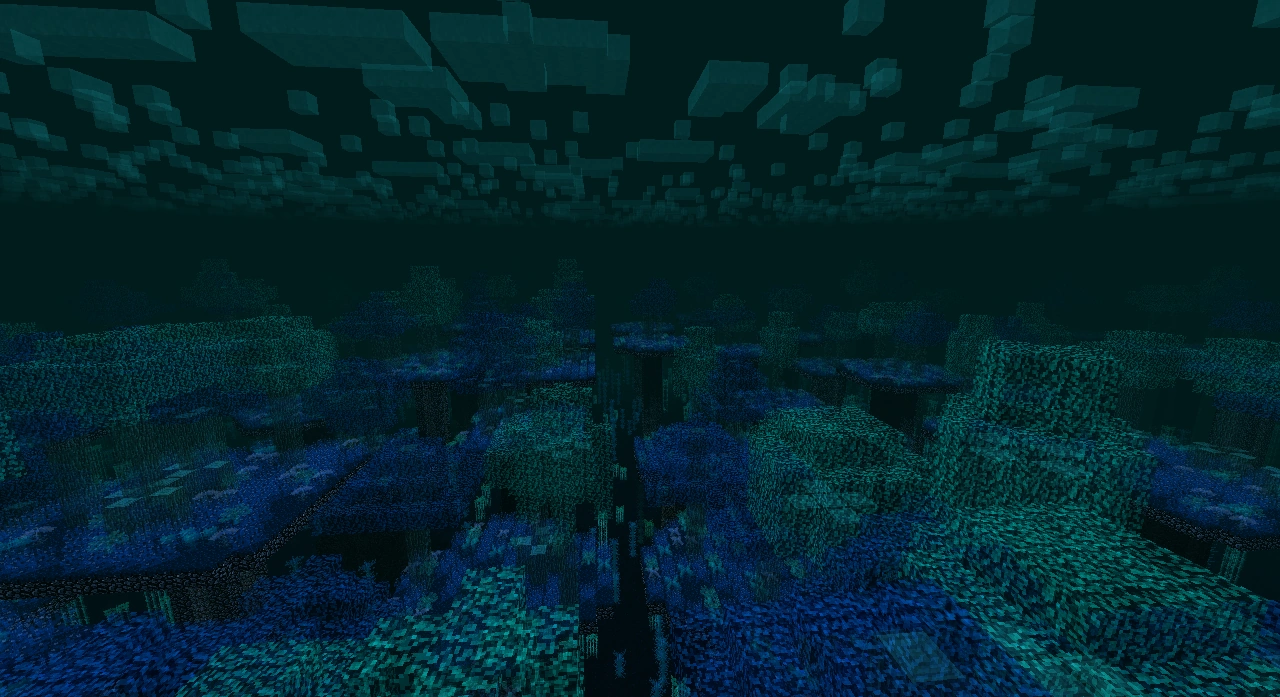
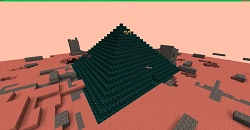
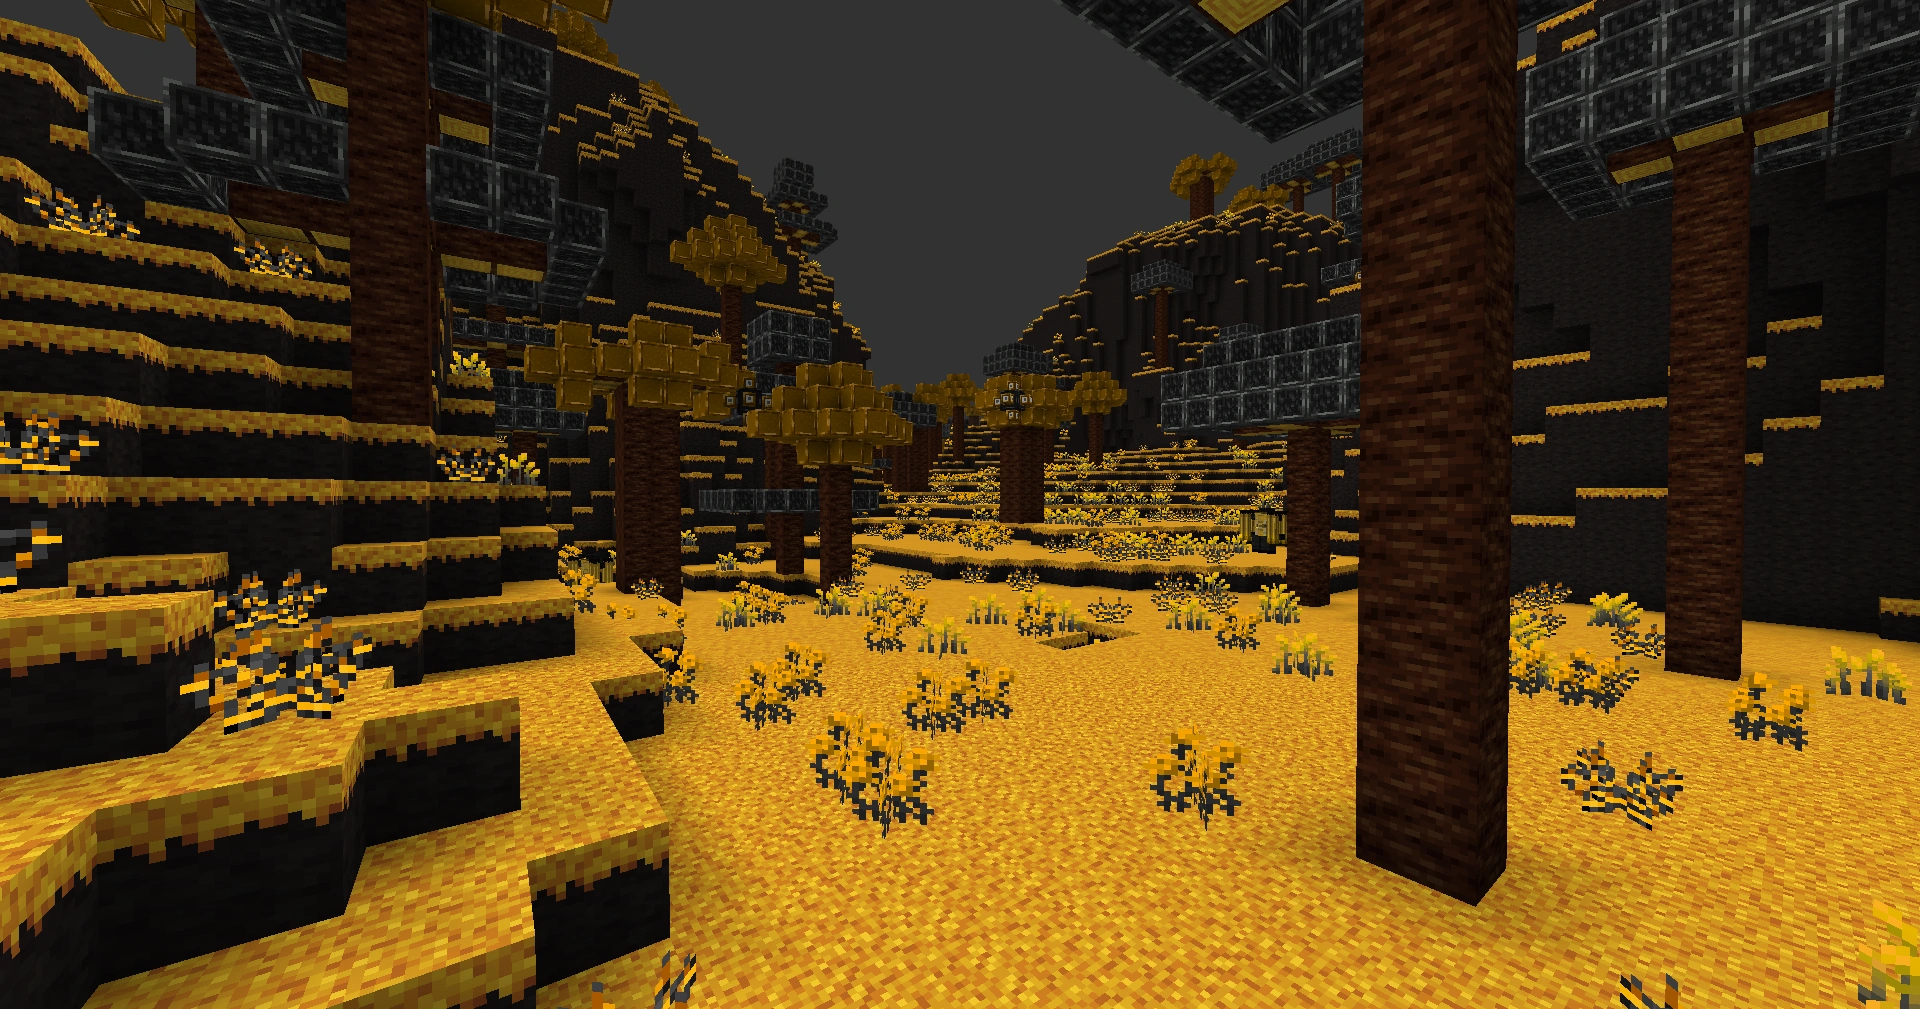
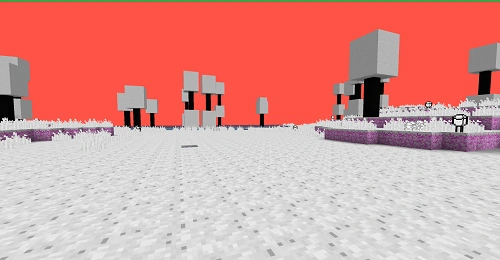
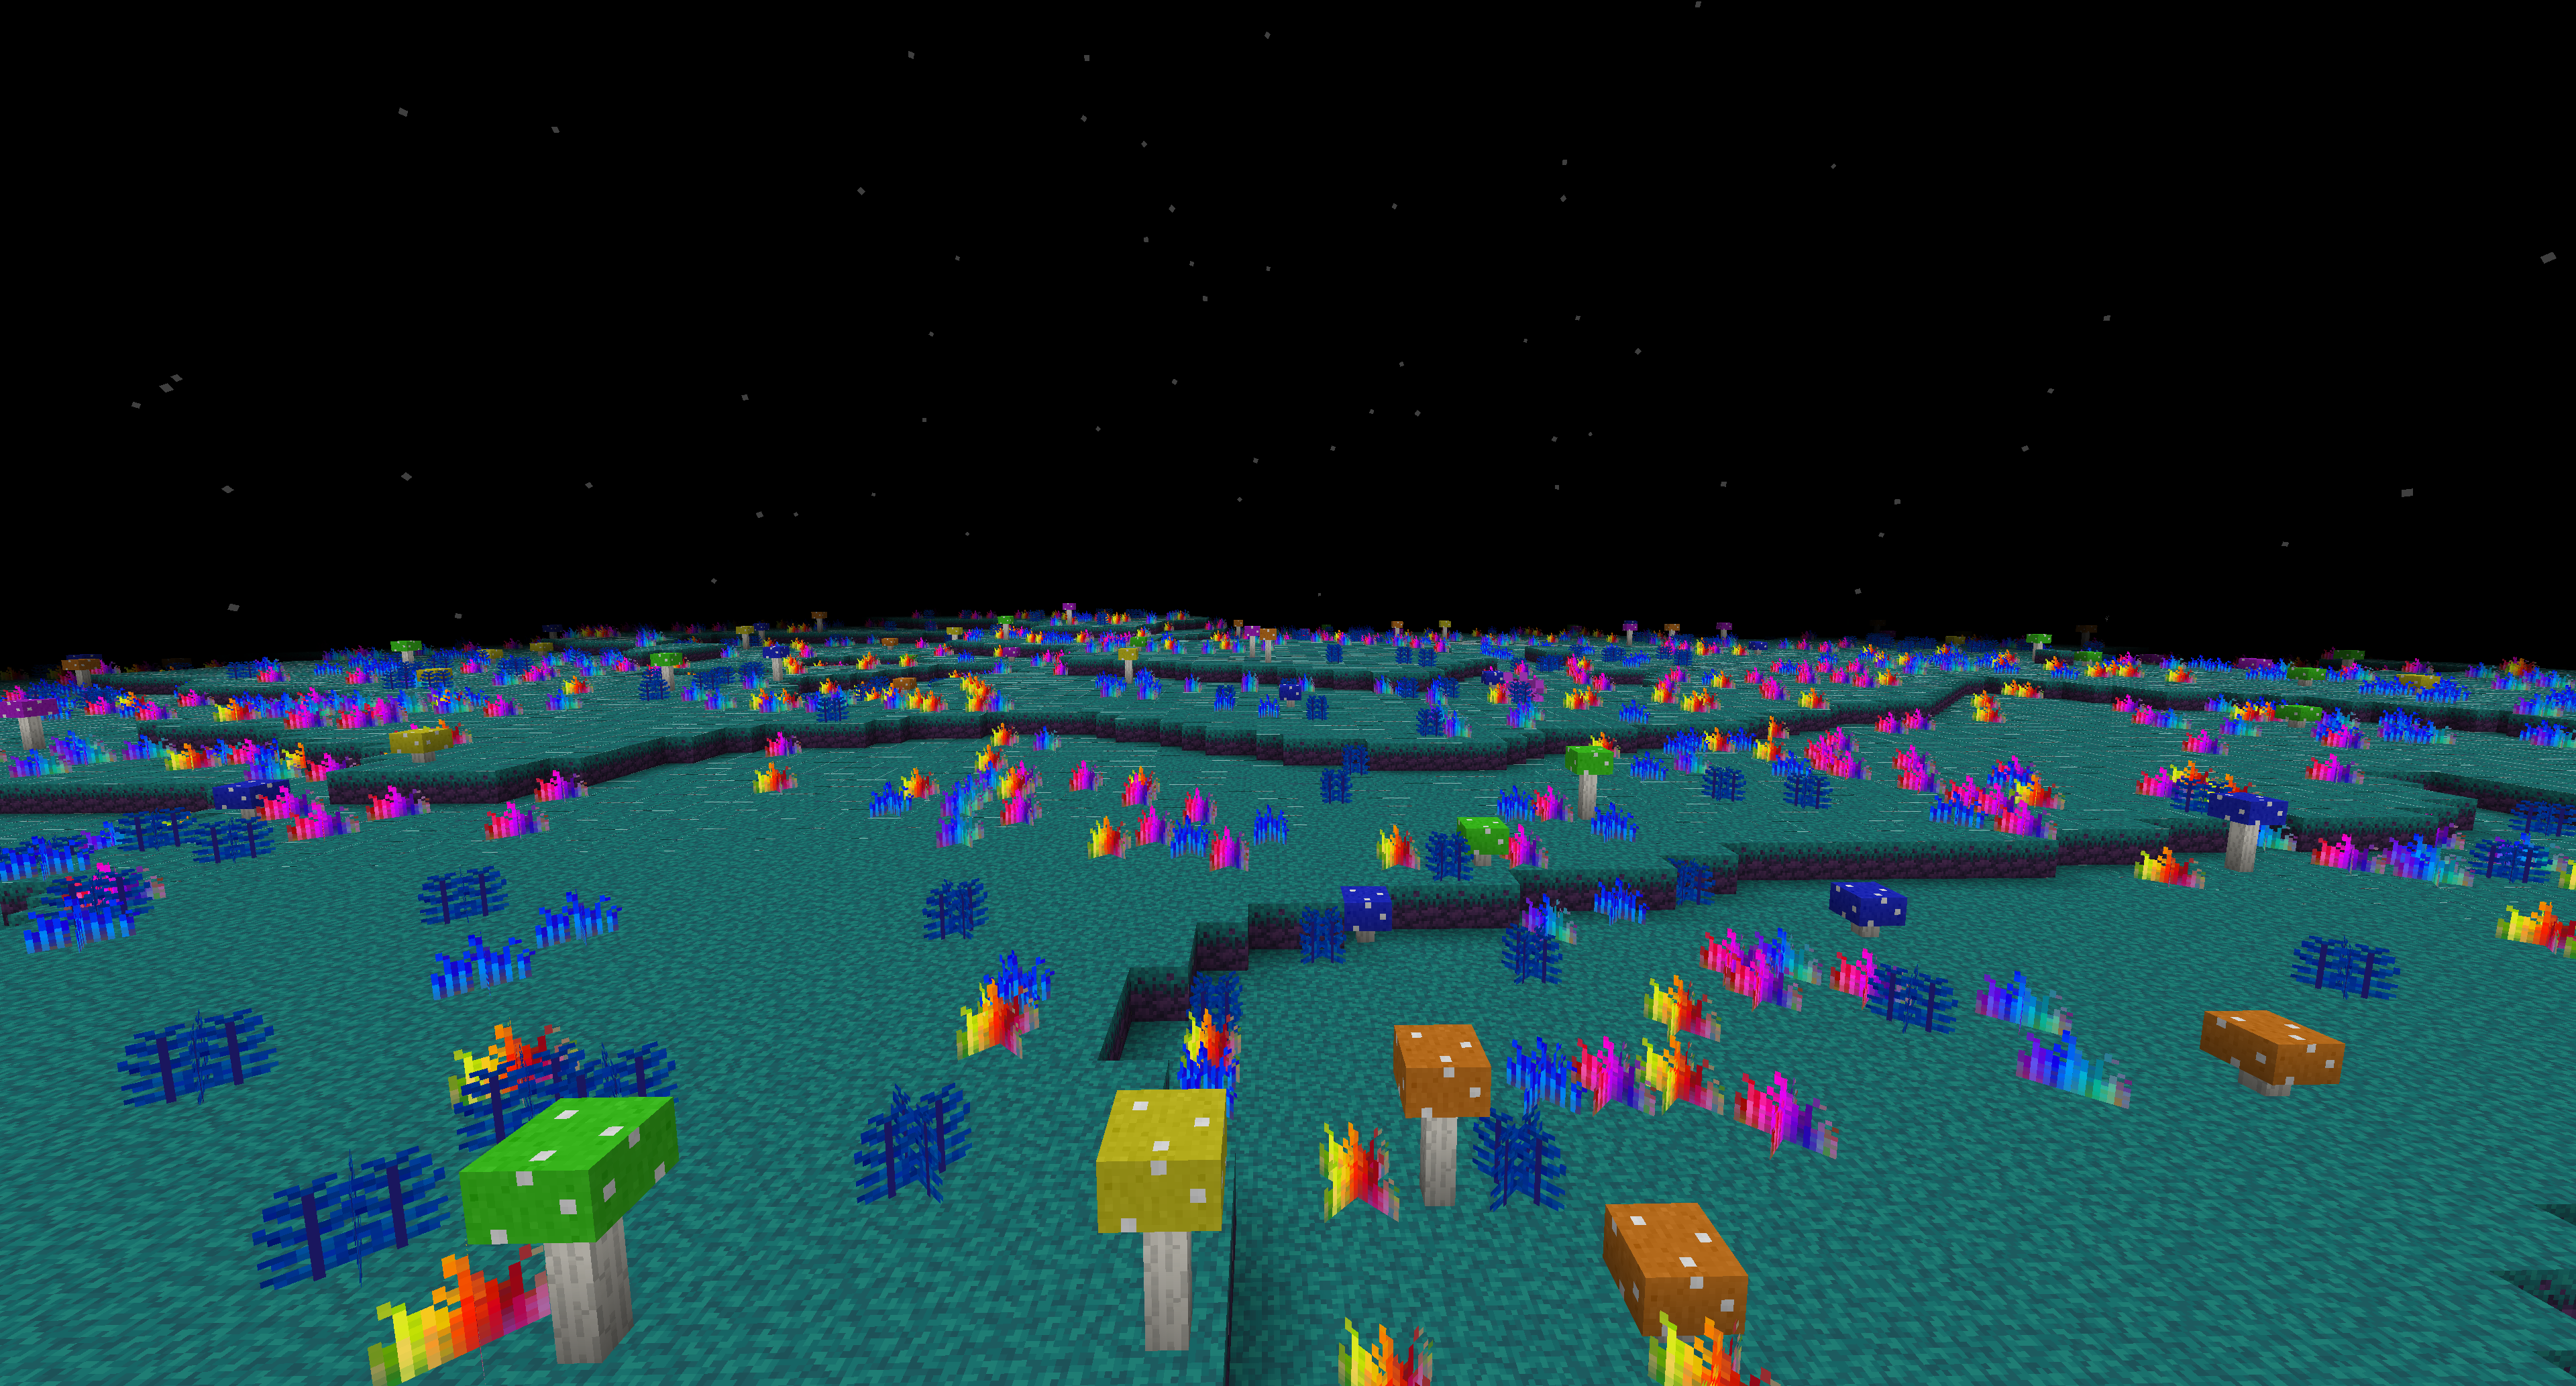
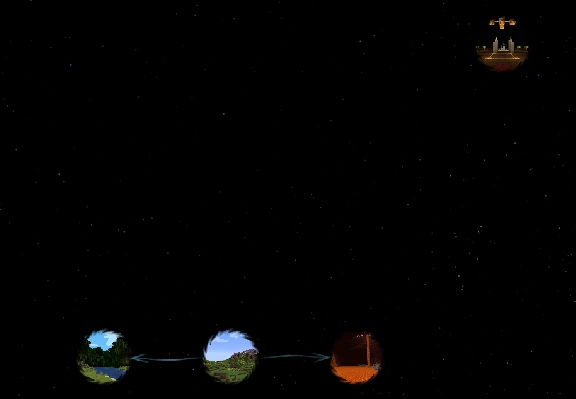
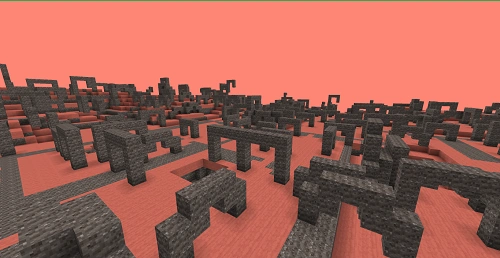
 Abyssal Eyelands.png 500 × 281; 125 KB
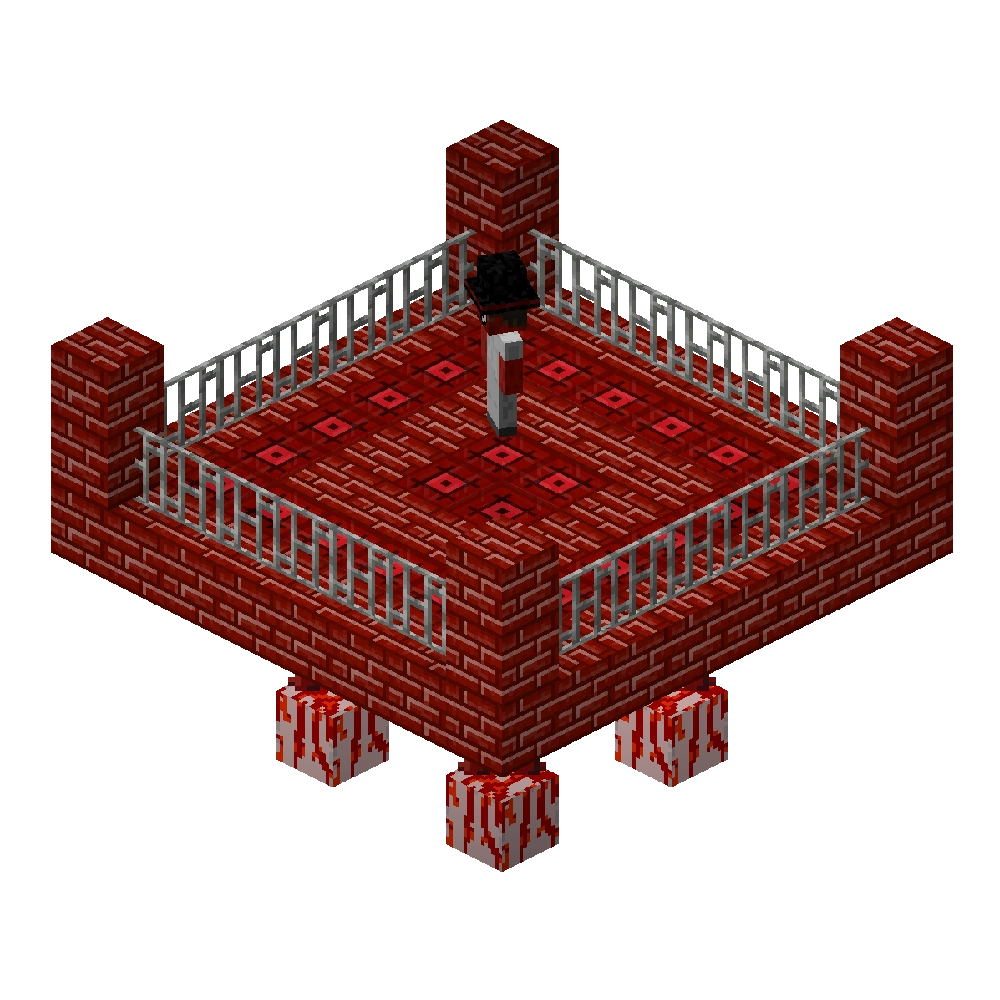
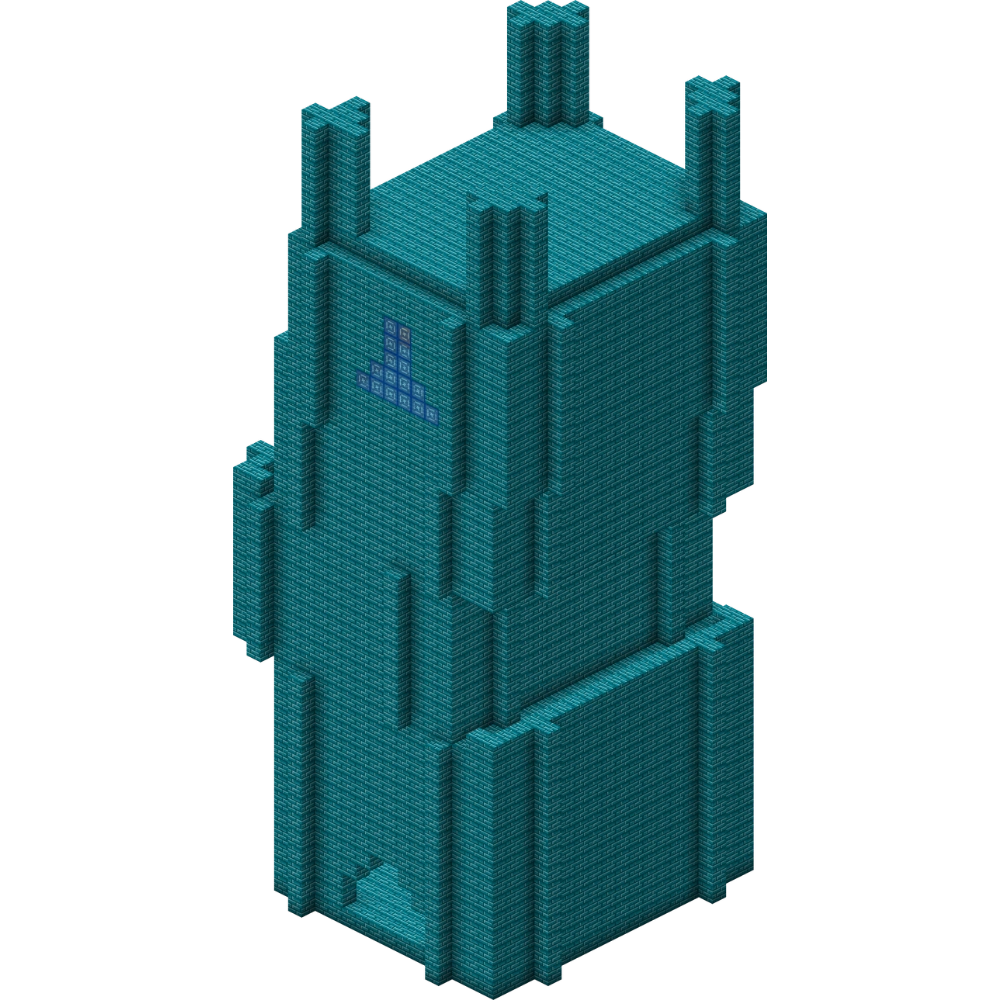
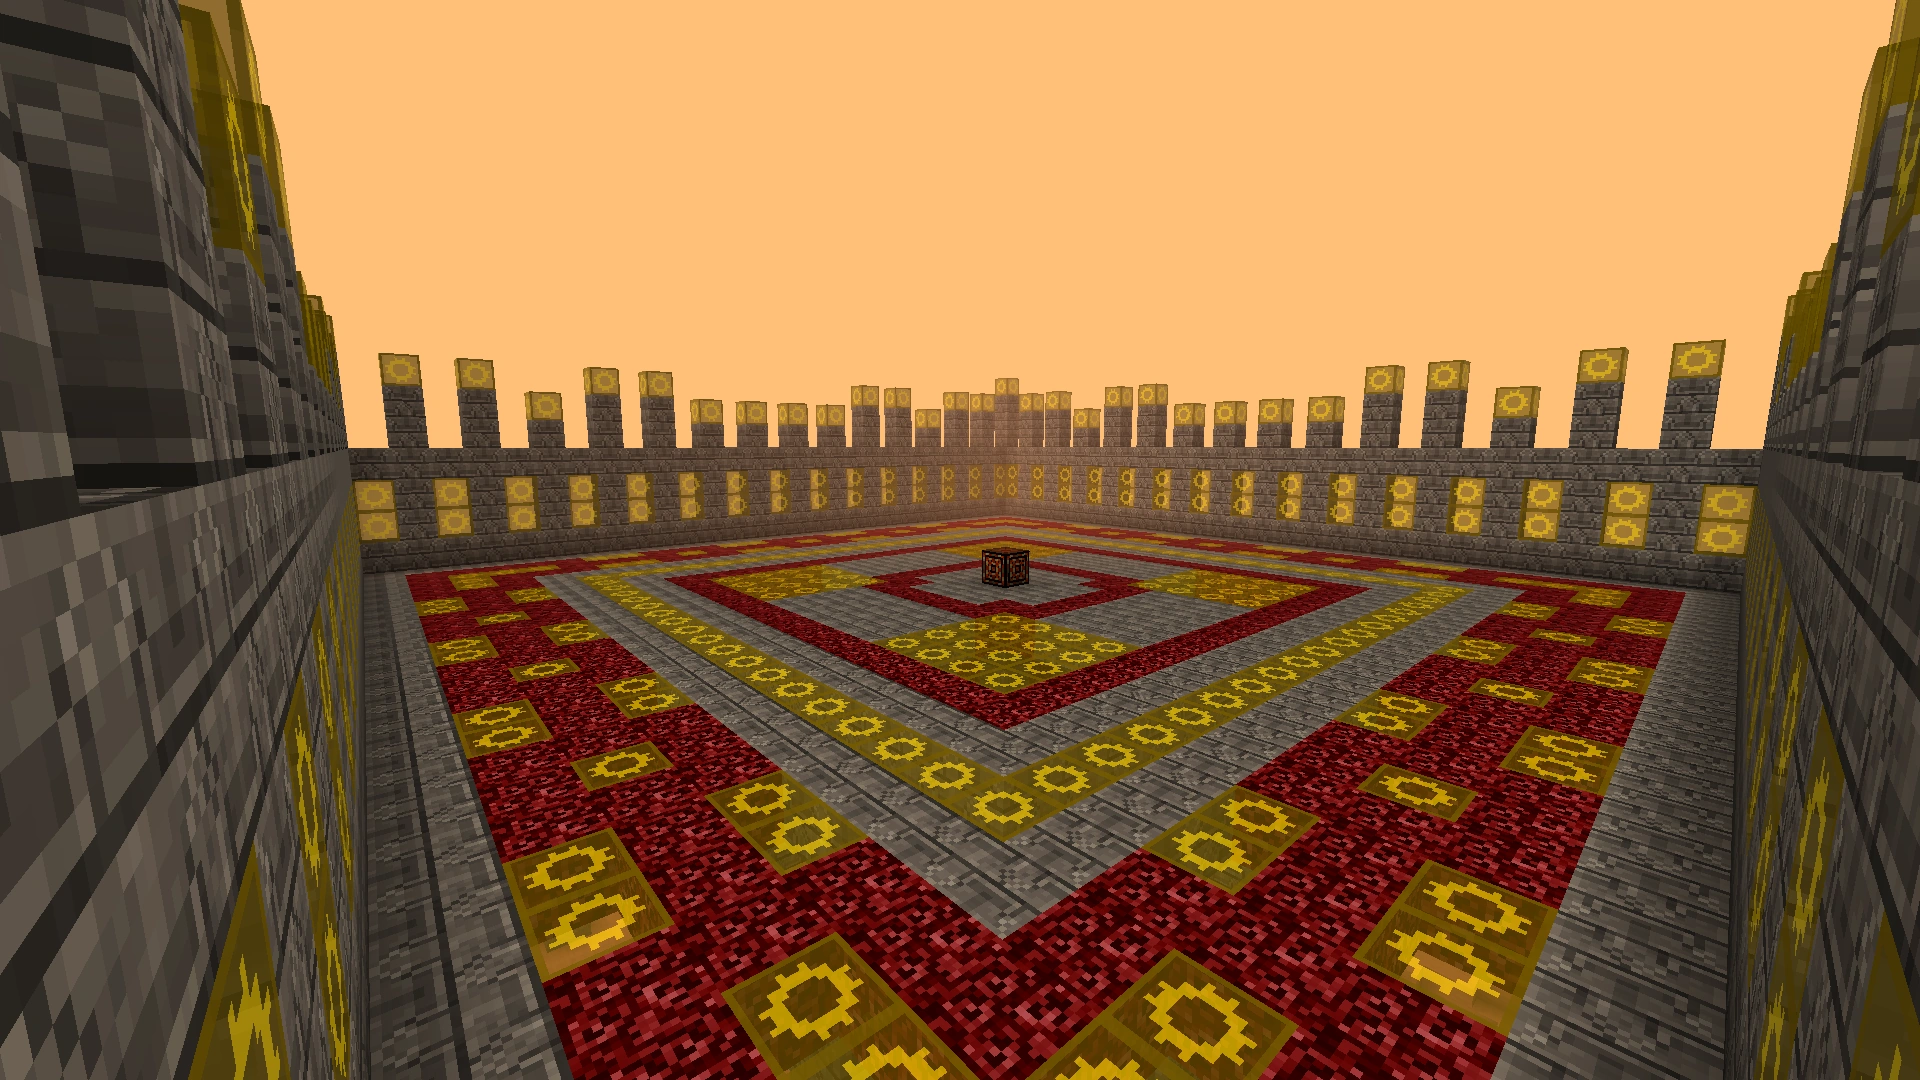
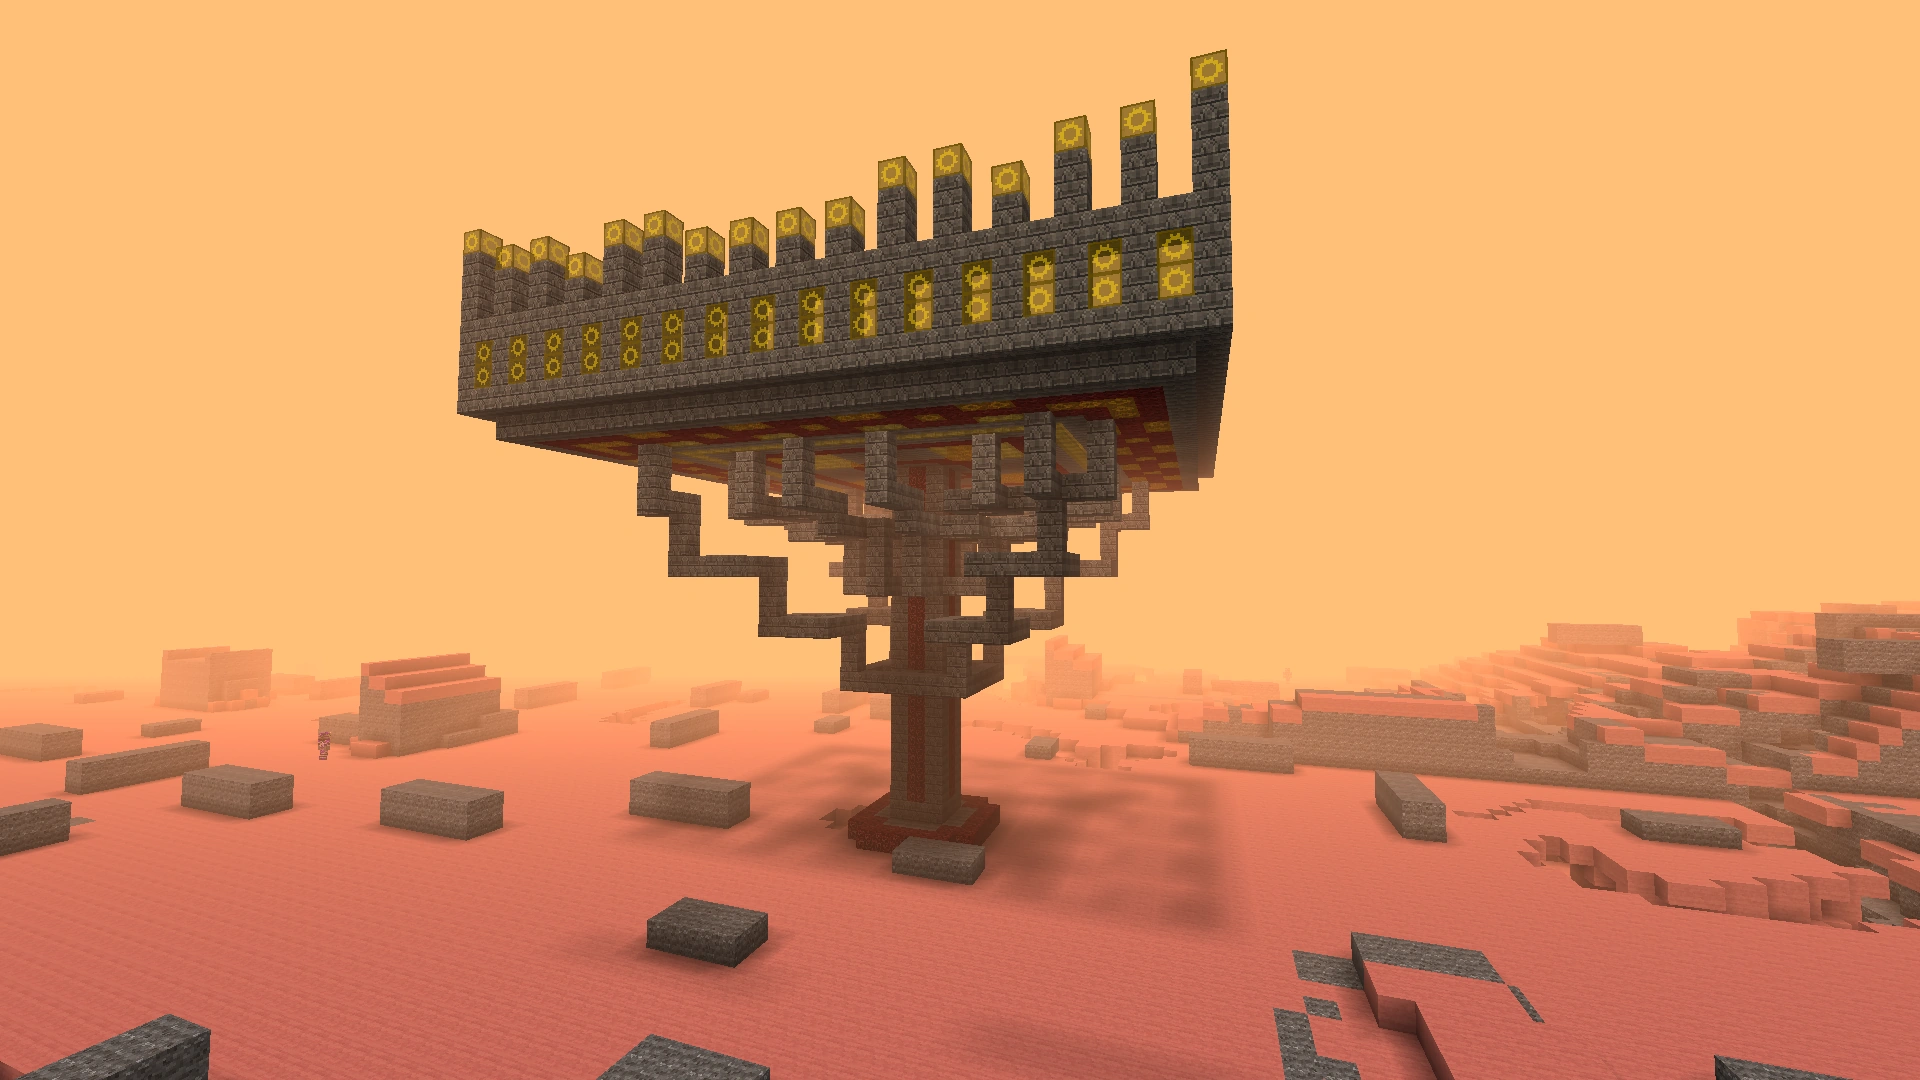
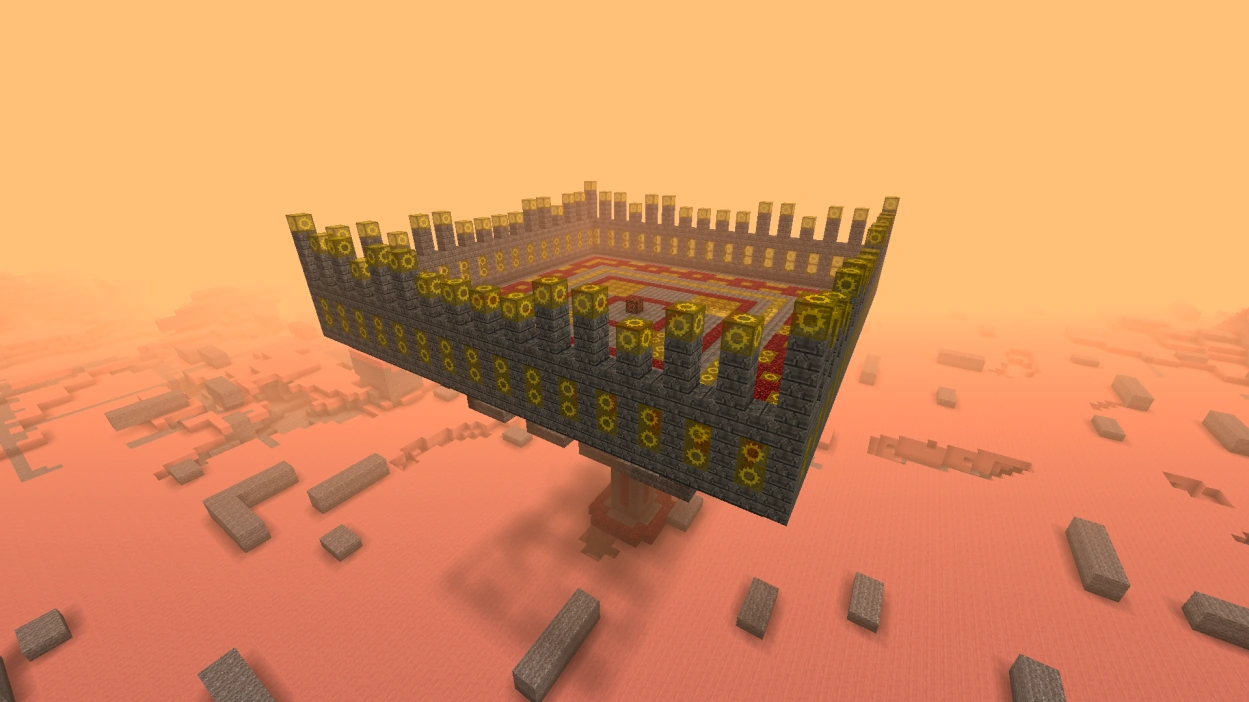
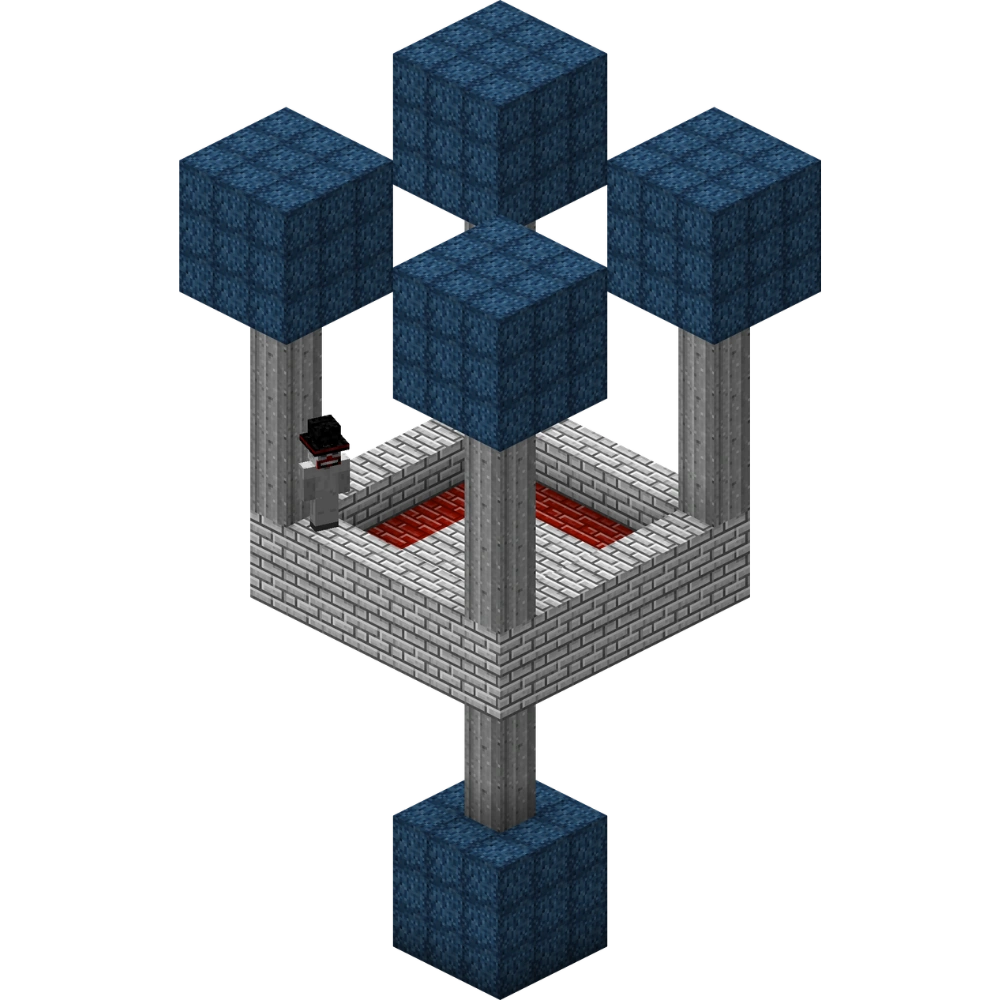
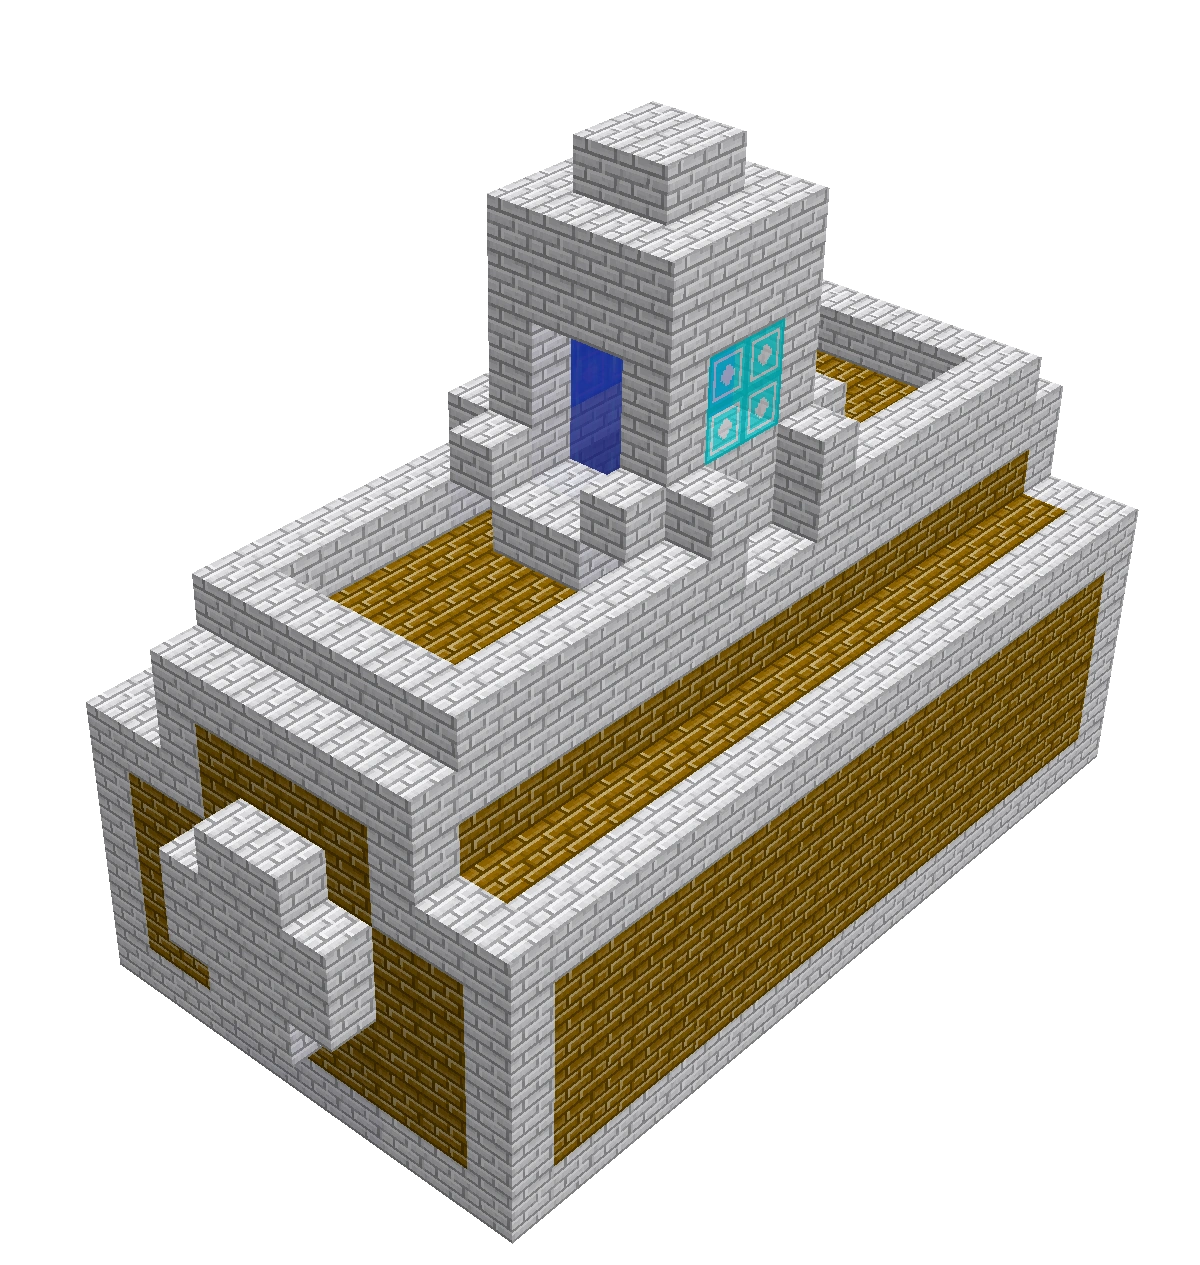
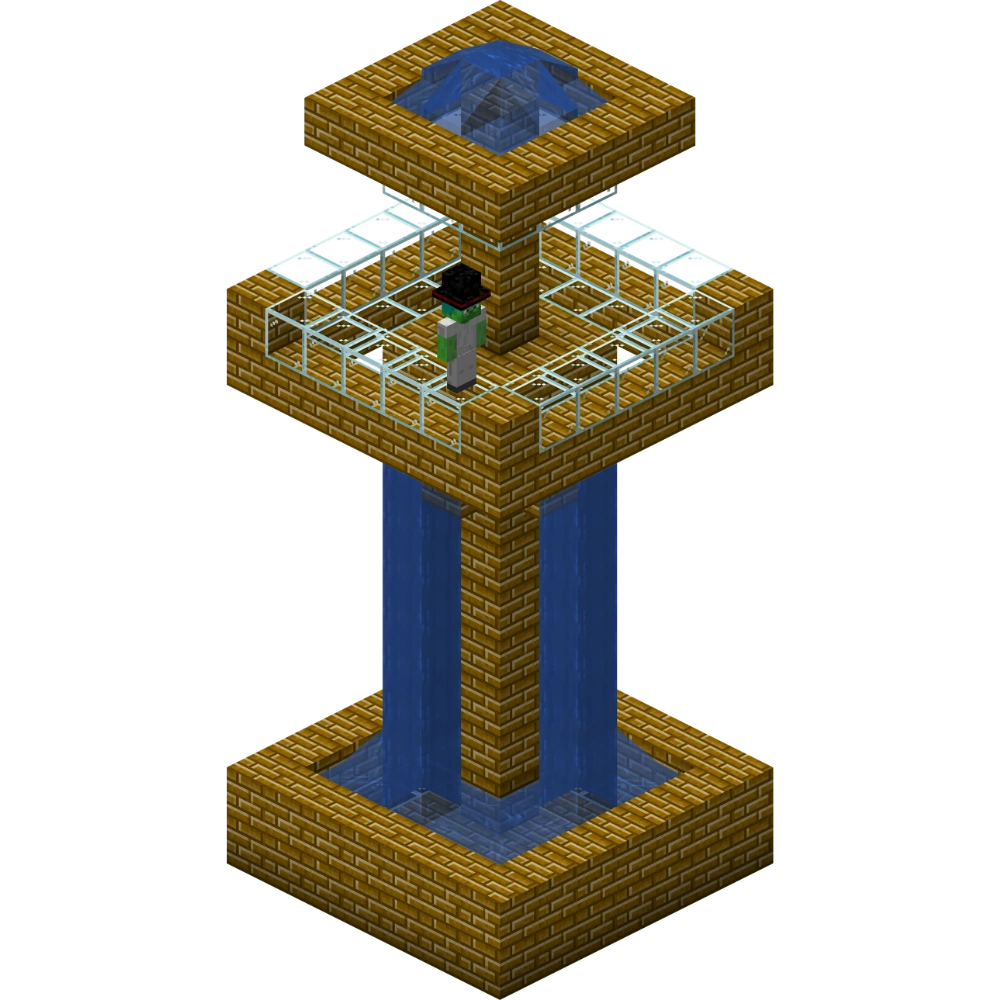
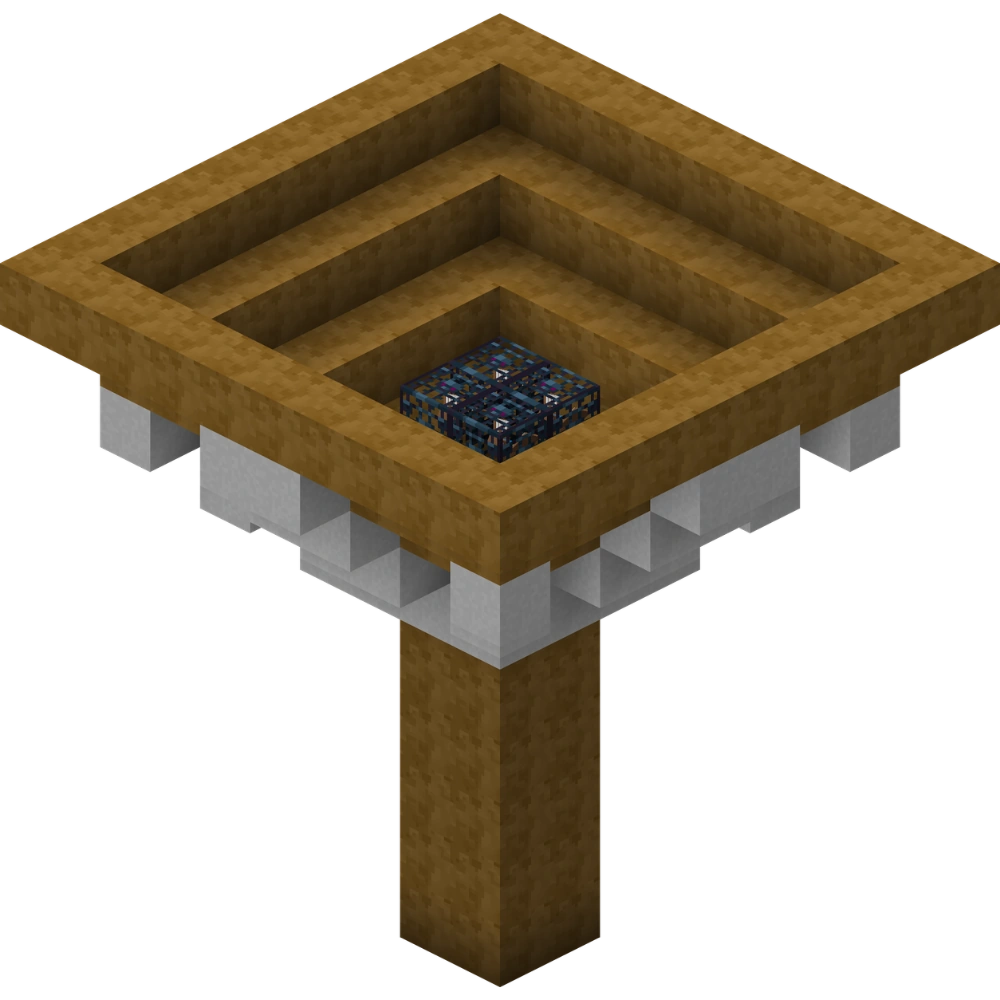
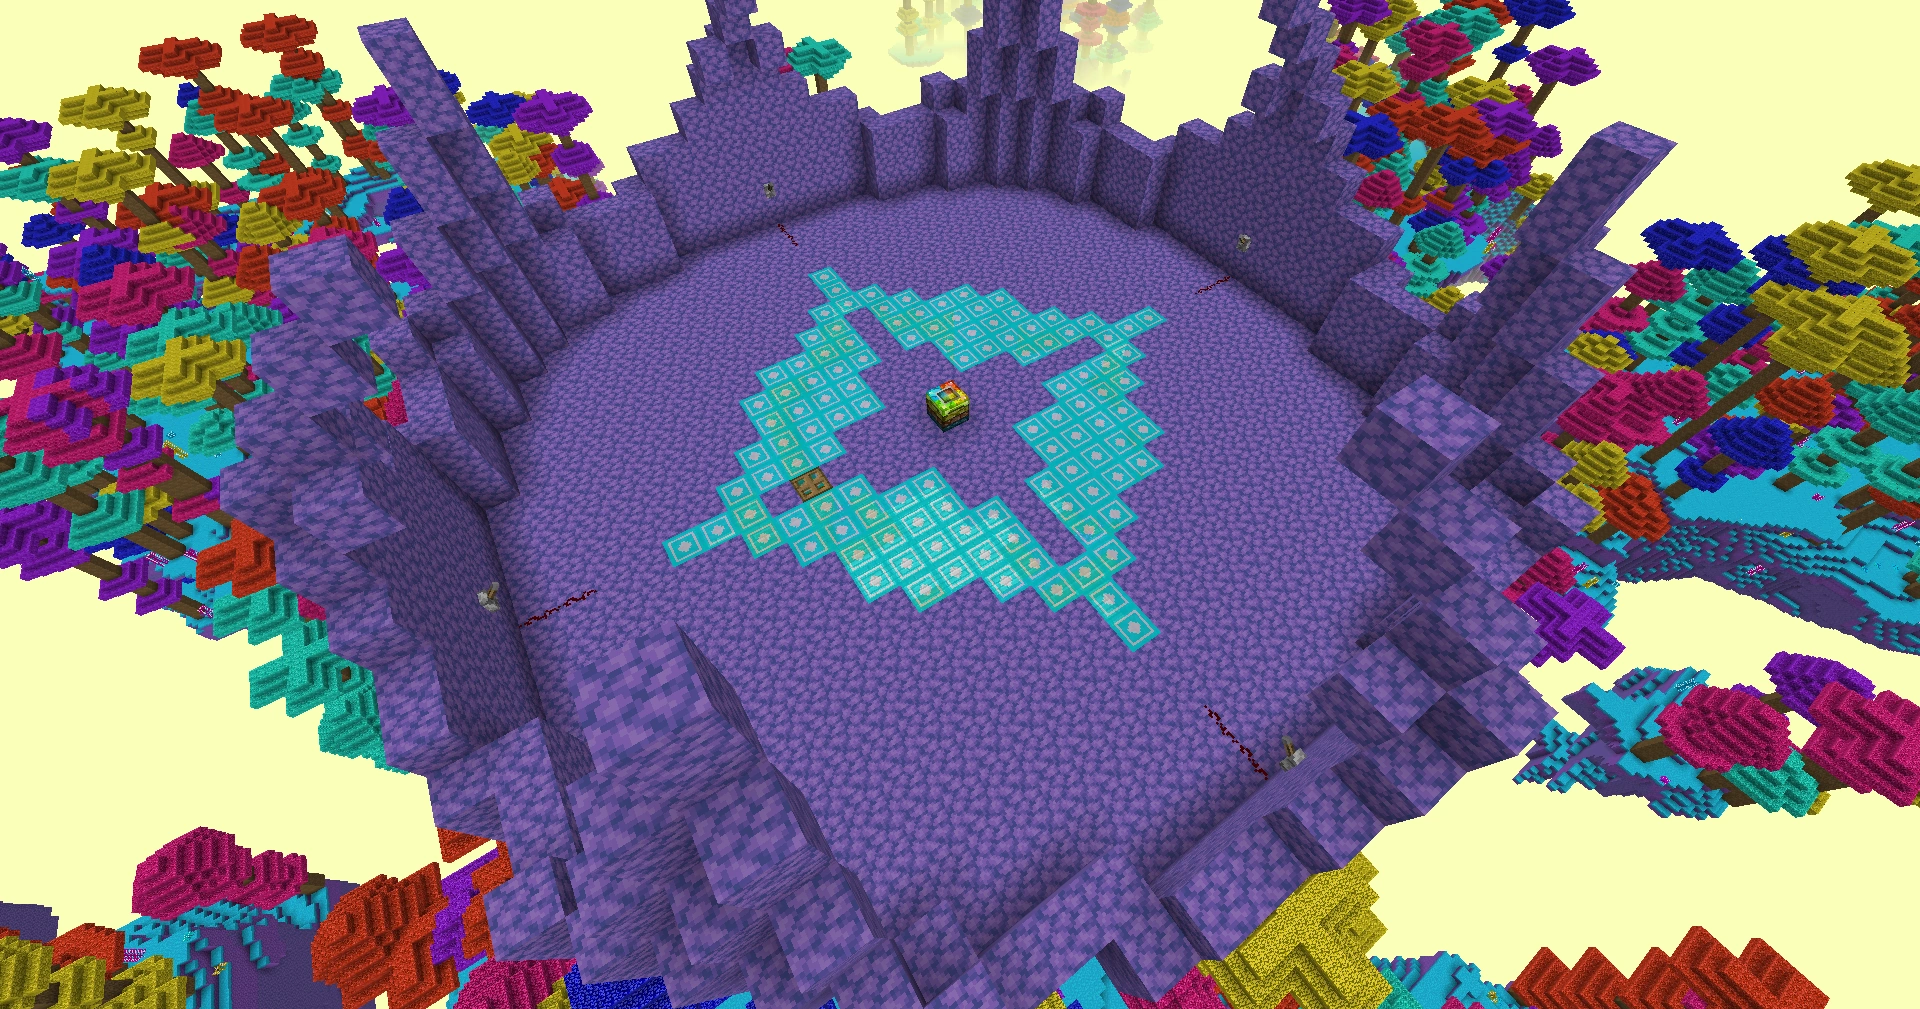
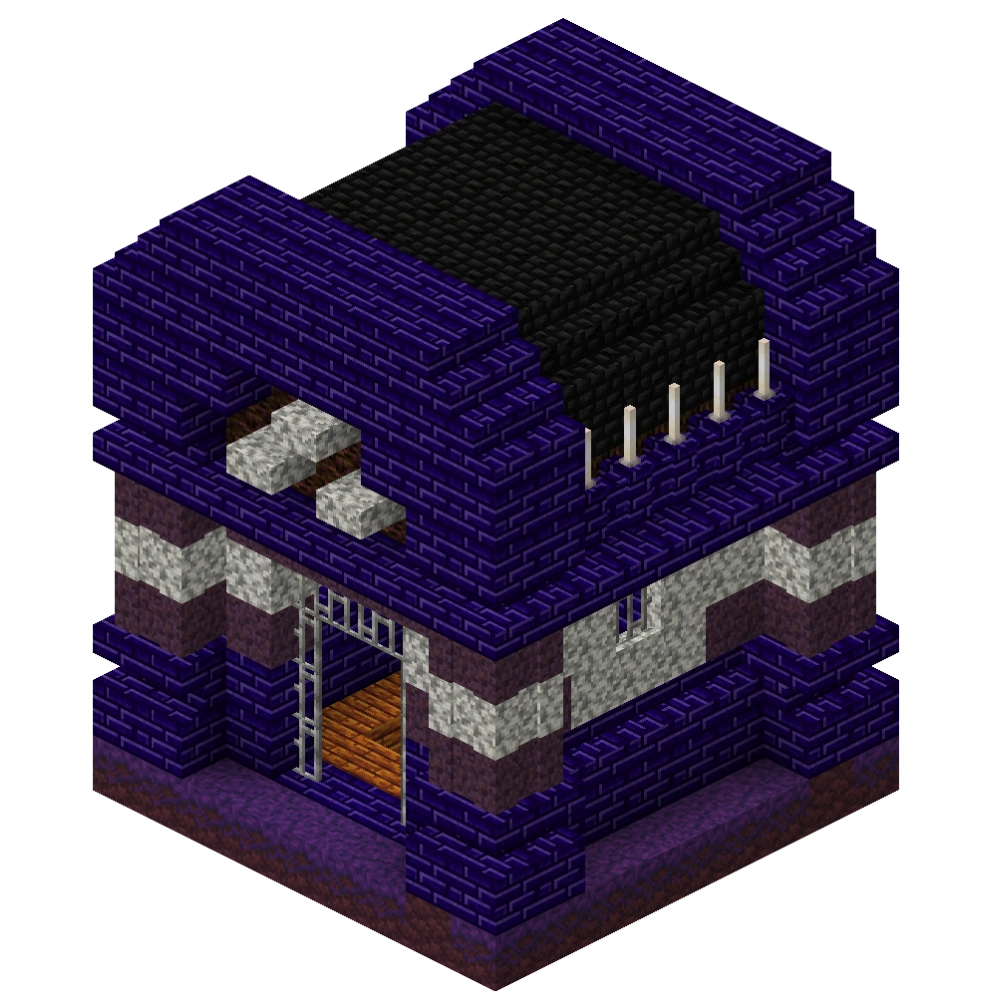
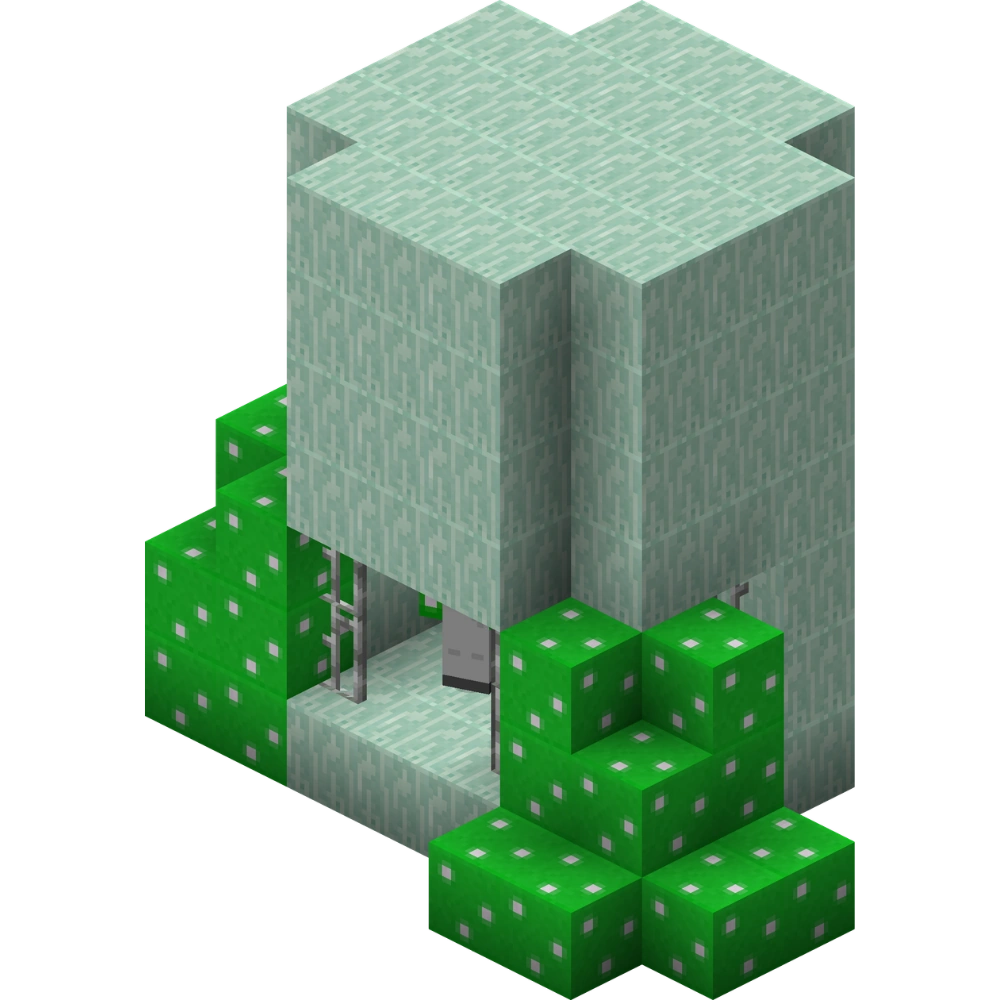
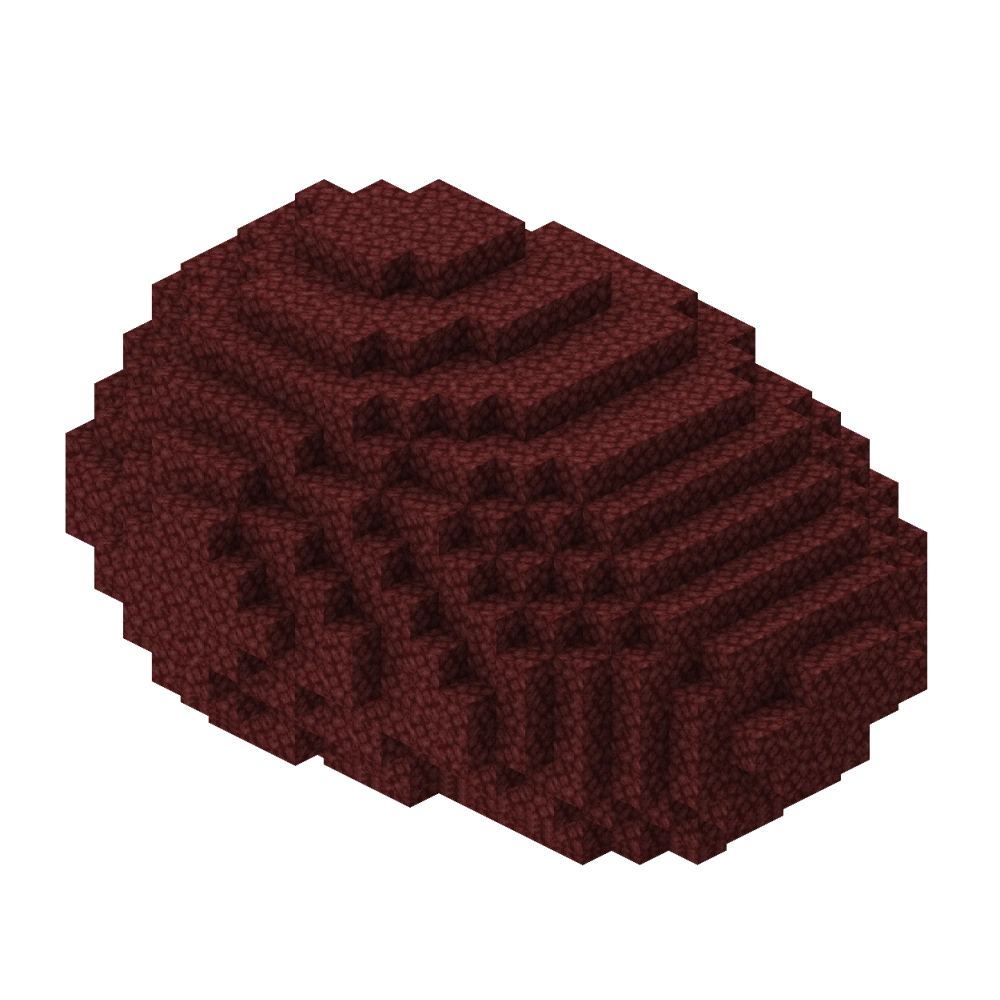
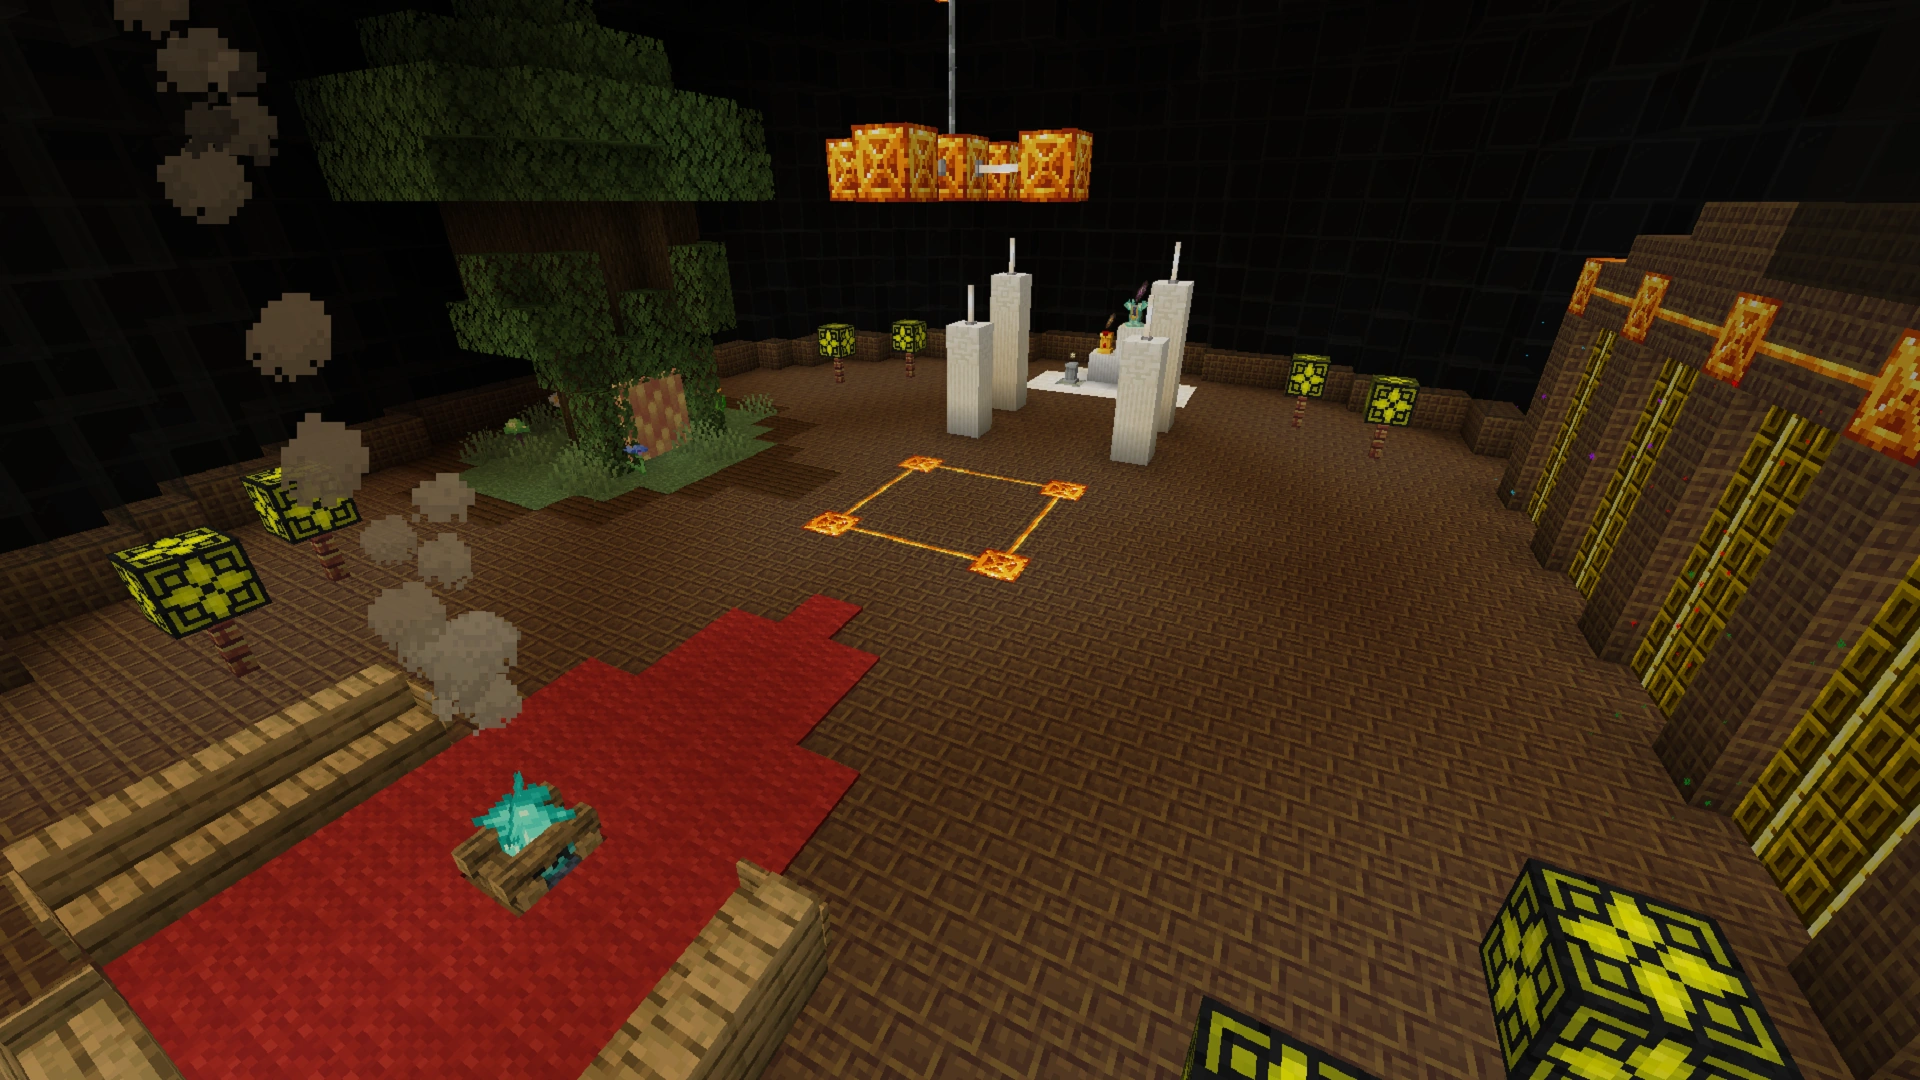
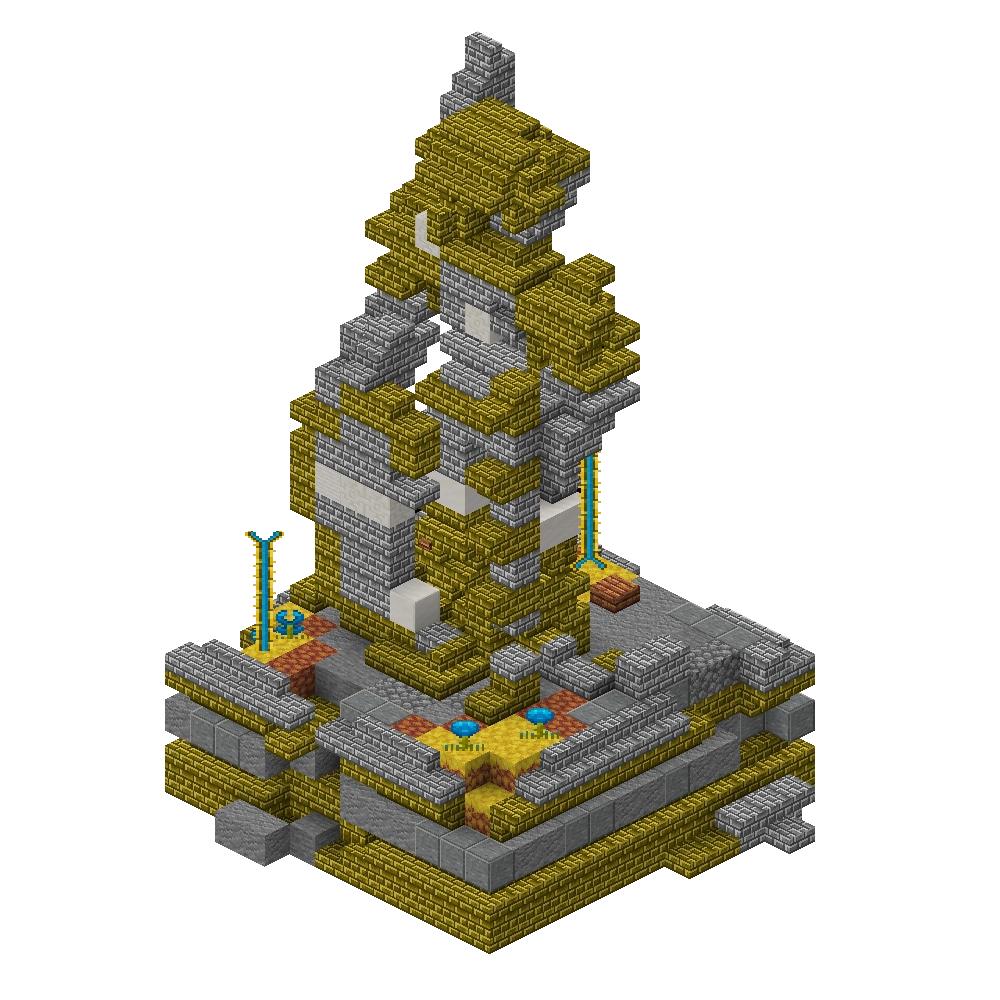
 Abyssal Lotto Hut.png 1,000 × 1,000; 296 KB
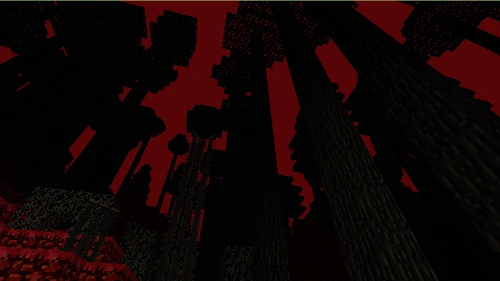
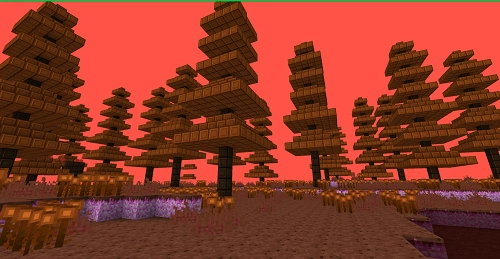
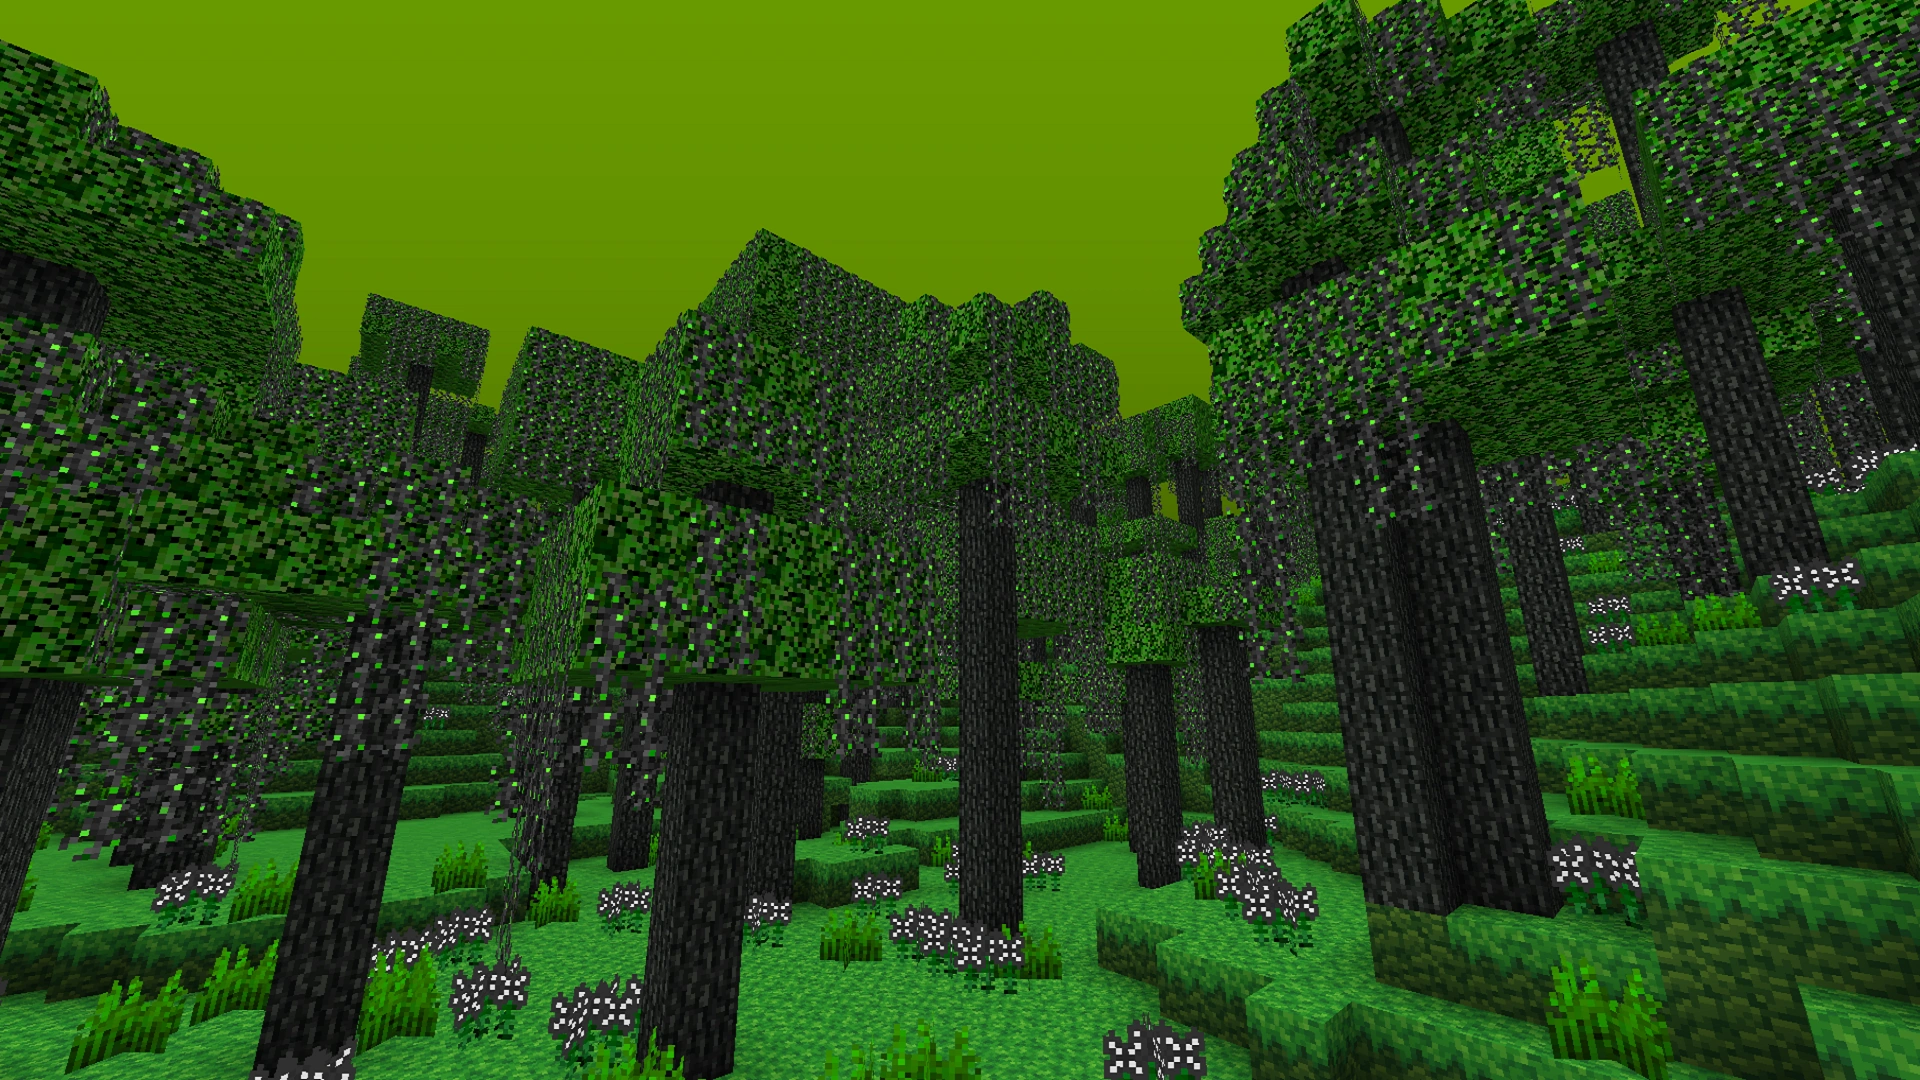
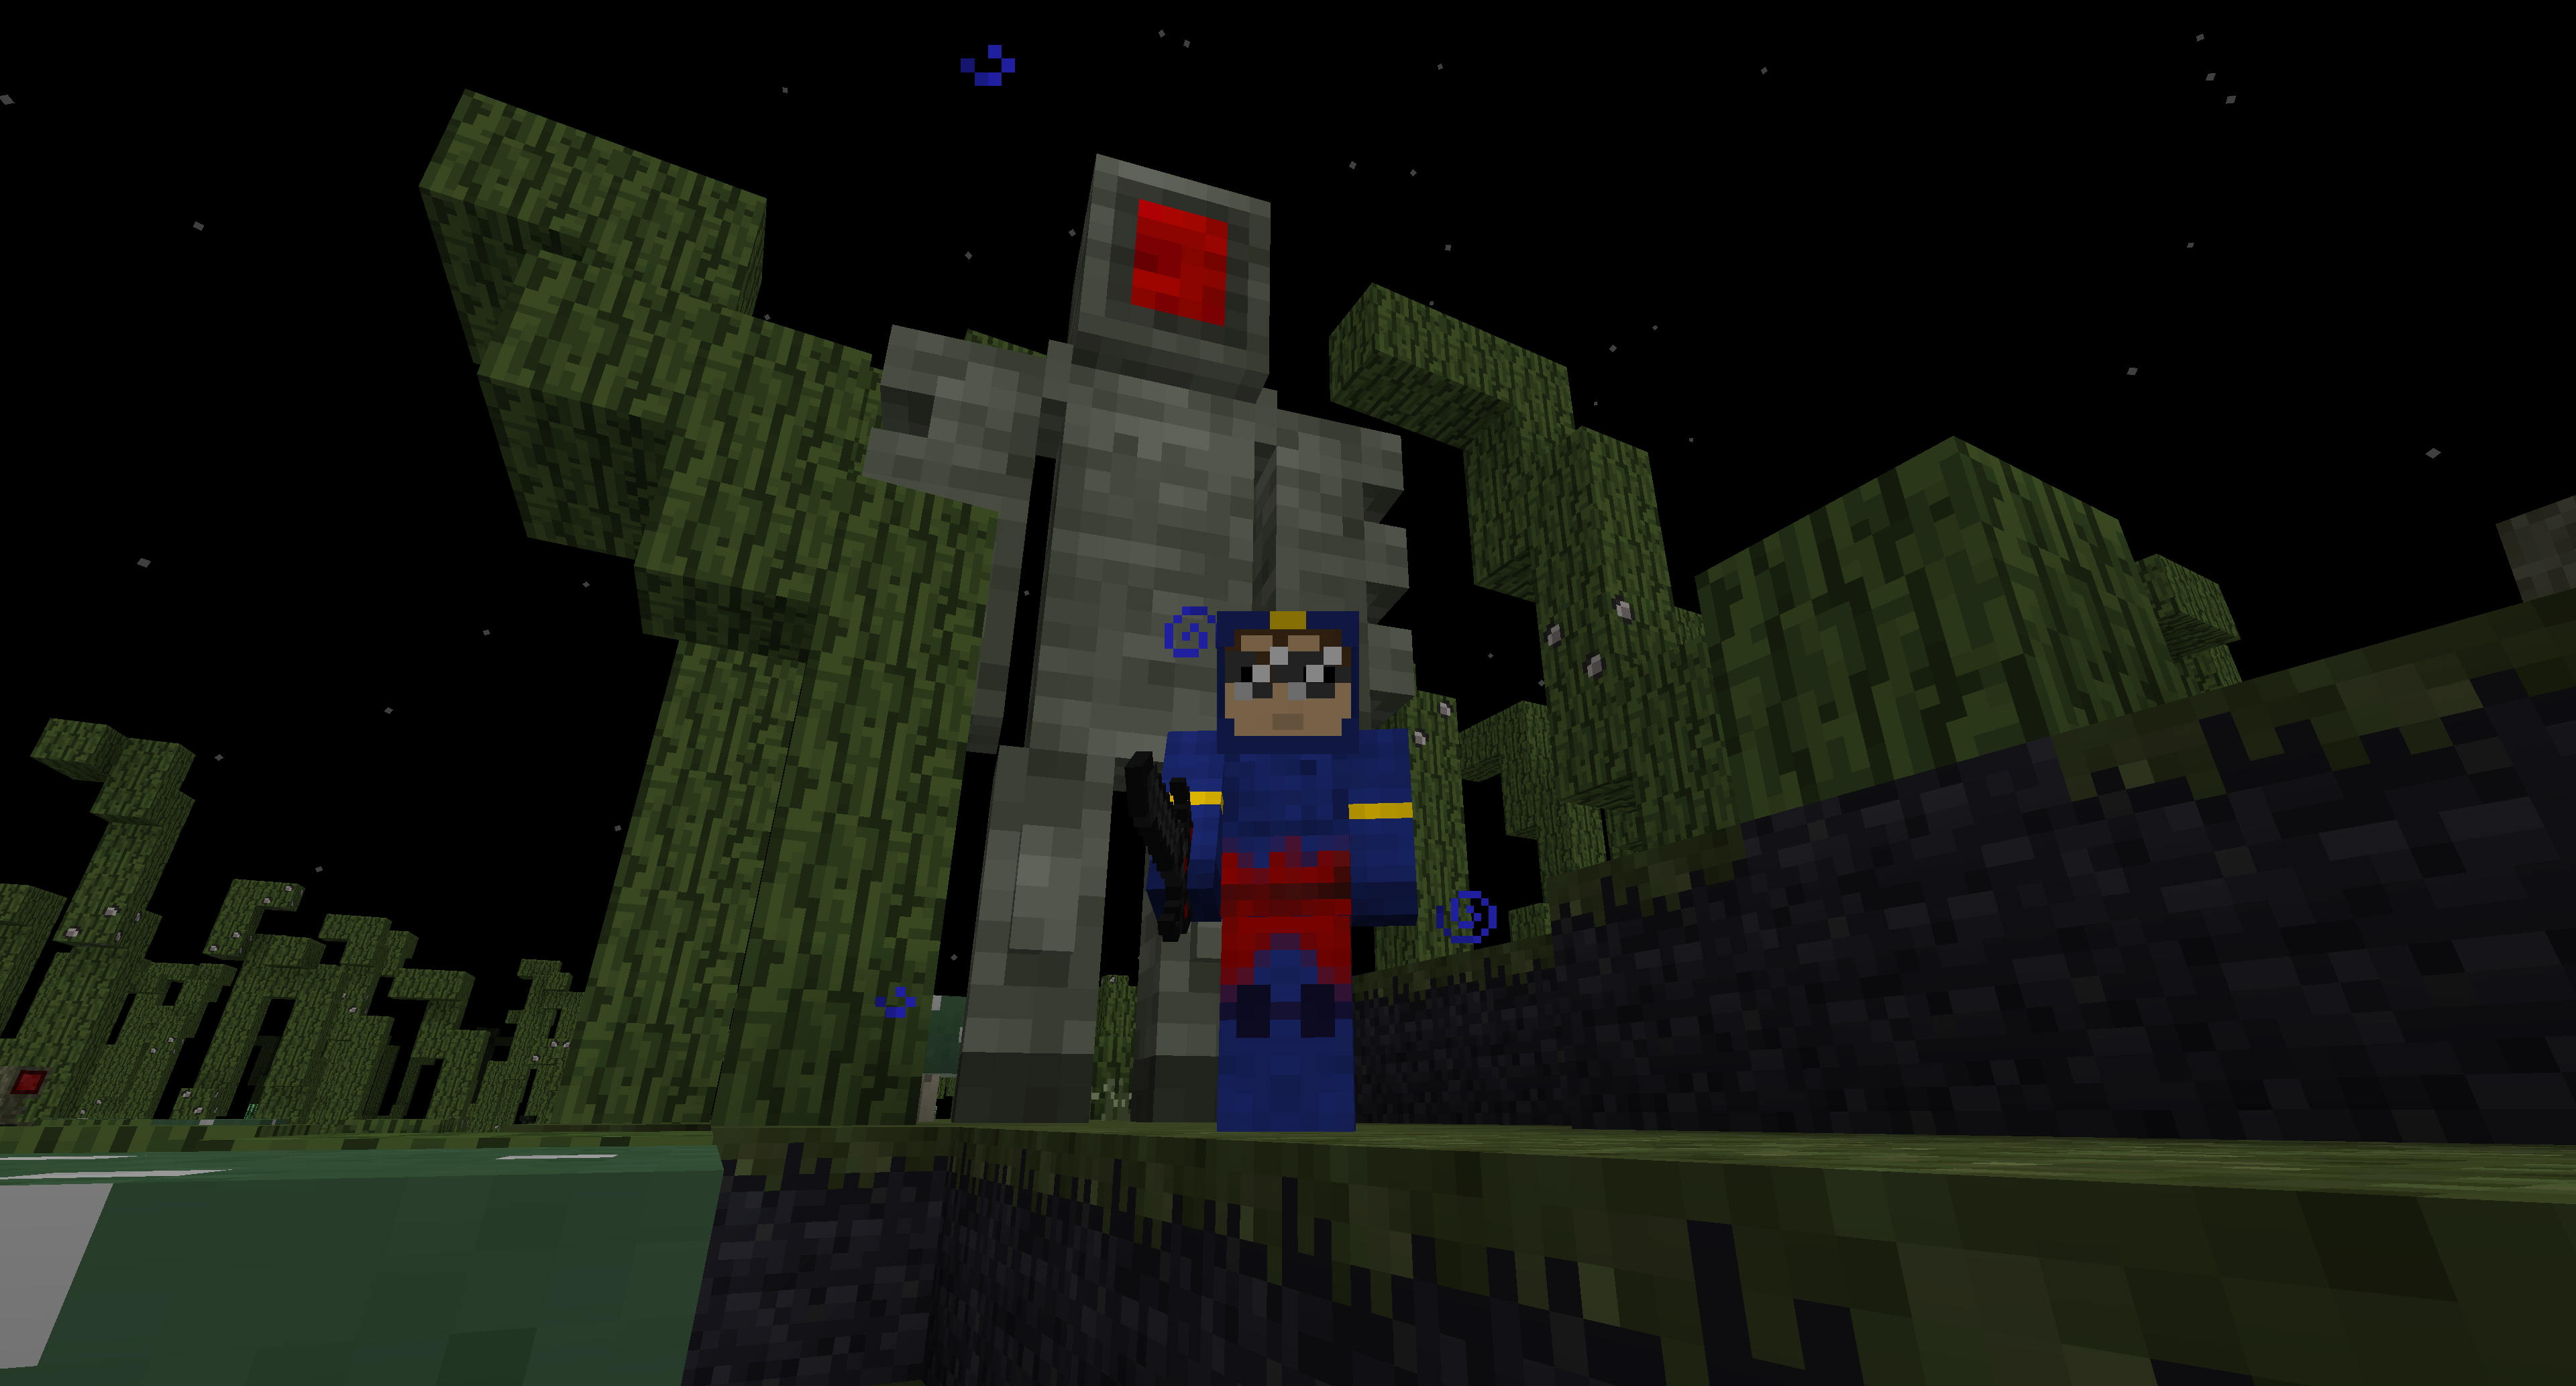
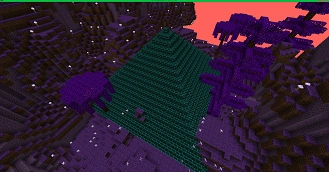
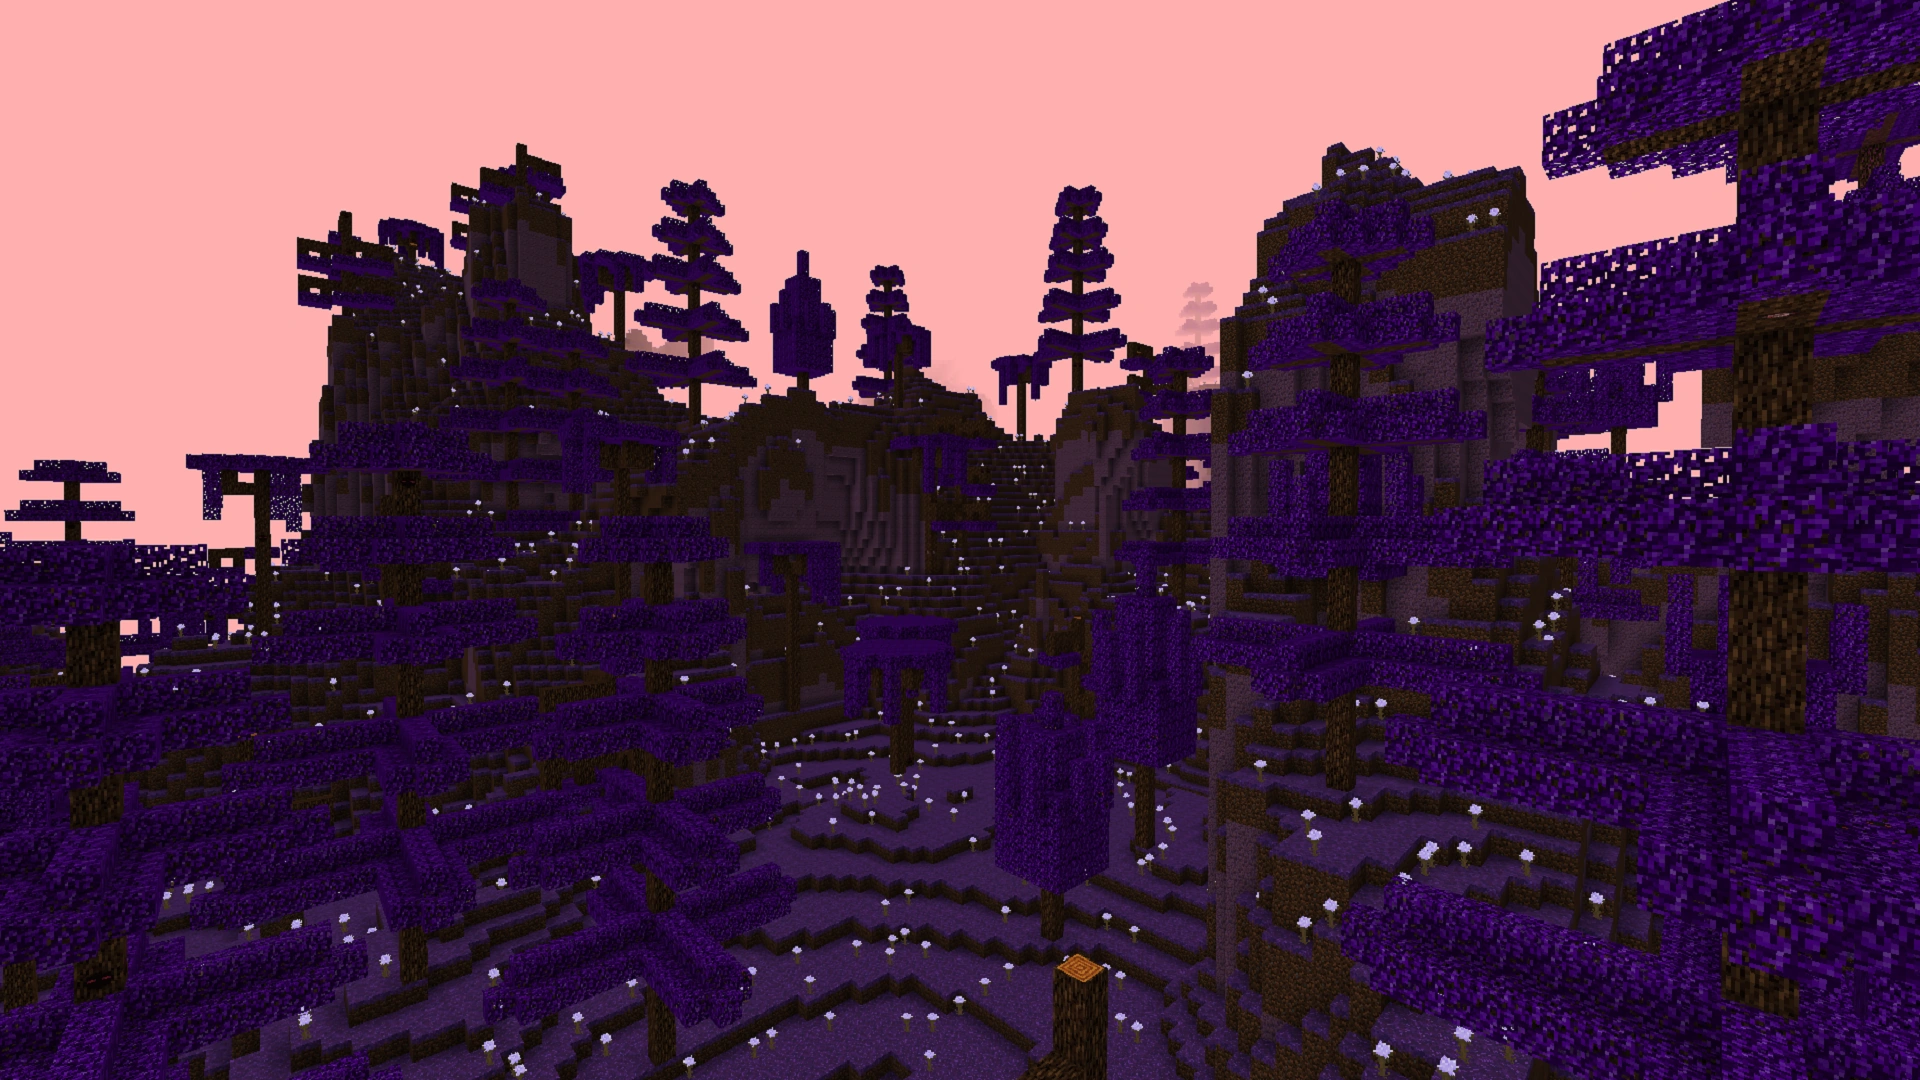
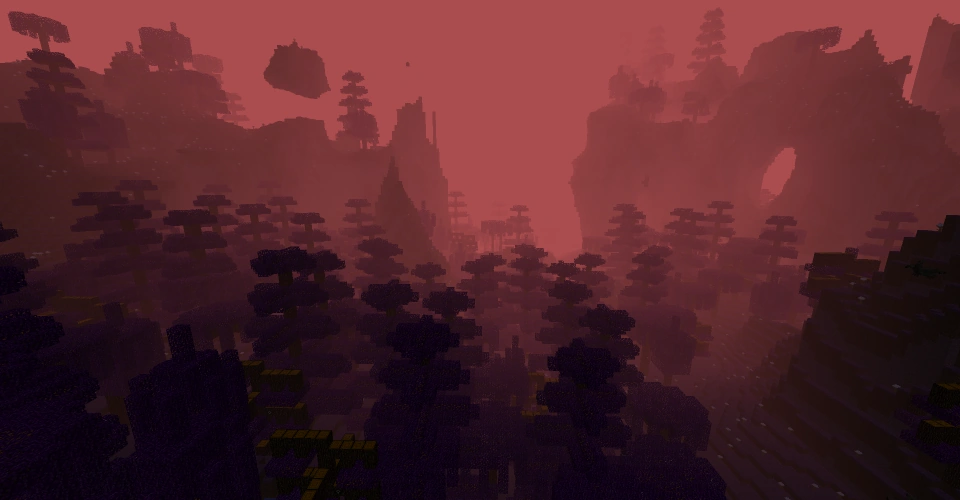
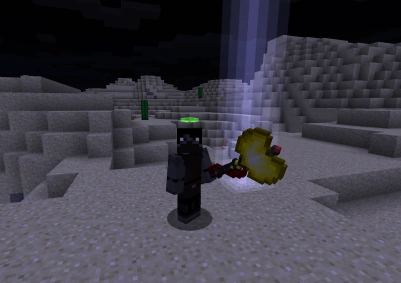
- Abyssal Shadow Forest (Night Vision).png 500 × 282; 181 KB
- Abyssal Shadow Forest.png 500 × 281; 152 KB
- Achelos Helmet Armor.png 300 × 300; 14 KB
- Advent GUI (April Fools).png 1,756 × 870; 187 KB
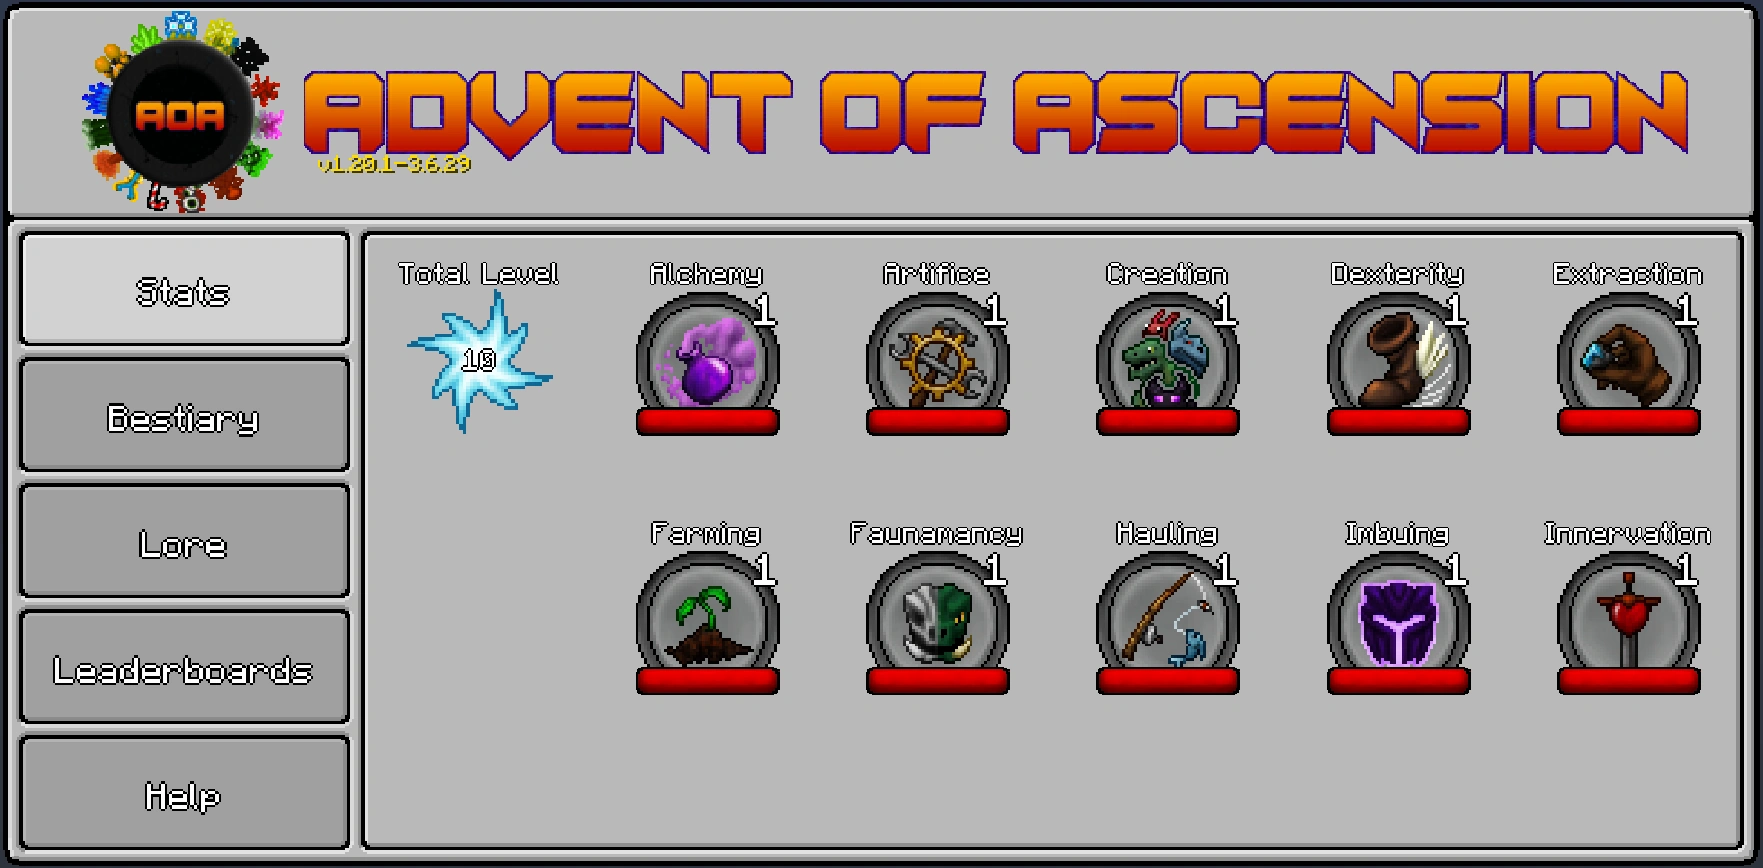
- Advent GUI (skills disabled).png 1,755 × 865; 87 KB
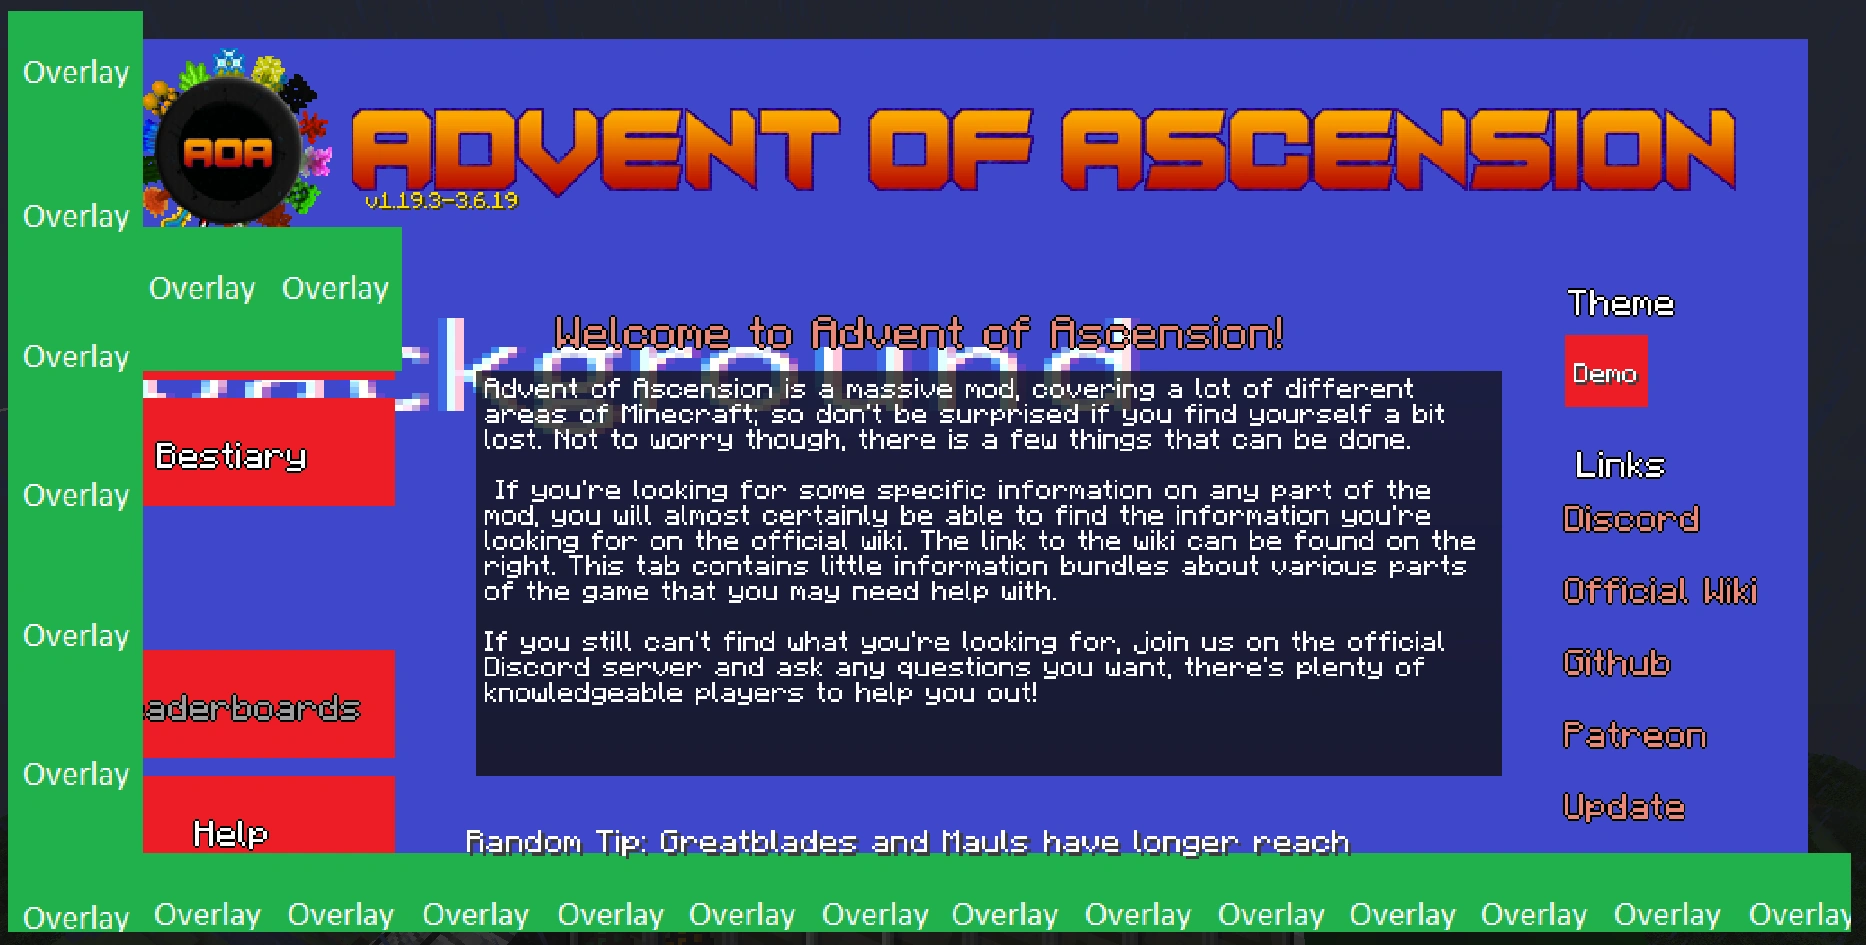
- Advent GUI Custom Theme Demo.png 1,866 × 945; 220 KB
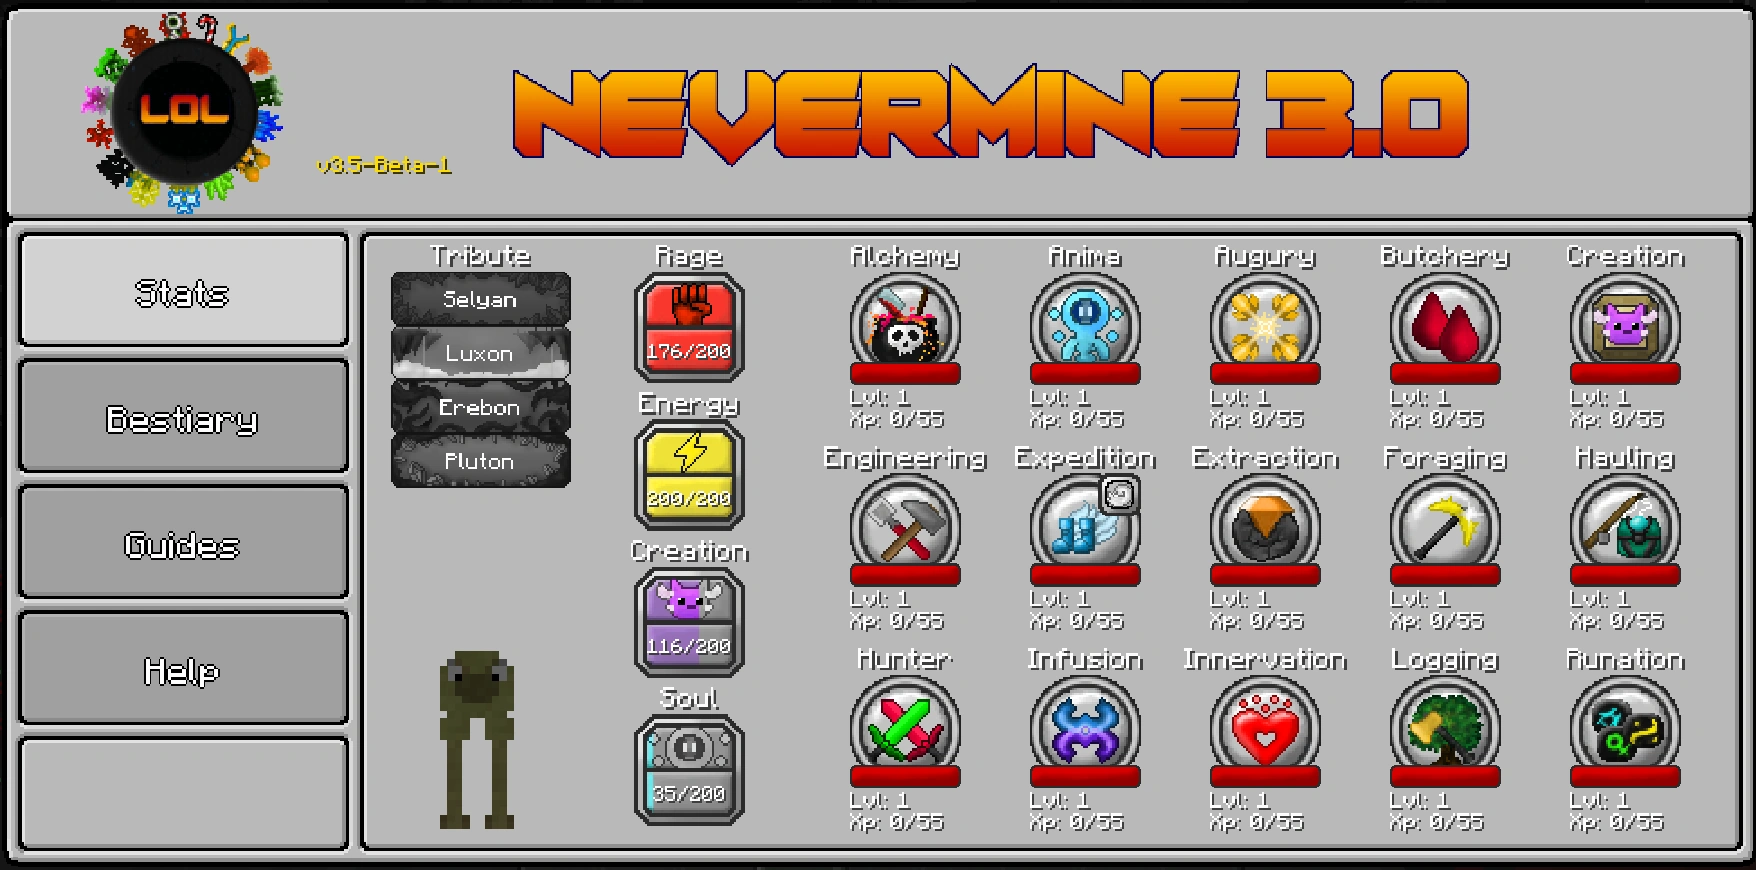
- Advent GUI.png 1,763 × 868; 153 KB
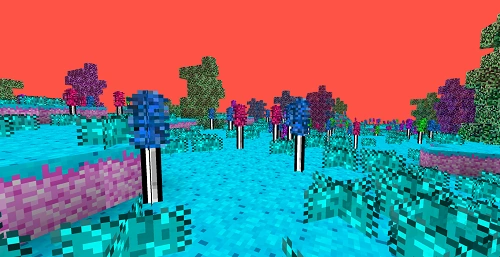
- Alien Forest.png 500 × 259; 277 KB
- Amethind Armor.png 300 × 300; 30 KB
- Amphibiyte Cove Inside.png 1,919 × 1,009; 443 KB
- Ancient Cavern.png 1,920 × 1,080; 361 KB
- Ancient Hallways.png 1,917 × 1,015; 714 KB
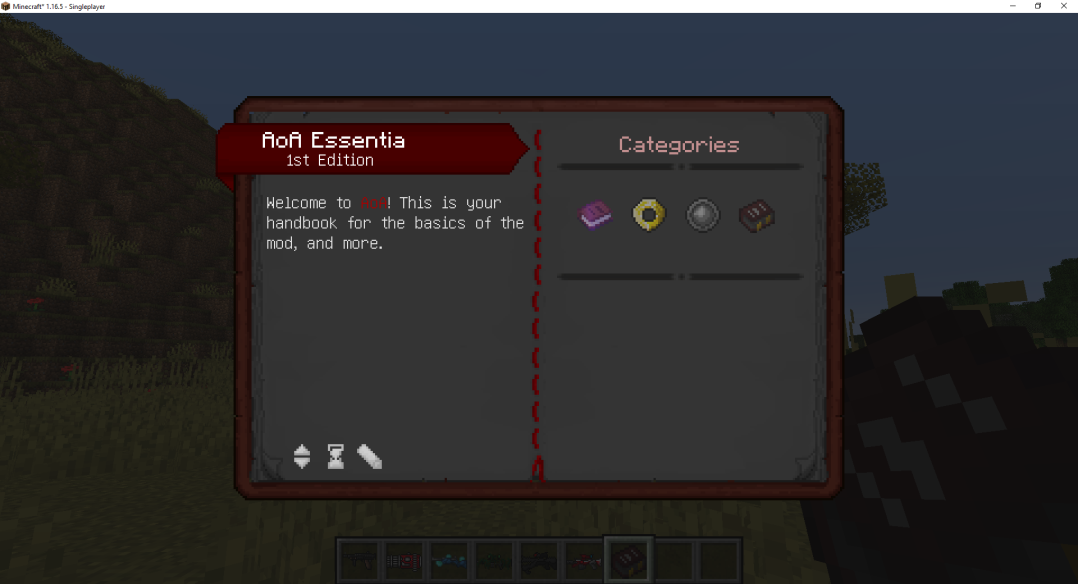
- AoA Guidebook Teaser 1.png 1,078 × 584; 241 KB
- AoA Notice Board.png 778 × 231; 7 KB
- AoAPlankVariants.png 1,834 × 373; 95 KB
- Aquatic Castle 1st Floor.png 1,917 × 1,011; 1.11 MB
- Aquatic Castle 2nd Floor.png 1,919 × 1,003; 1.09 MB
- Aquatic Castle 3rd Floor.png 1,917 × 997; 1.33 MB
- Aquatic Castle.png 2,000 × 2,000; 2.89 MB
- Archaic Armor.png 300 × 300; 38 KB
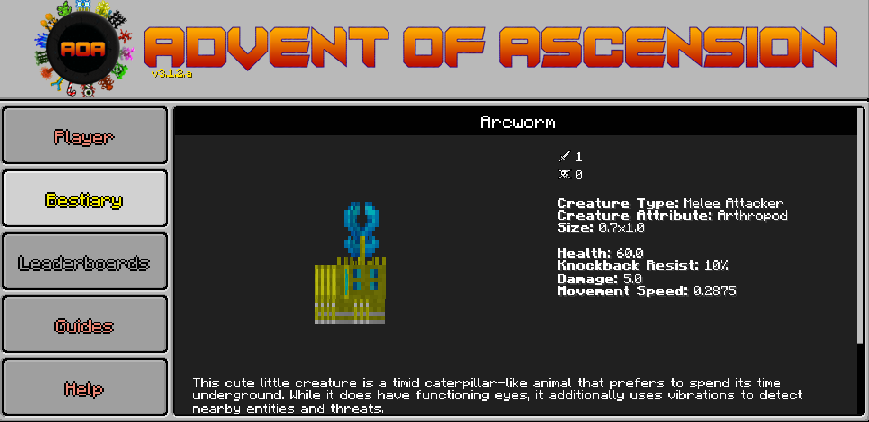
- Arcworm Bestiary.png 869 × 422; 61 KB
- Arocknid Cave Inside.png 1,920 × 1,080; 1.09 MB
- Aurora Confusing Path.png 1,917 × 1,015; 1.27 MB
- Aurora Sign Easter Egg 2.png 1,078 × 568; 617 KB
- Aurora Sign Easter Egg.png 1,919 × 1,009; 1.3 MB
- Aurora.png 1,919 × 1,015; 1.45 MB
- Auto Harvesting Trash GUI.png 528 × 339; 4 KB
- Barathos Underworld.png 1,920 × 1,080; 598 KB
- Barathos.png 1,920 × 1,080; 1.45 MB
- Baron Castle Bottom Floor.png 1,920 × 1,080; 1.15 MB
- Baron Castle Front.png 1,920 × 1,080; 1.07 MB
- Baron Castle Top Floor.png 1,920 × 1,080; 748 KB
- Baron House First Floor.png 1,920 × 1,080; 842 KB
- Baron House Second Floor.png 1,920 × 1,080; 861 KB
- Baroness Arena Inside.png 1,920 × 1,080; 1.26 MB
- Baroness Arena Side.png 1,920 × 1,080; 1.42 MB
- Baroness Arena.png 1,249 × 702; 780 KB
- Basalt Asteroid 2.png 1,000 × 1,000; 1.09 MB
- Basalt Asteroid 3.png 1,000 × 1,000; 792 KB
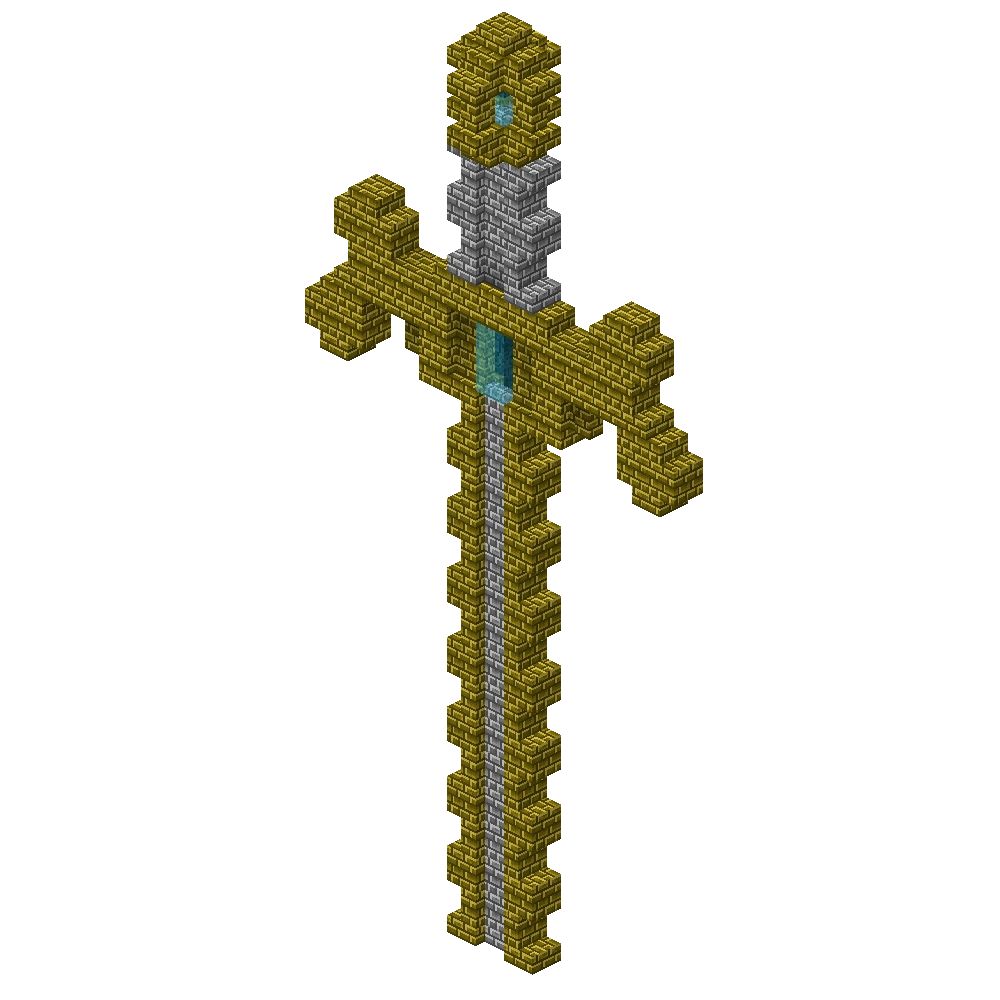
- Blade of the Heavens.png 1,000 × 1,000; 201 KB
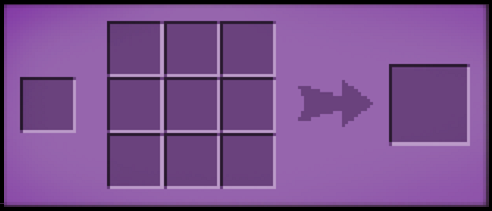
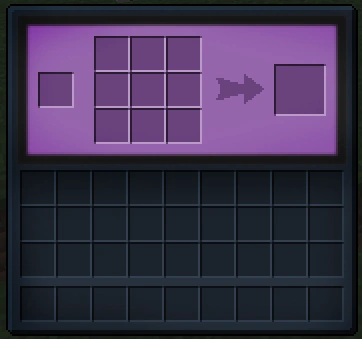
- BlankInfusionGrid.png 492 × 211; 29 KB
- Boney Dungeon (Underside).png 250 × 141; 65 KB
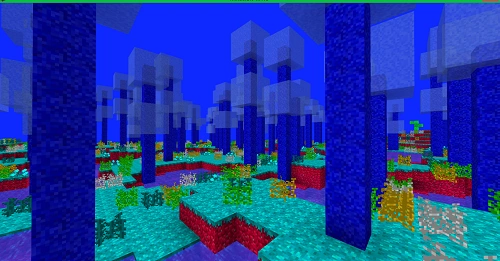
- Borean Bubble Forest.png 500 × 261; 269 KB
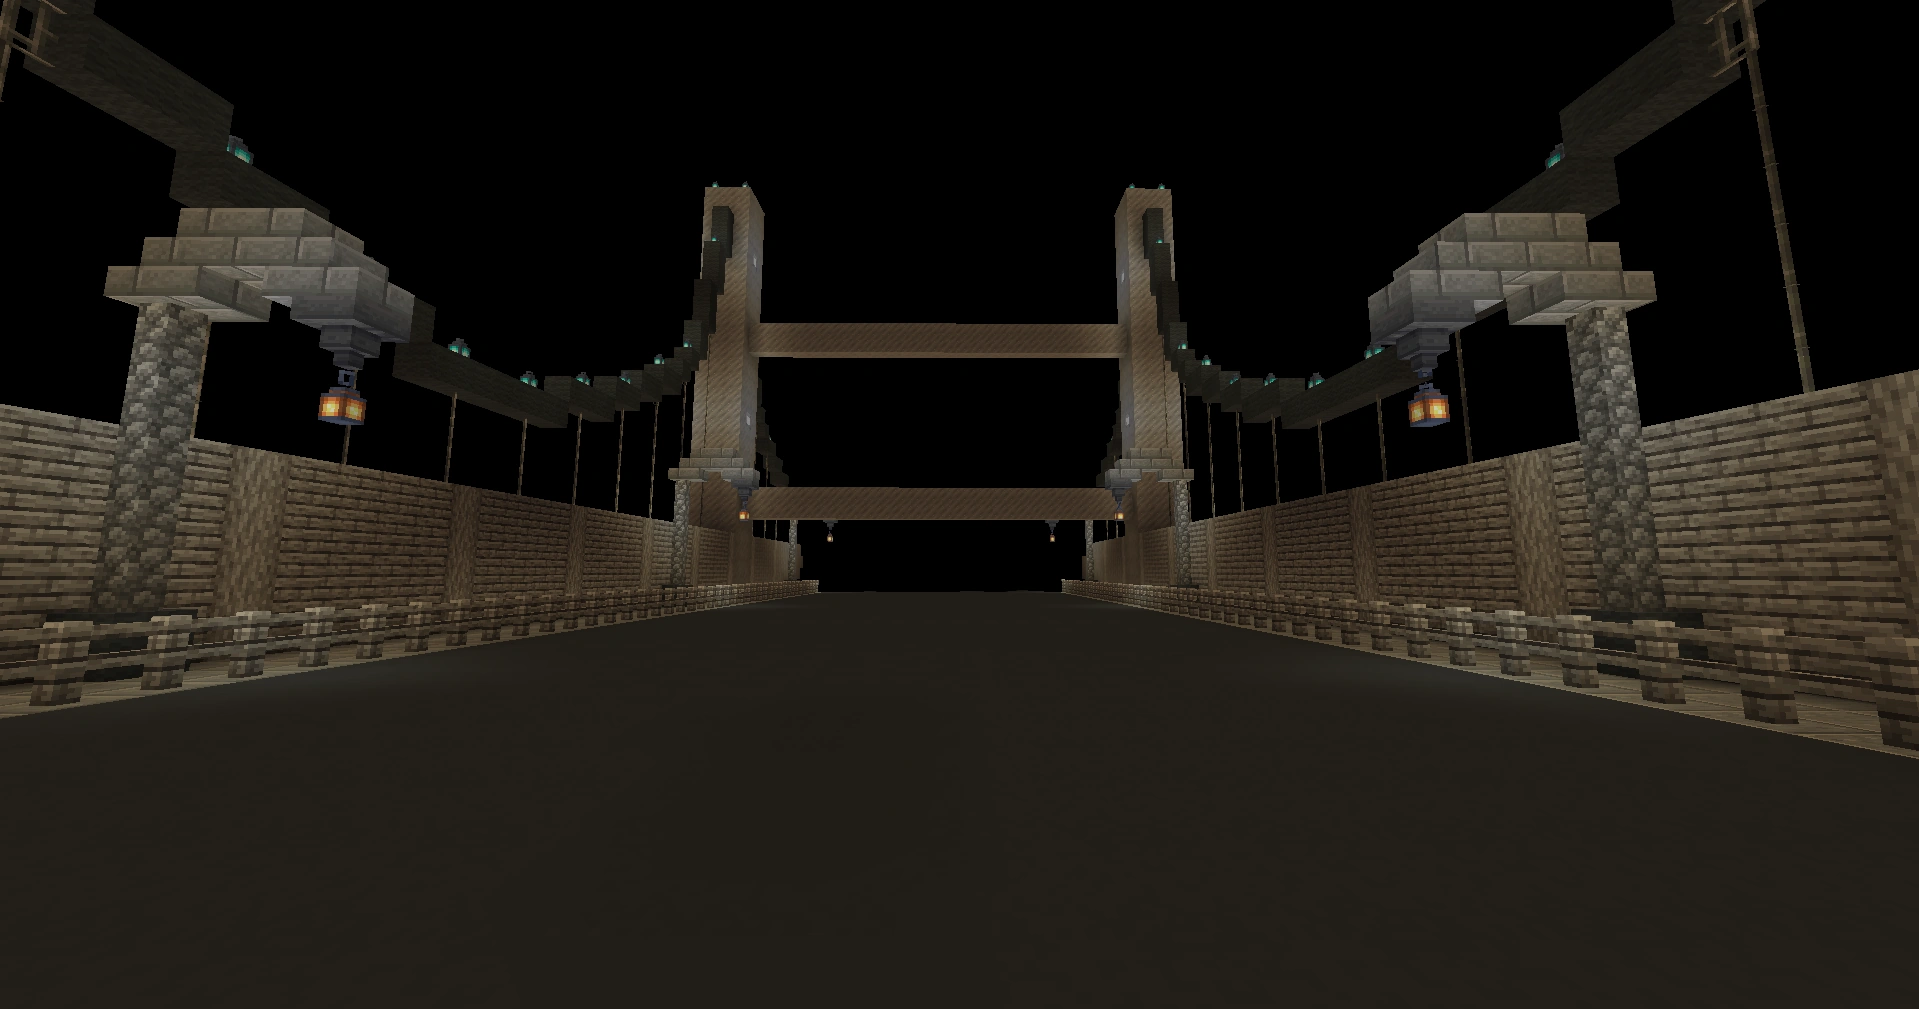
- Bridge Arena Interior.png 1,919 × 1,009; 601 KB
- Candy Armor.png 300 × 300; 41 KB
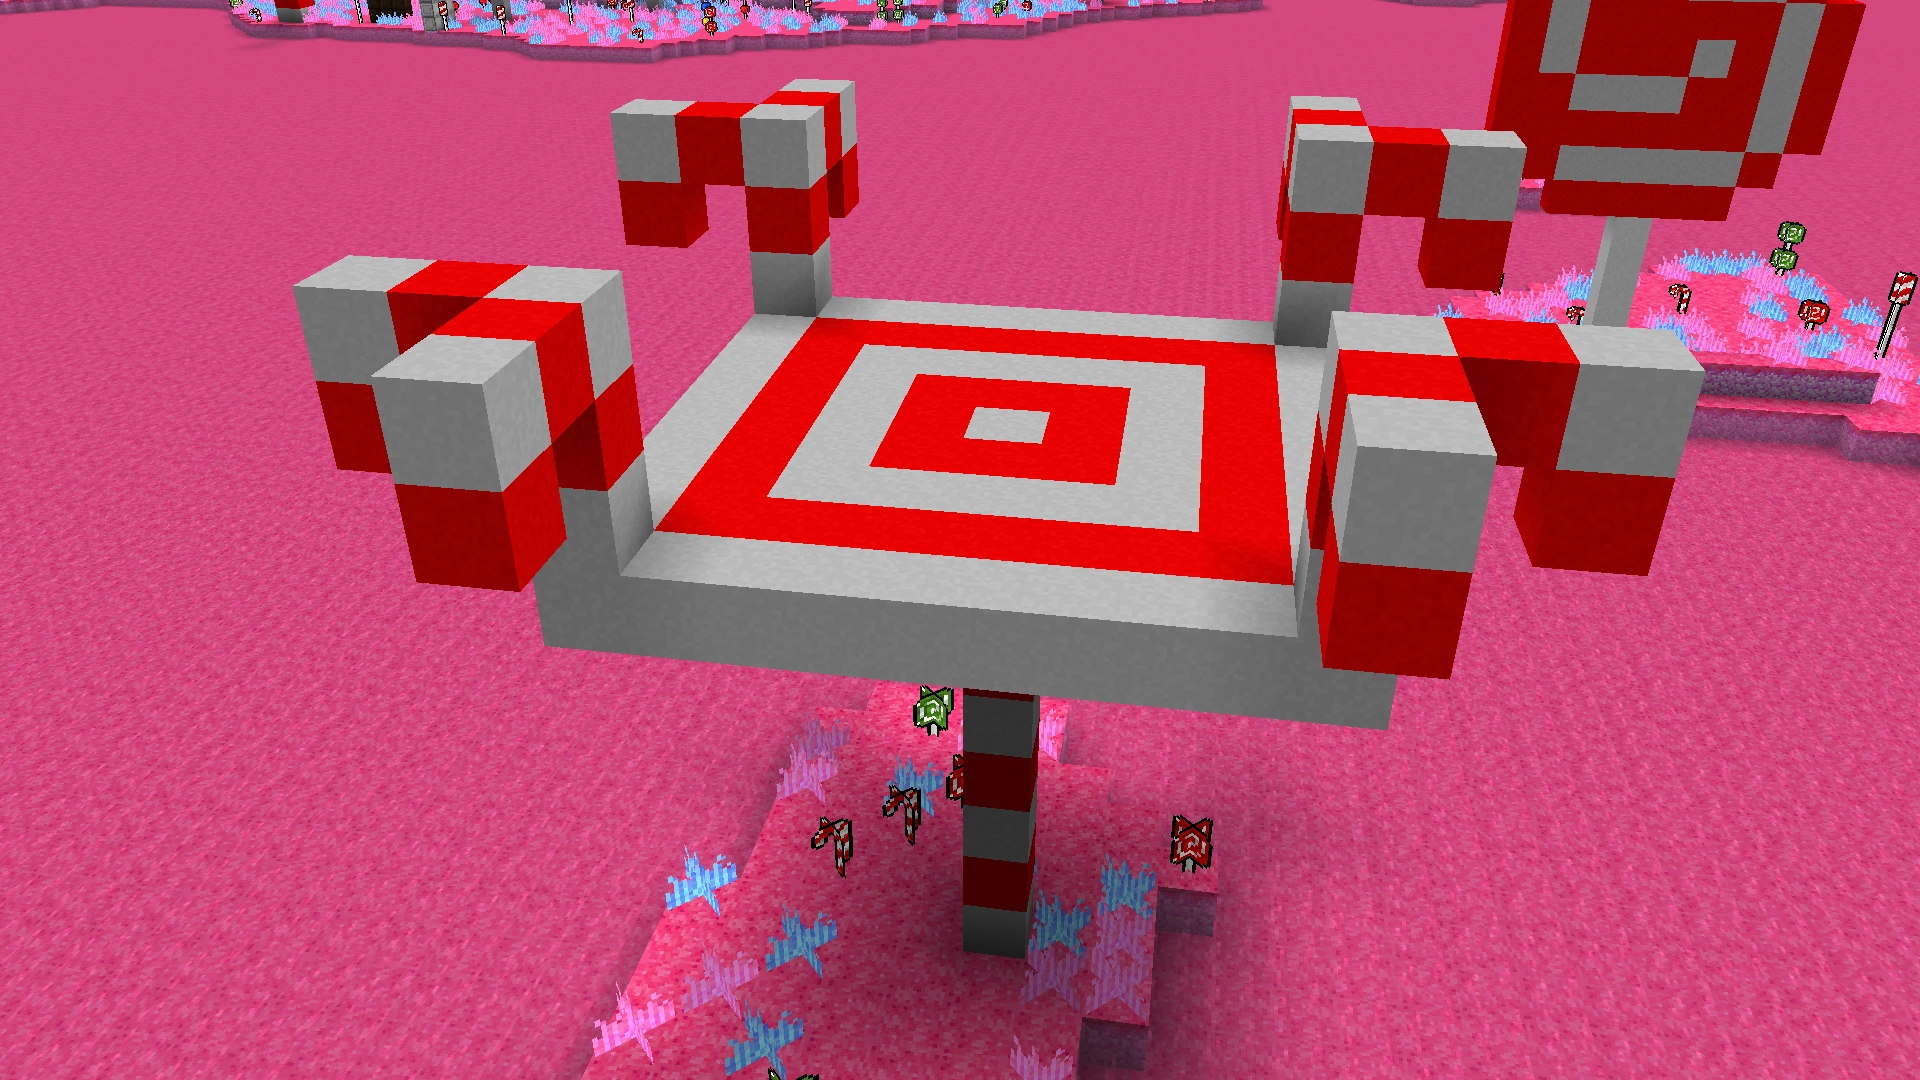
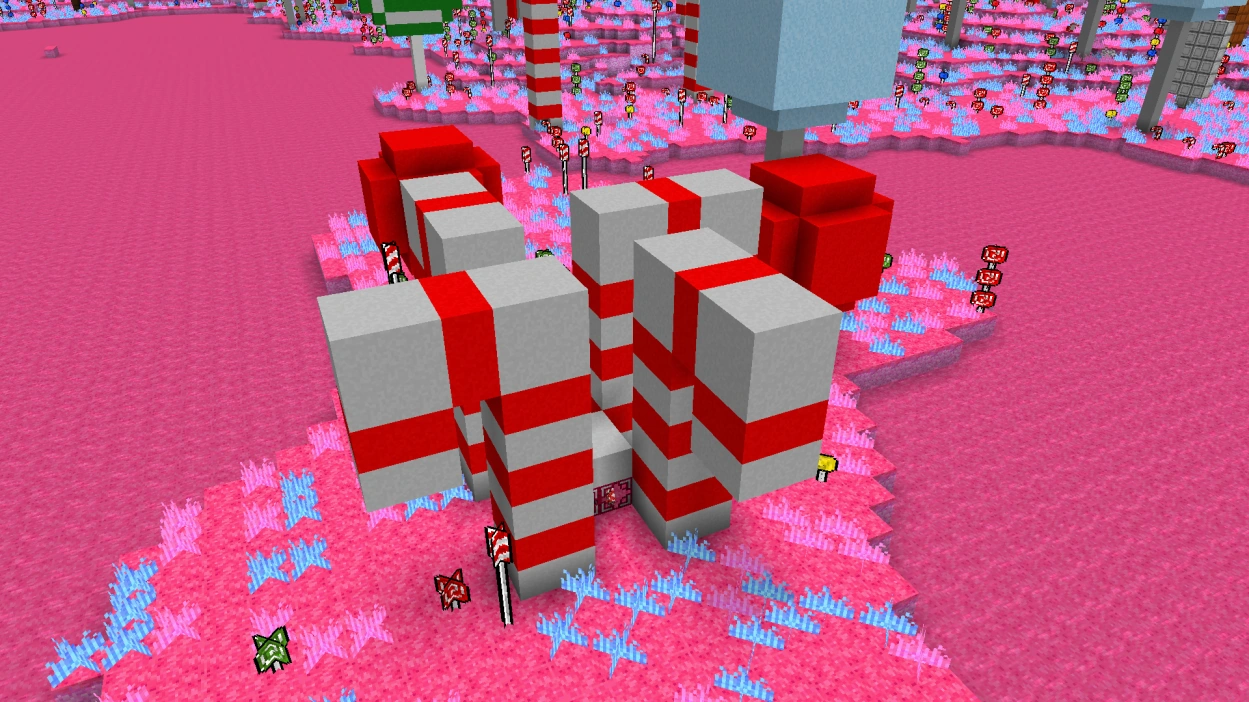
- Candy Lotto Platform.png 1,920 × 1,080; 2.5 MB
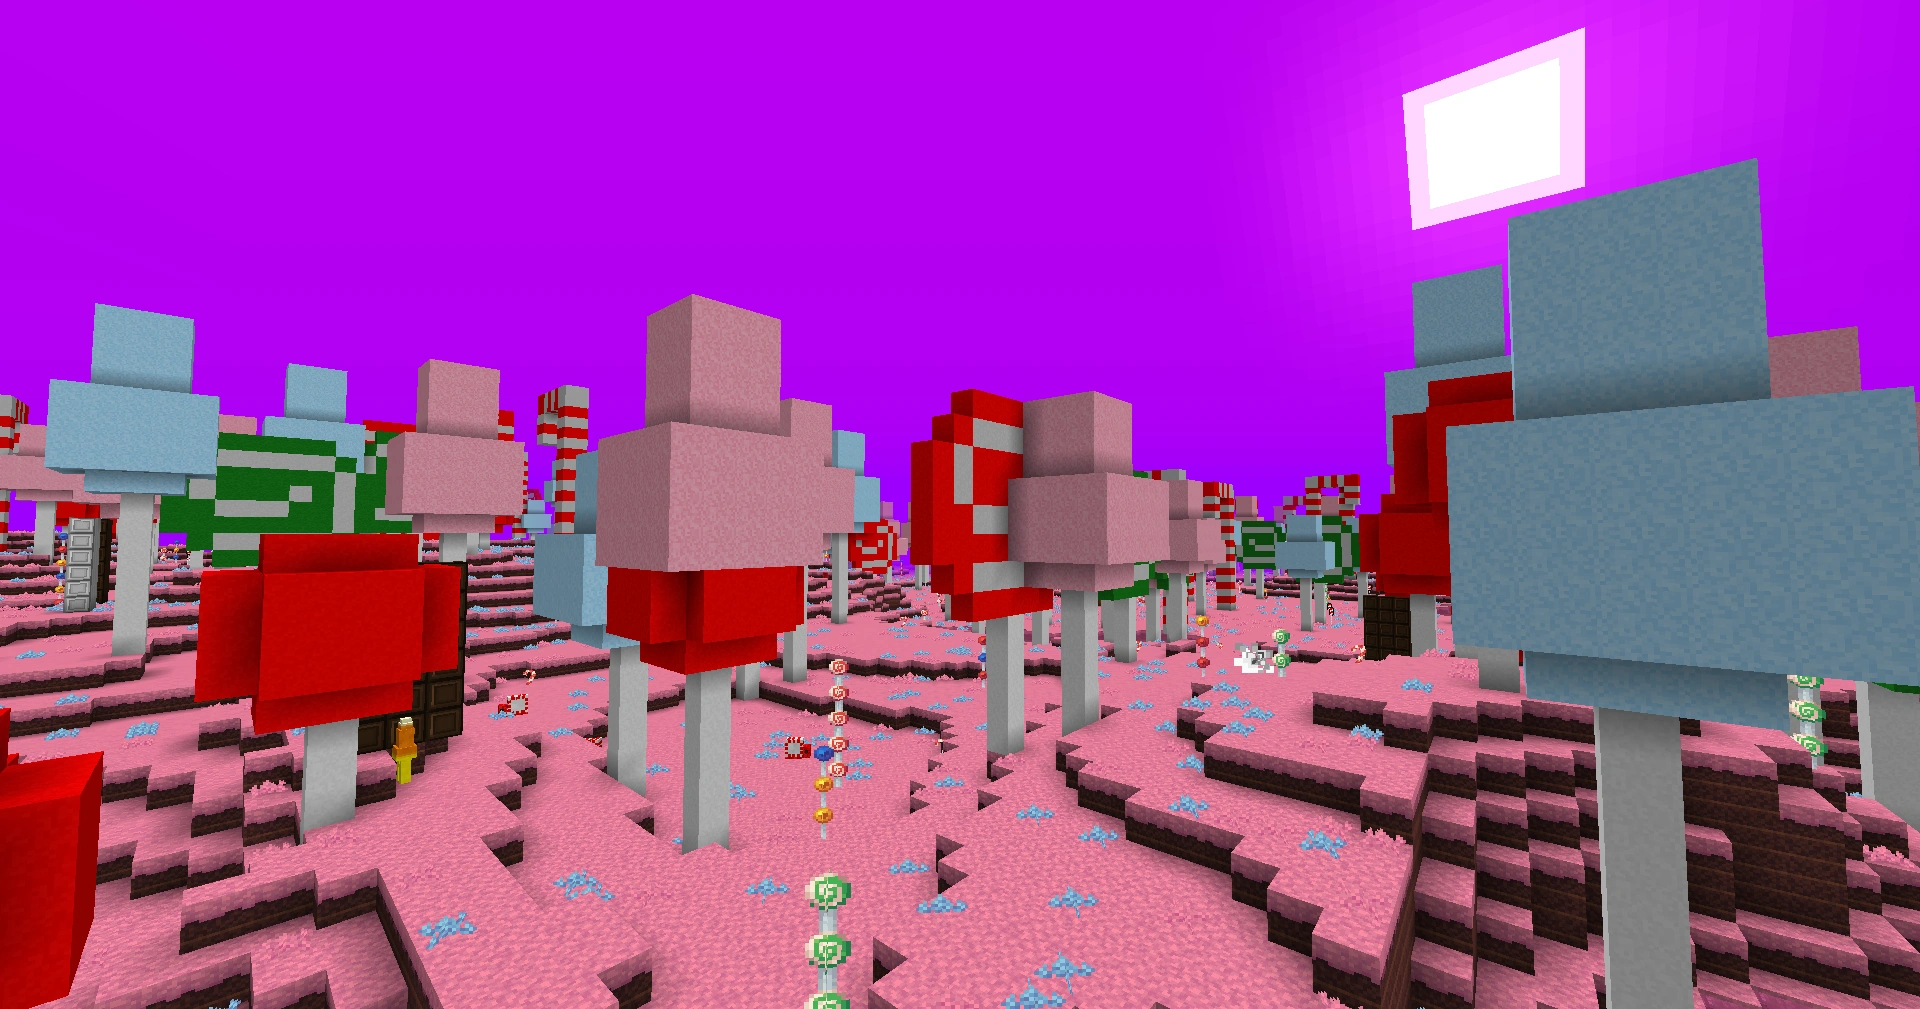
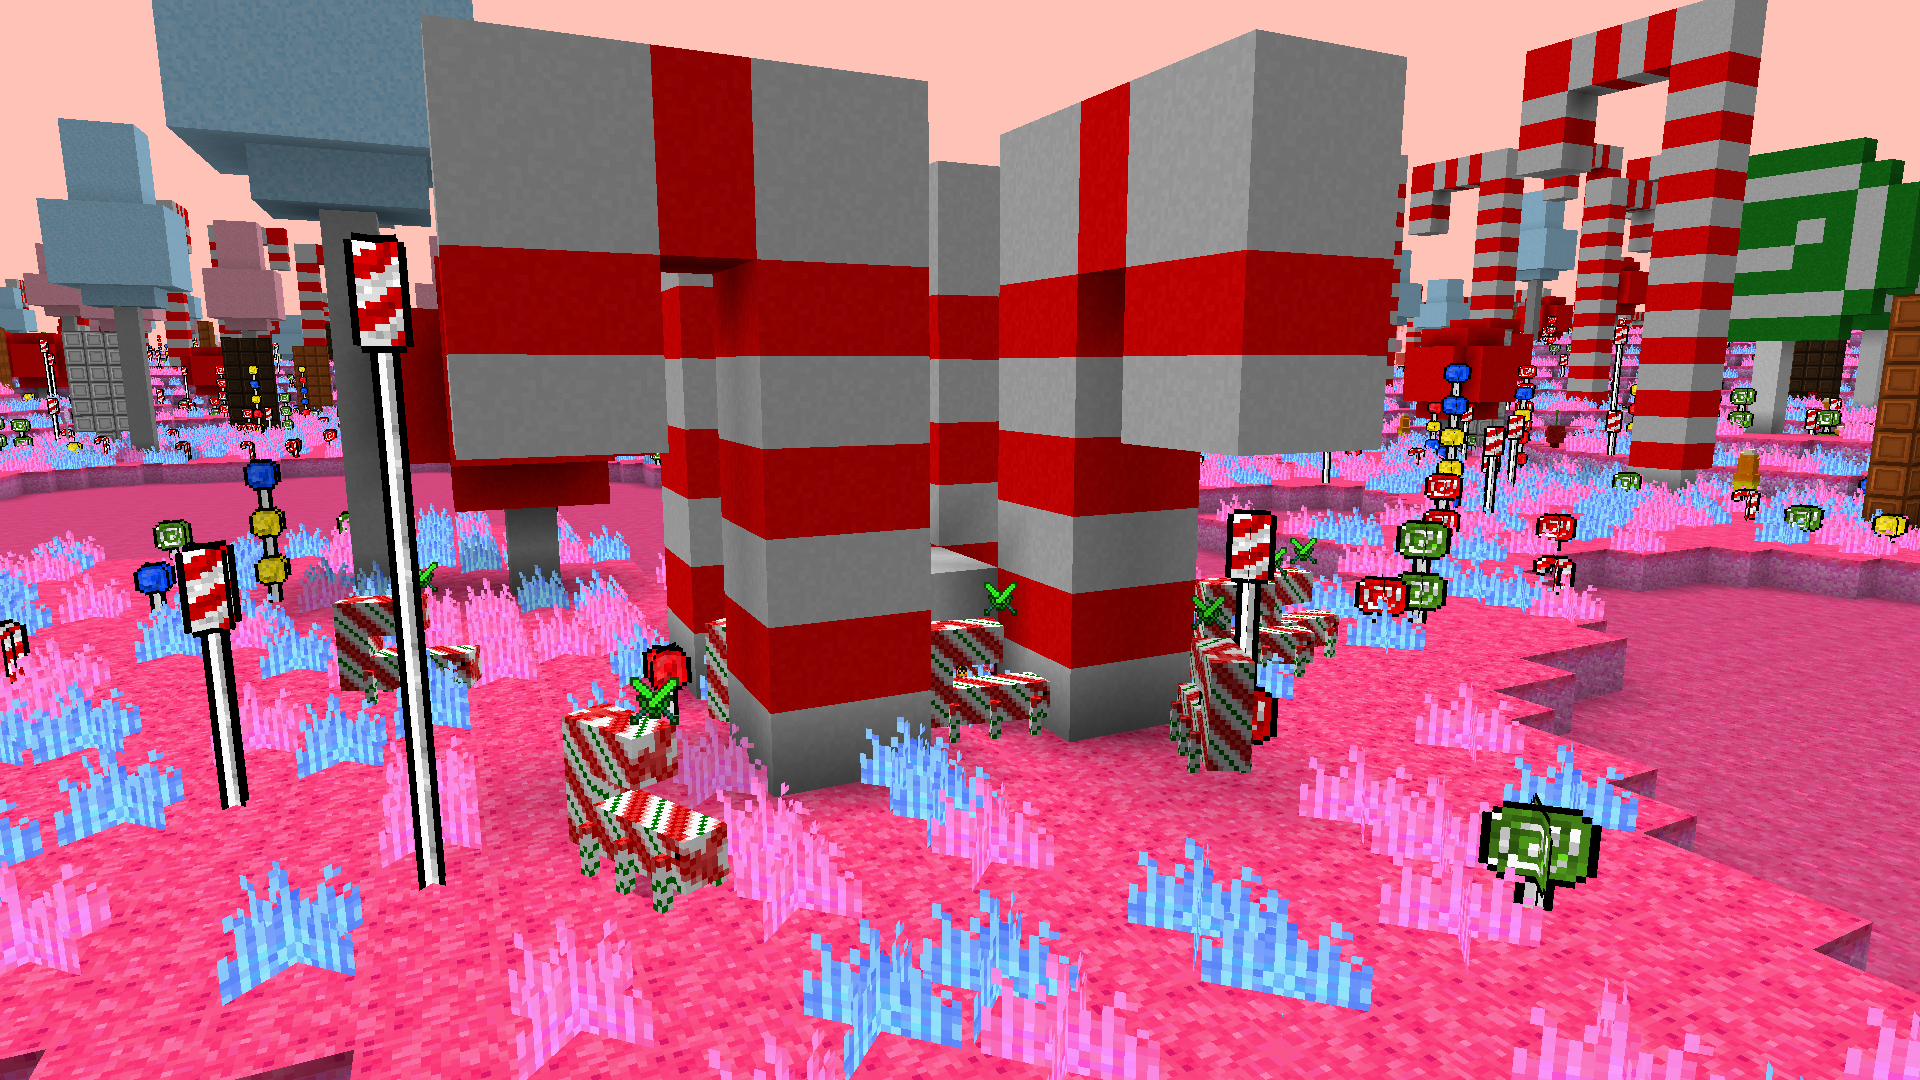
- Candyland.png 1,920 × 1,080; 2.92 MB
- Celeve.png 3,840 × 2,066; 4.39 MB
- Celevian Lotto Balloon.png 311 × 161; 17 KB
- Centurion Purple Fog.png 250 × 140; 57 KB
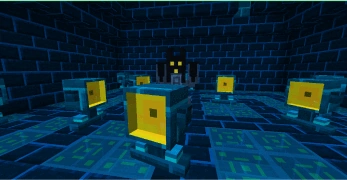
- Centurions in Temple.png 250 × 140; 60 KB
- Chocolate Forest.png 500 × 259; 199 KB
- City Arena Interior.png 1,917 × 1,011; 993 KB
- Colosseum Arena Interior.png 1,919 × 1,011; 716 KB
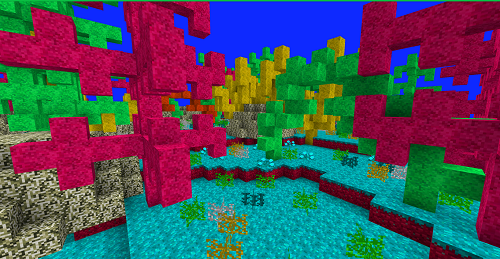
- Coral Forest.png 500 × 259; 297 KB
- CoralStaffBox.png 455 × 425; 23 KB
- Cotton Candy Tower.png 1,920 × 1,080; 3.31 MB
- Craexxeus Tower Bottom.png 250 × 130; 69 KB
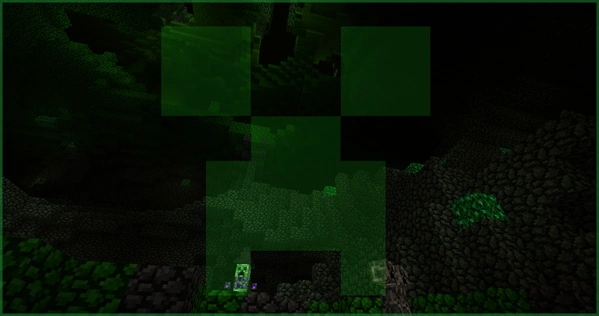
- Creeper Dimension.png 599 × 316; 273 KB
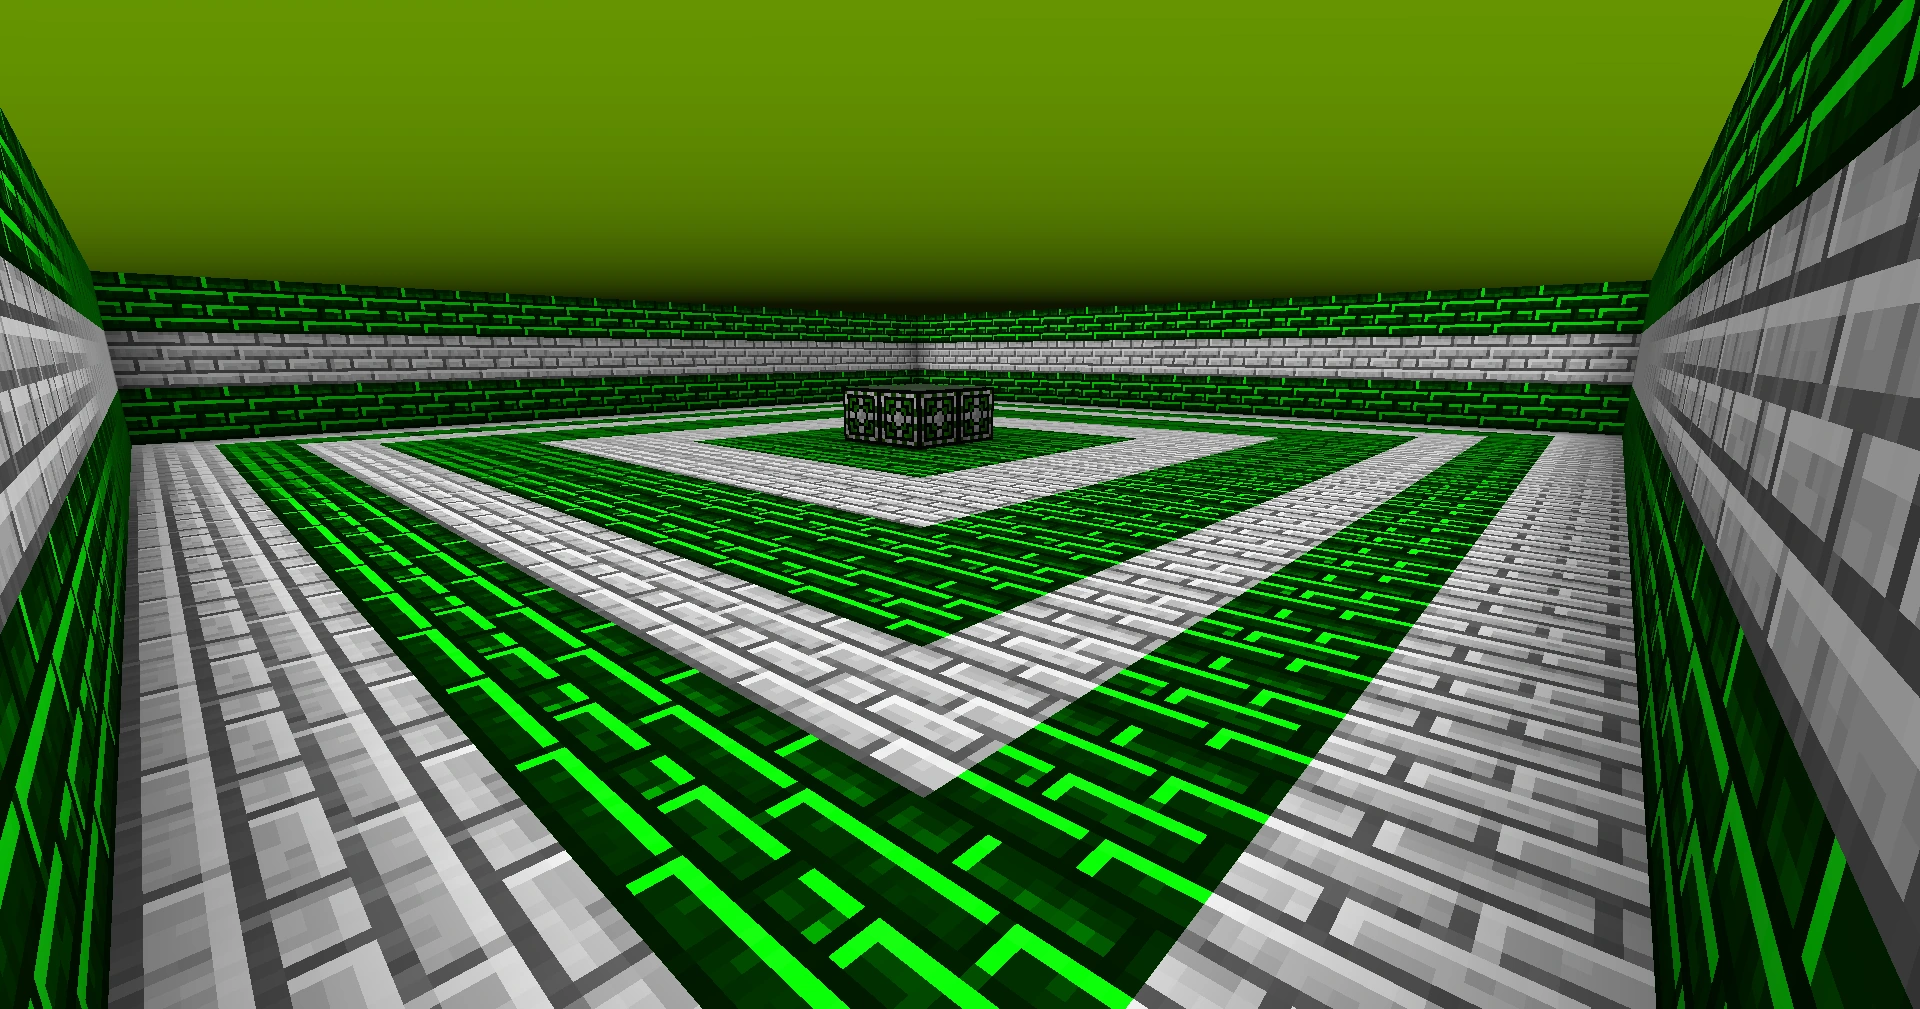
- Creeper HQ Top.png 1,920 × 1,080; 1.86 MB
- Creeponia.png 1,920 × 1,080; 3.45 MB
- Crystevia (Night Vision).png 1,920 × 1,080; 2.7 MB
- Crystevia.png 1,920 × 1,080; 1.73 MB
- Dawnlight Dungeon.png 1,200 × 1,265; 527 KB
- Deep Fungal Cave.png 500 × 258; 133 KB
- Deeplands (Night Vision).png 1,920 × 1,080; 2.62 MB
- Deeplands.png 1,920 × 1,080; 1.98 MB
- Destructor Size Comp.png 3,840 × 2,066; 975 KB
- Divine Platform.png 1,919 × 1,007; 1.22 MB
- Dustopia (Night Vision).png 1,920 × 1,080; 1.24 MB
- Dustopia.png 1,920 × 1,080; 656 KB
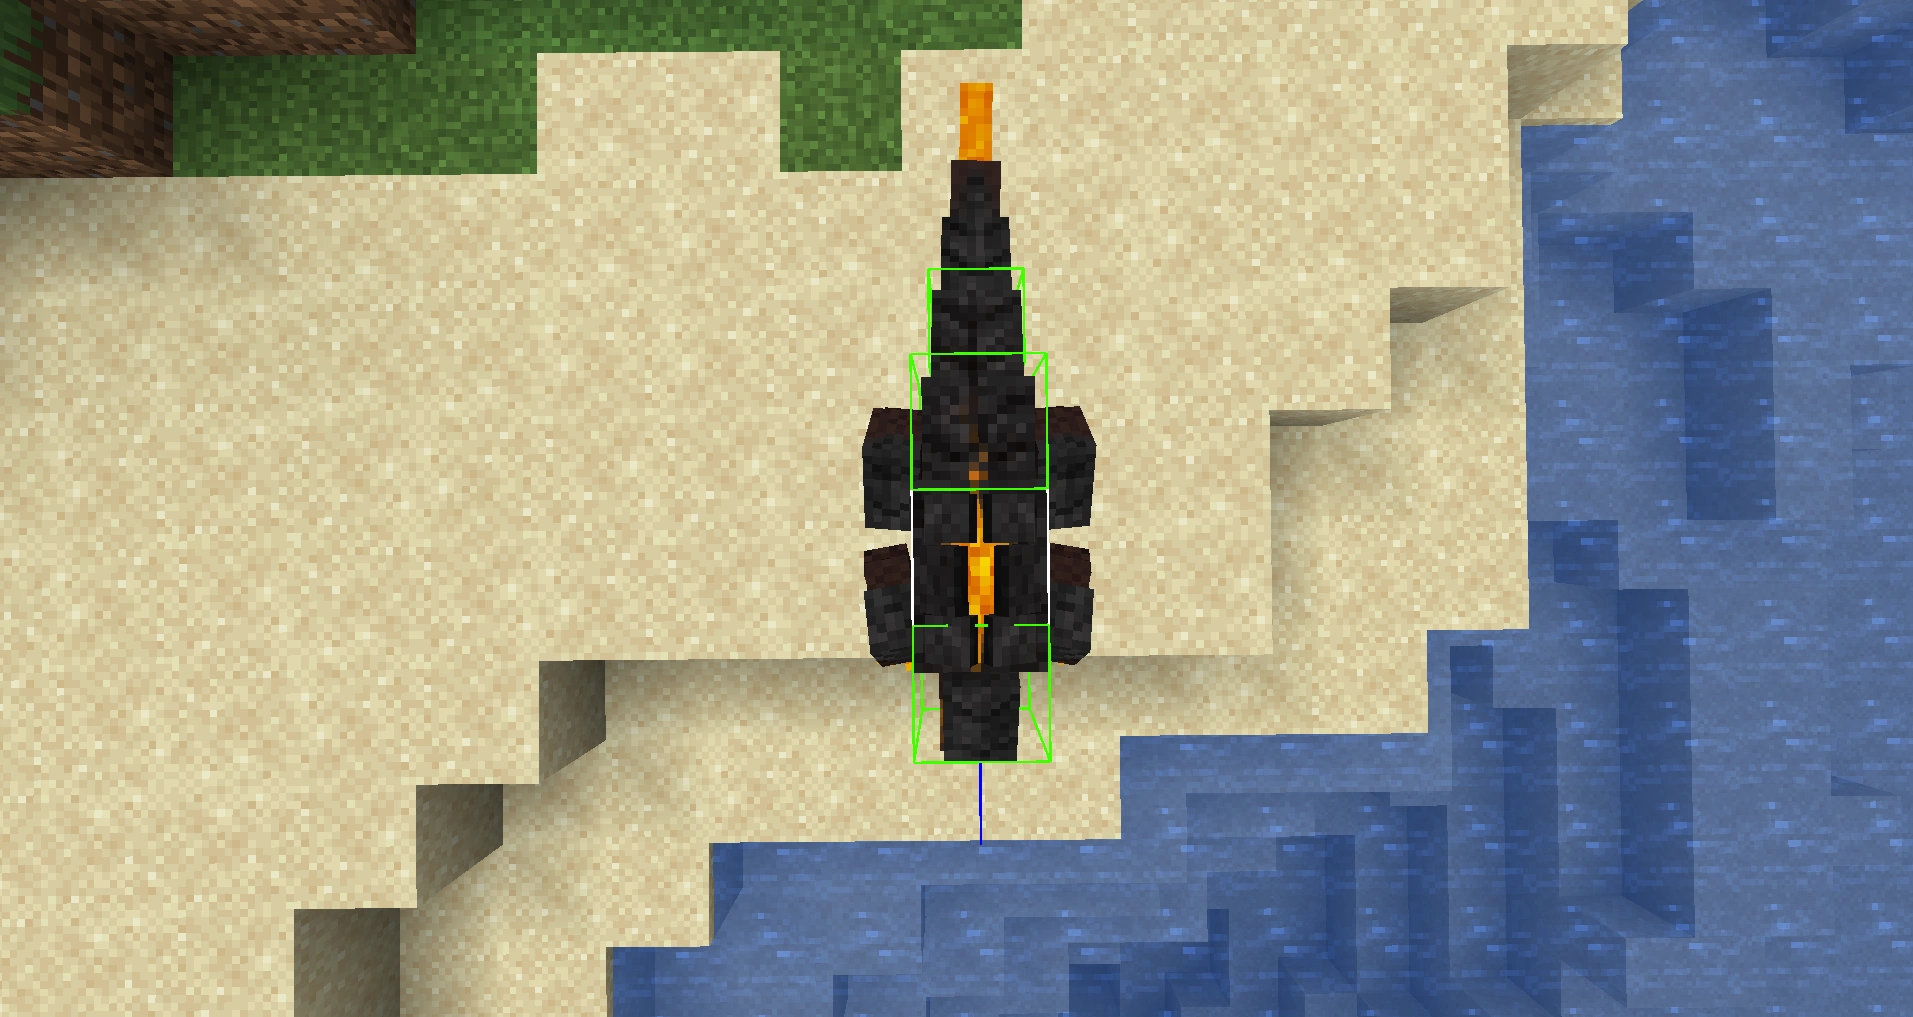
- Embrake Hitbox.png 1,913 × 1,017; 851 KB
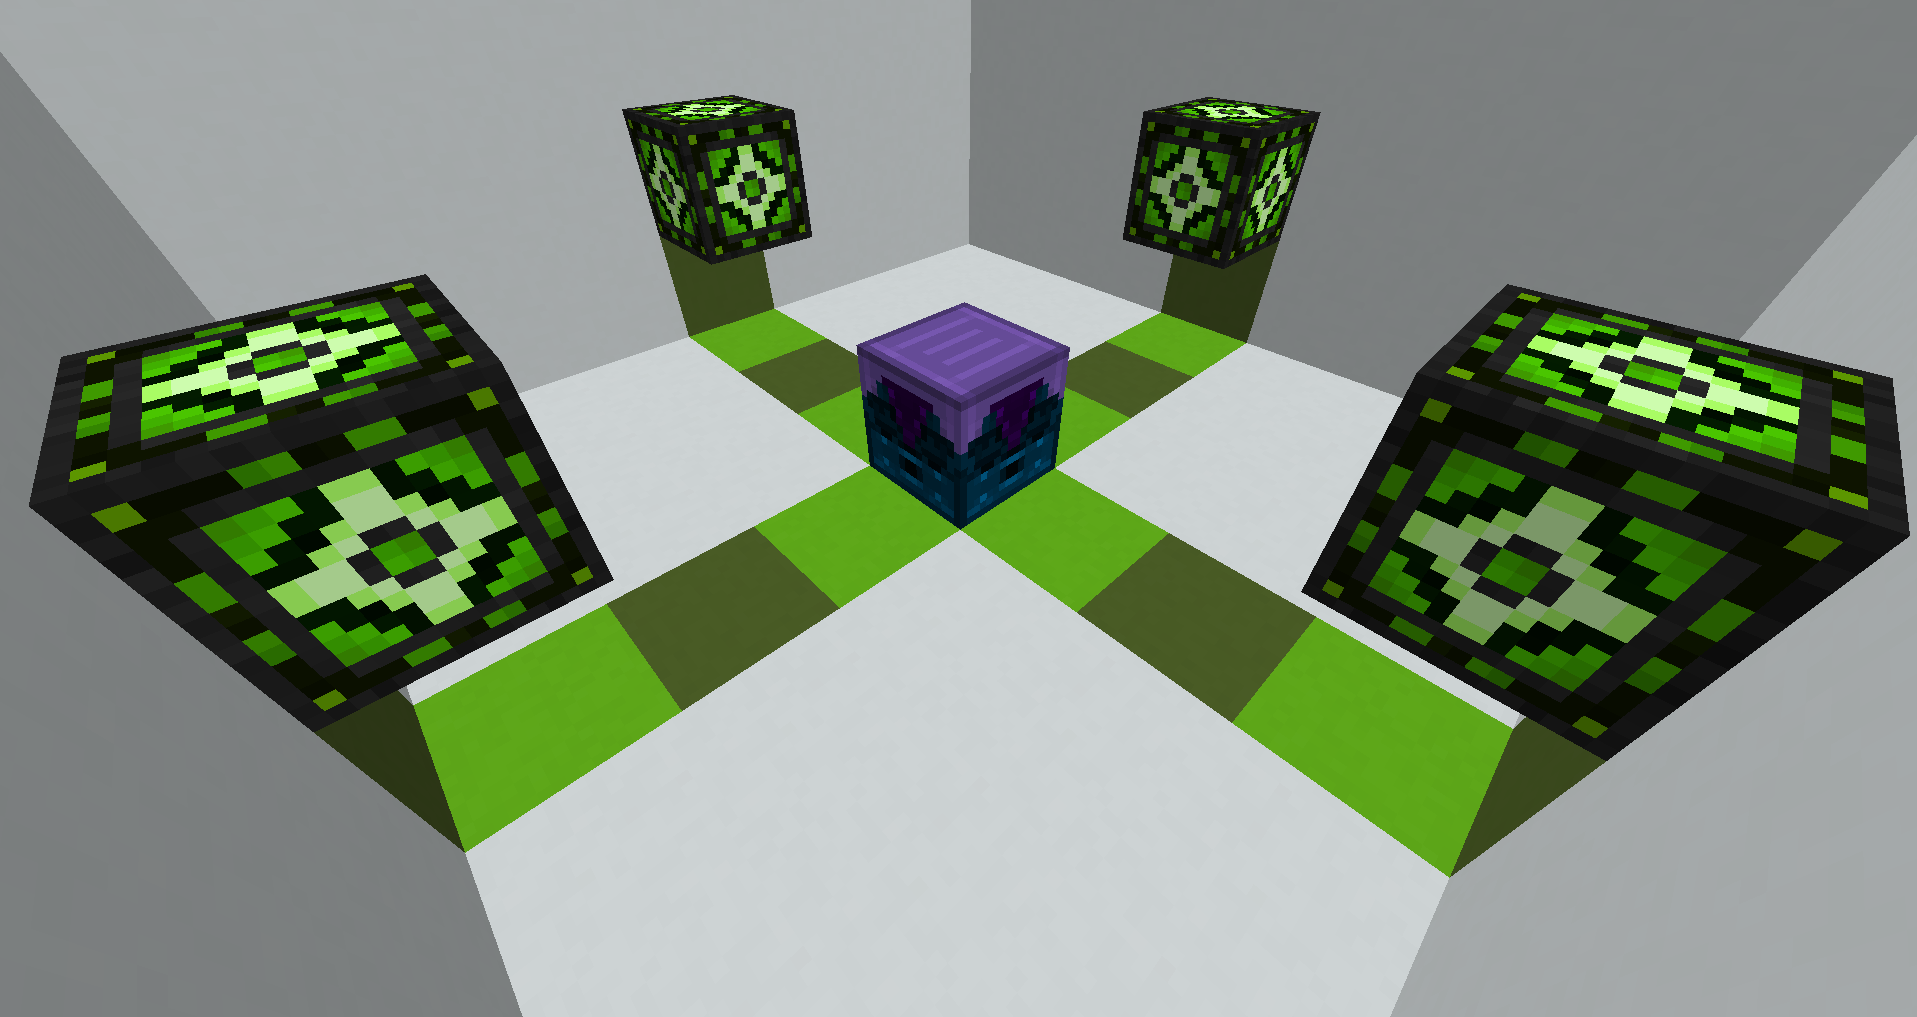
- Enhancer Setup.png 1,917 × 1,017; 383 KB
- Ethereus.png 1,280 × 697; 1.04 MB
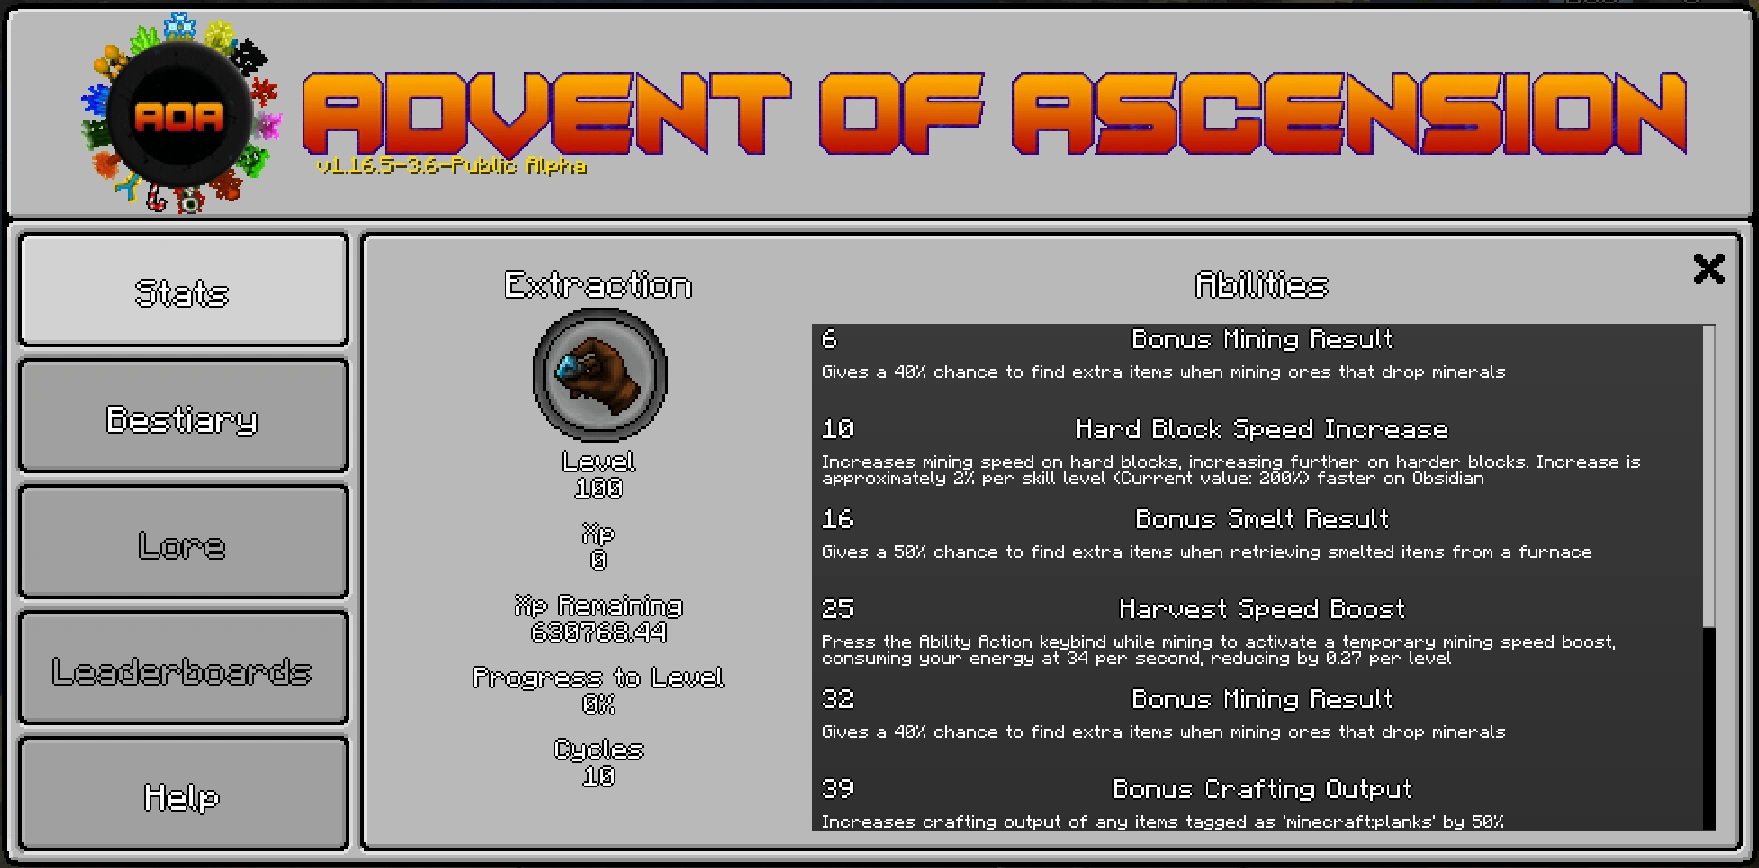
- Extraction Abilities Menu.png 1,759 × 868; 126 KB
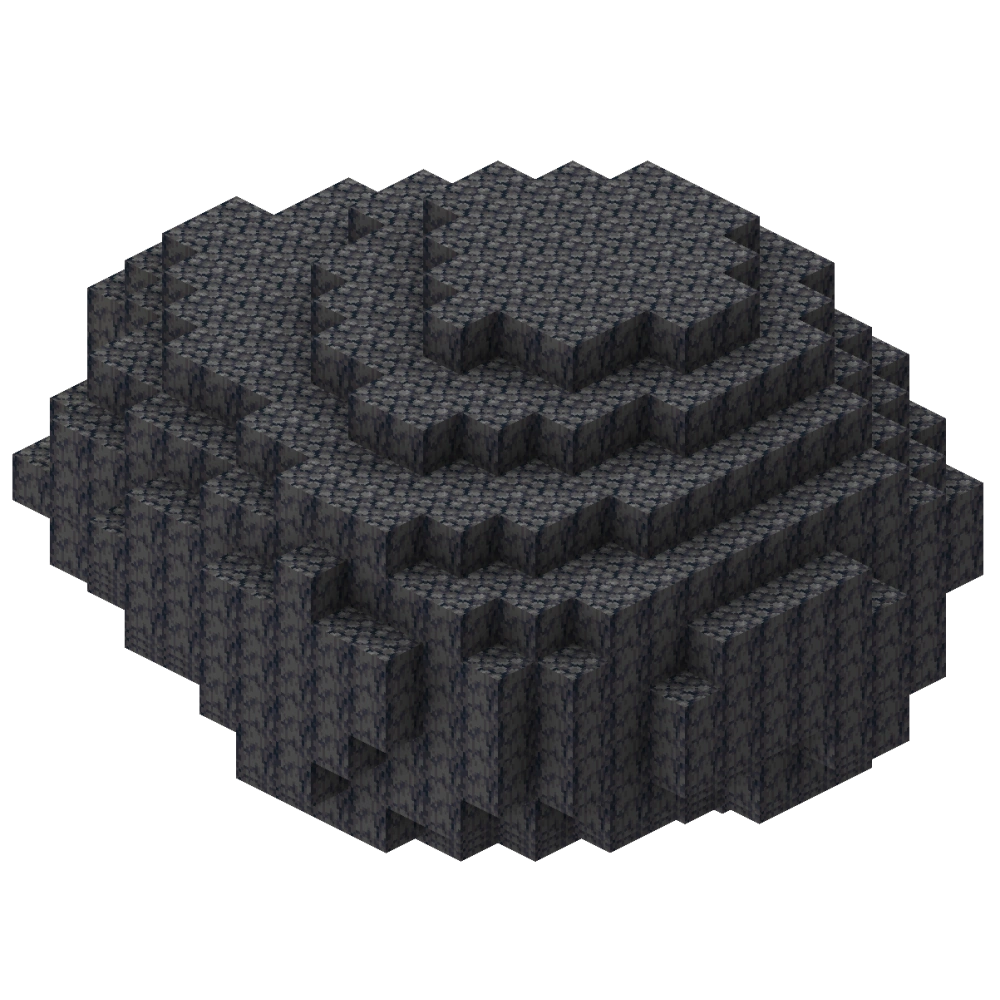
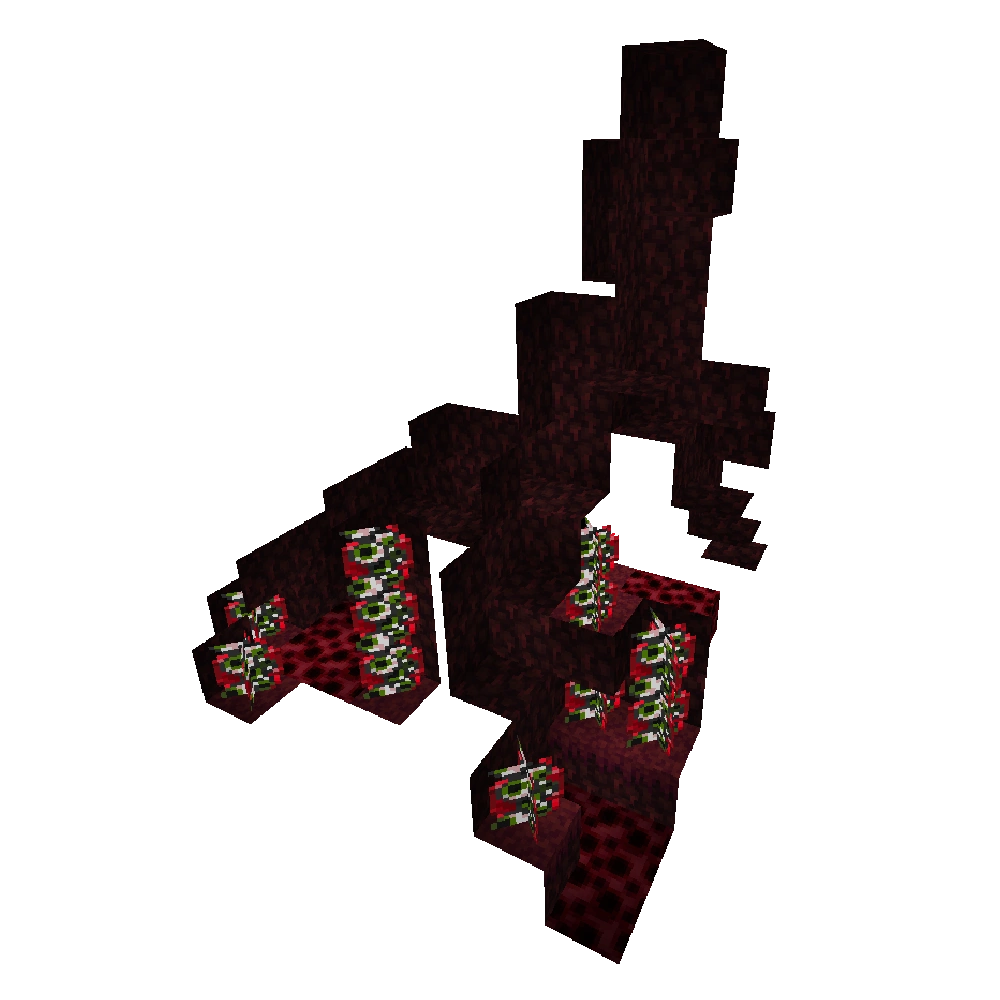
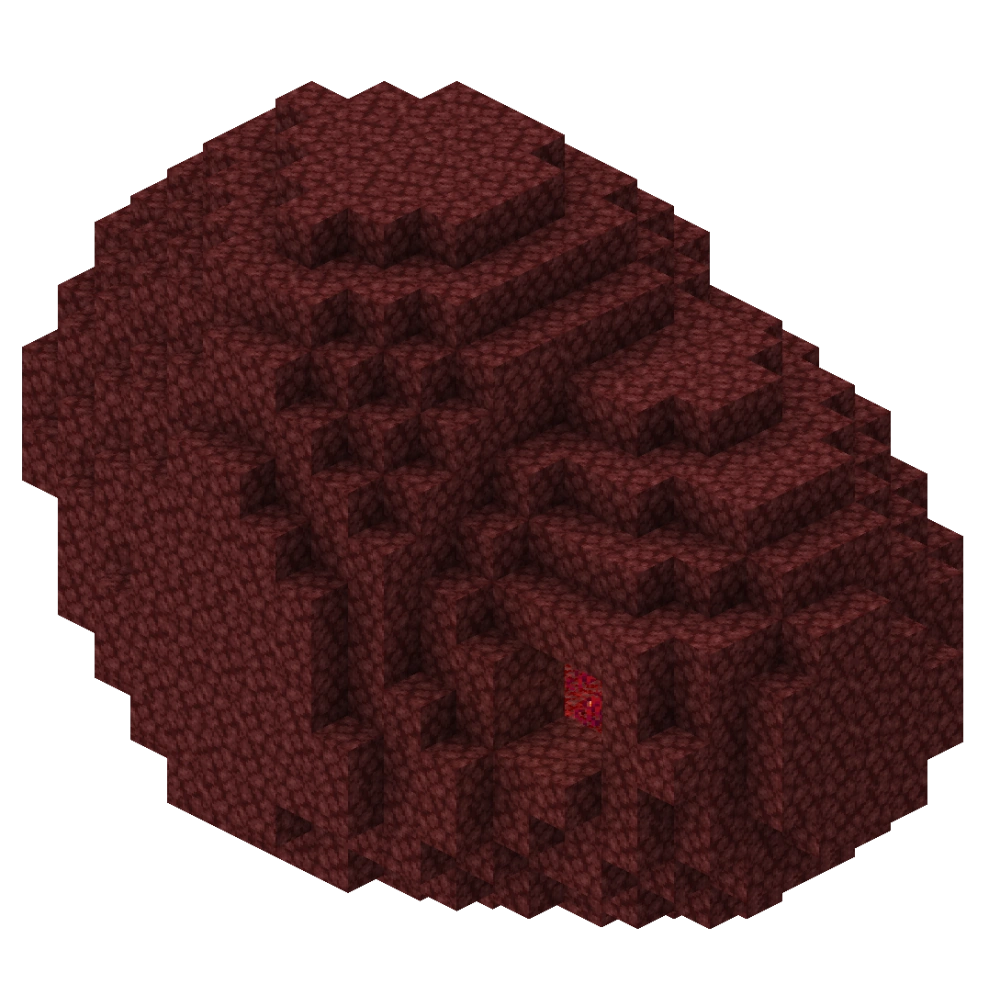
- Eye Bulb Grotto.png 1,000 × 1,000; 200 KB
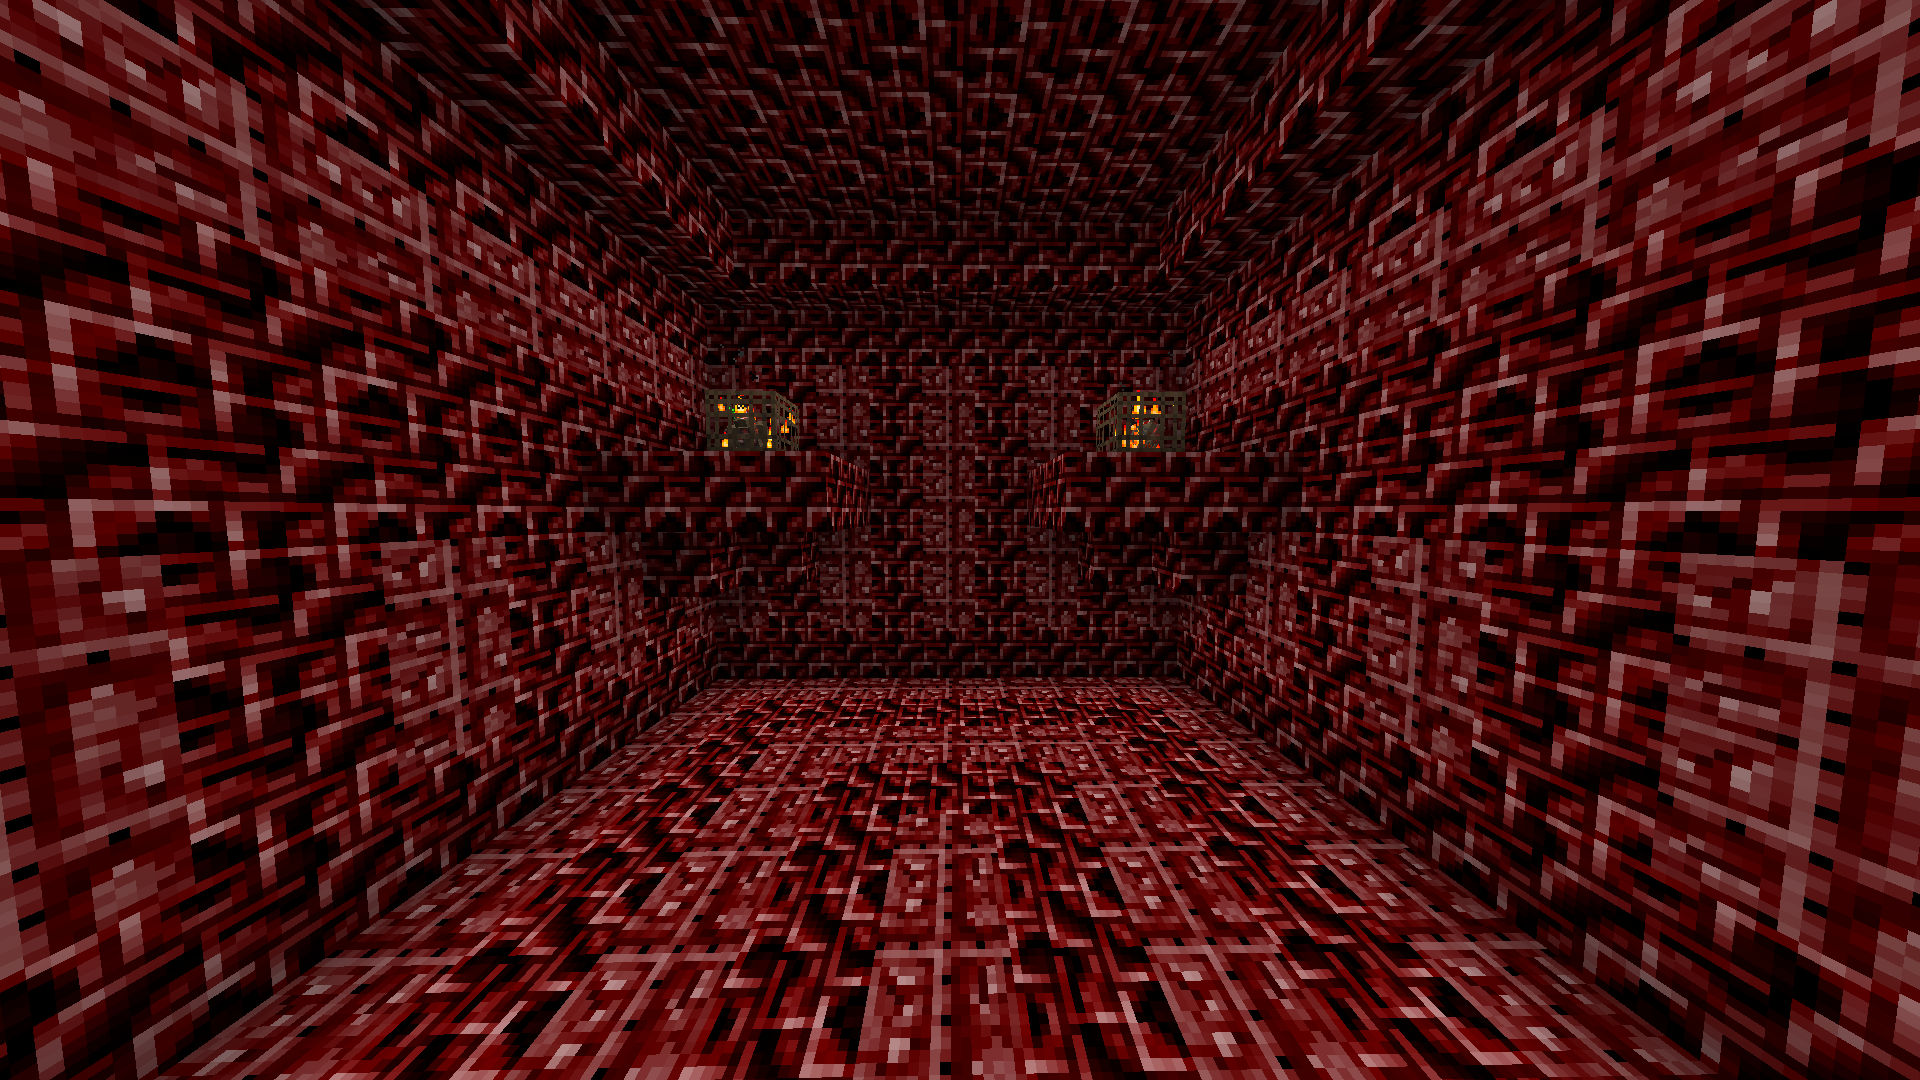
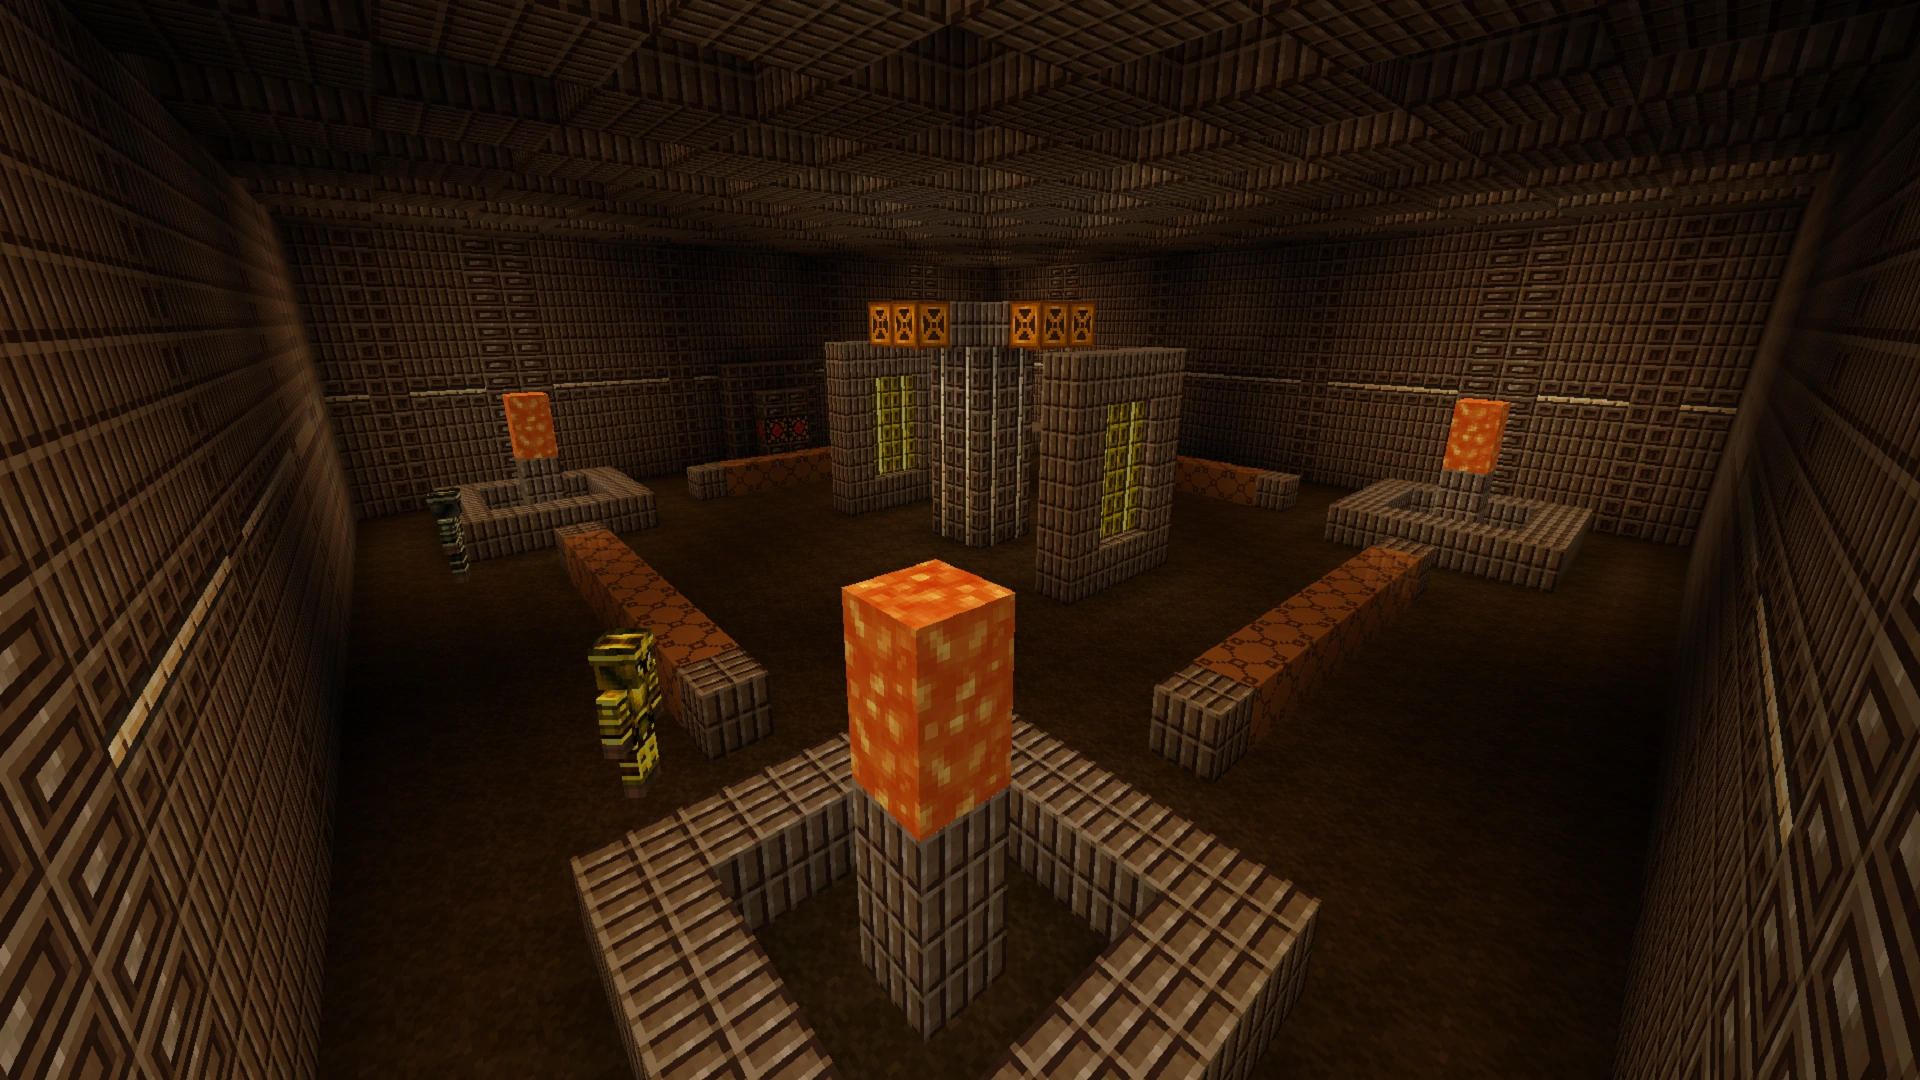
- Flesh Temple Inside.png 1,920 × 1,080; 903 KB
- Floating Lotto Fountain.png 727 × 1,181; 381 KB
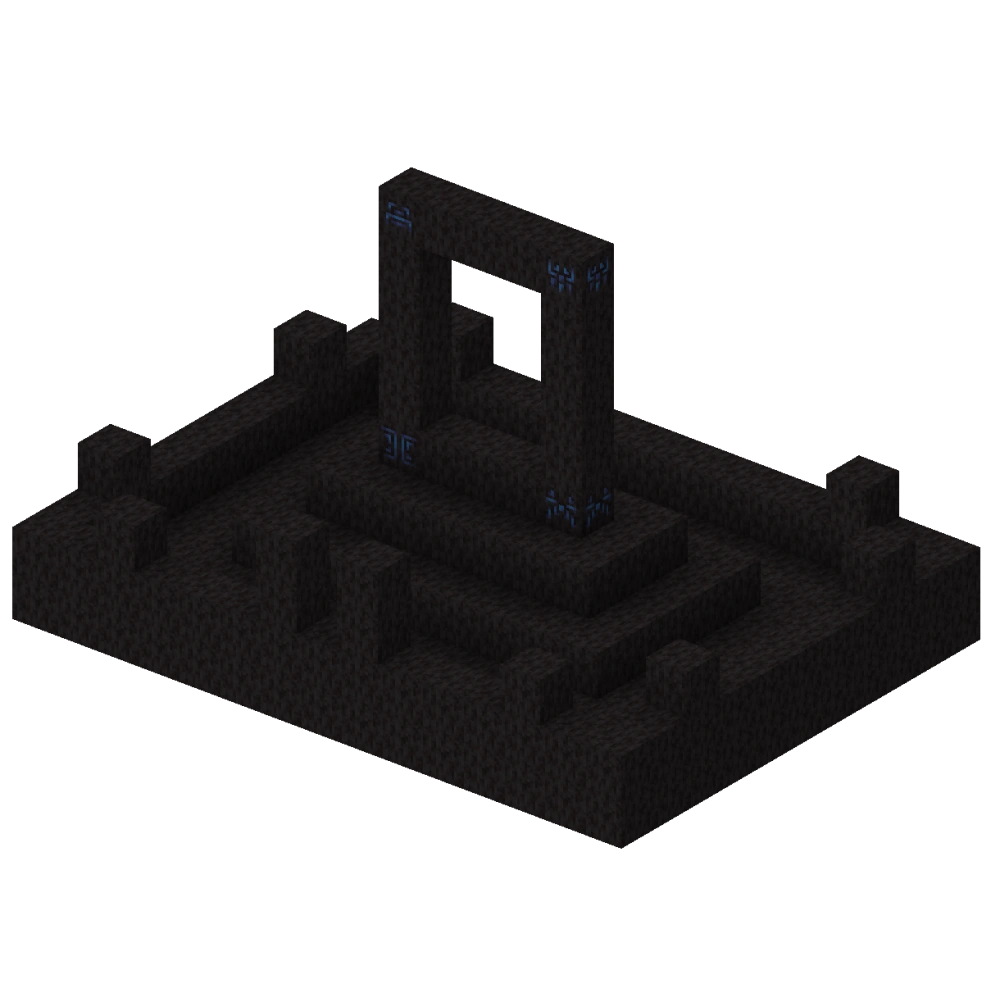
- Fragment Temple (Abyss).png 329 × 170; 101 KB
- Fragment Temple (Barathos).png 250 × 130; 41 KB
- Fragment Temple (Greckon).png 329 × 172; 122 KB
- Fragment Temple (L'Borean).png 250 × 130; 67 KB
- Fragment Temple Inside 01.png 250 × 129; 54 KB
- Fragment Temple Inside 02.png 250 × 129; 64 KB
- Fragment Temple Inside 03.png 250 × 129; 59 KB
- Fungal Armor.png 300 × 300; 26 KB
- Gardencia.png 1,920 × 1,080; 2.99 MB
- Gardencian Fungal.png 960 × 500; 729 KB
- Gardencian Marsh.png 500 × 261; 330 KB
- Gingerbird Aviary.png 1,920 × 1,080; 2.99 MB
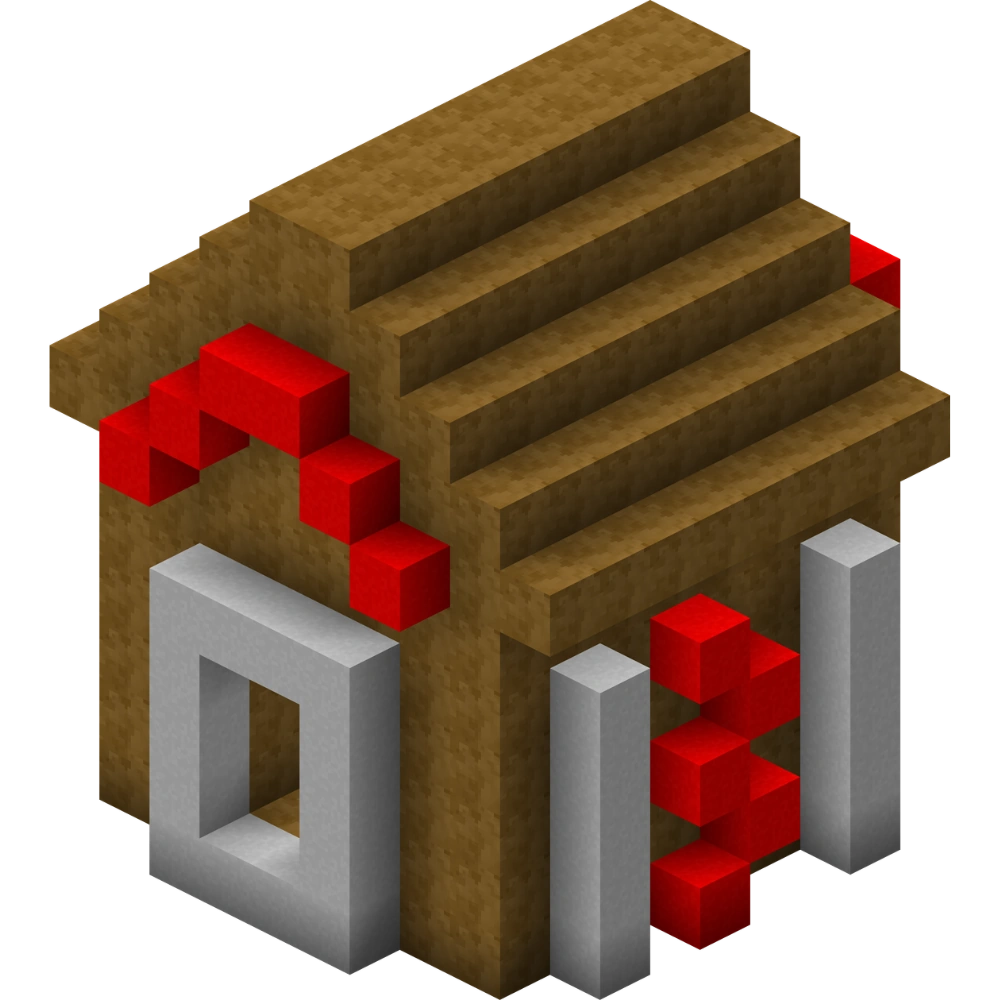
- Gingerbread House Inside.png 1,920 × 1,080; 567 KB
- Gingerbread House.png 1,920 × 1,080; 2.3 MB
- Greckon (Night Vision).png 1,920 × 1,080; 3.22 MB
- Greckon.png 1,920 × 1,080; 1.68 MB
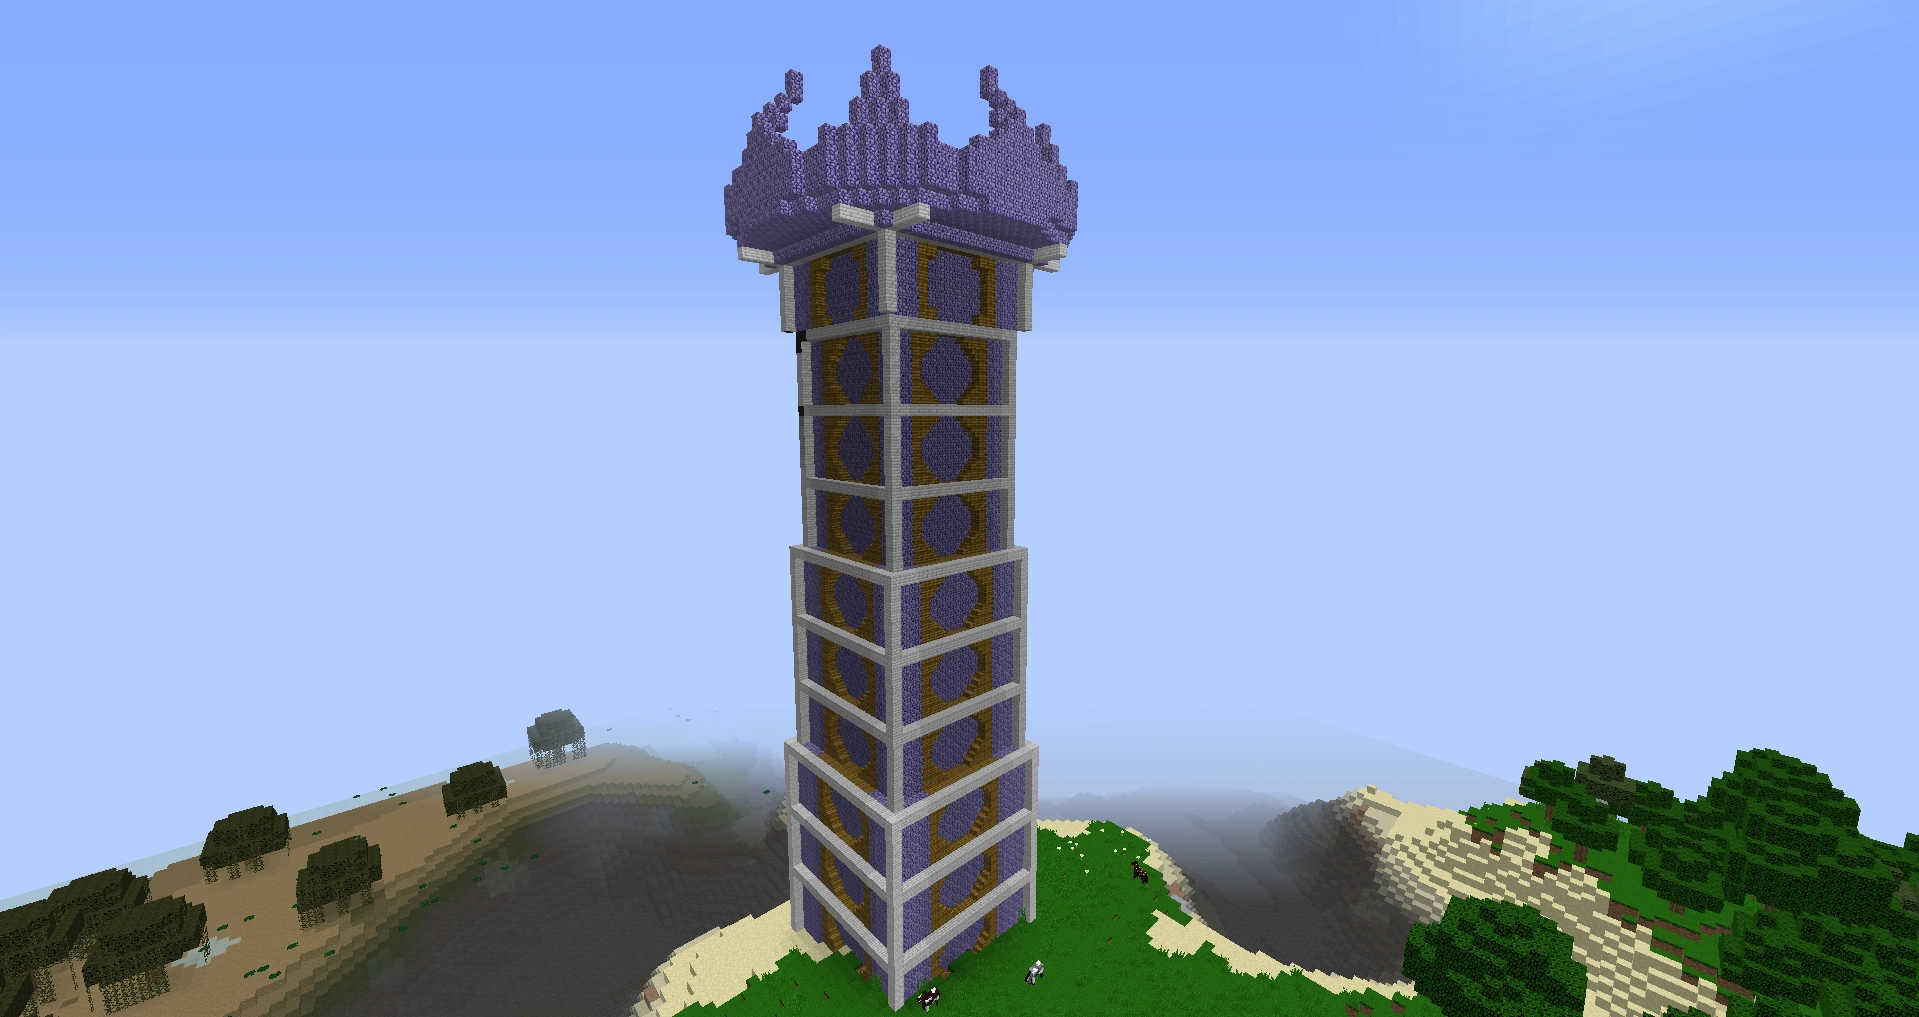
- Guardian Tower Balcony.png 1,919 × 1,013; 1.79 MB
- Guardian Tower F1.png 1,919 × 1,017; 1.29 MB
- Guardian Tower F2.png 1,918 × 1,016; 1.3 MB
- Guardian Tower.png 846 × 1,330; 924 KB
- Halloween Charger.png 781 × 533; 258 KB
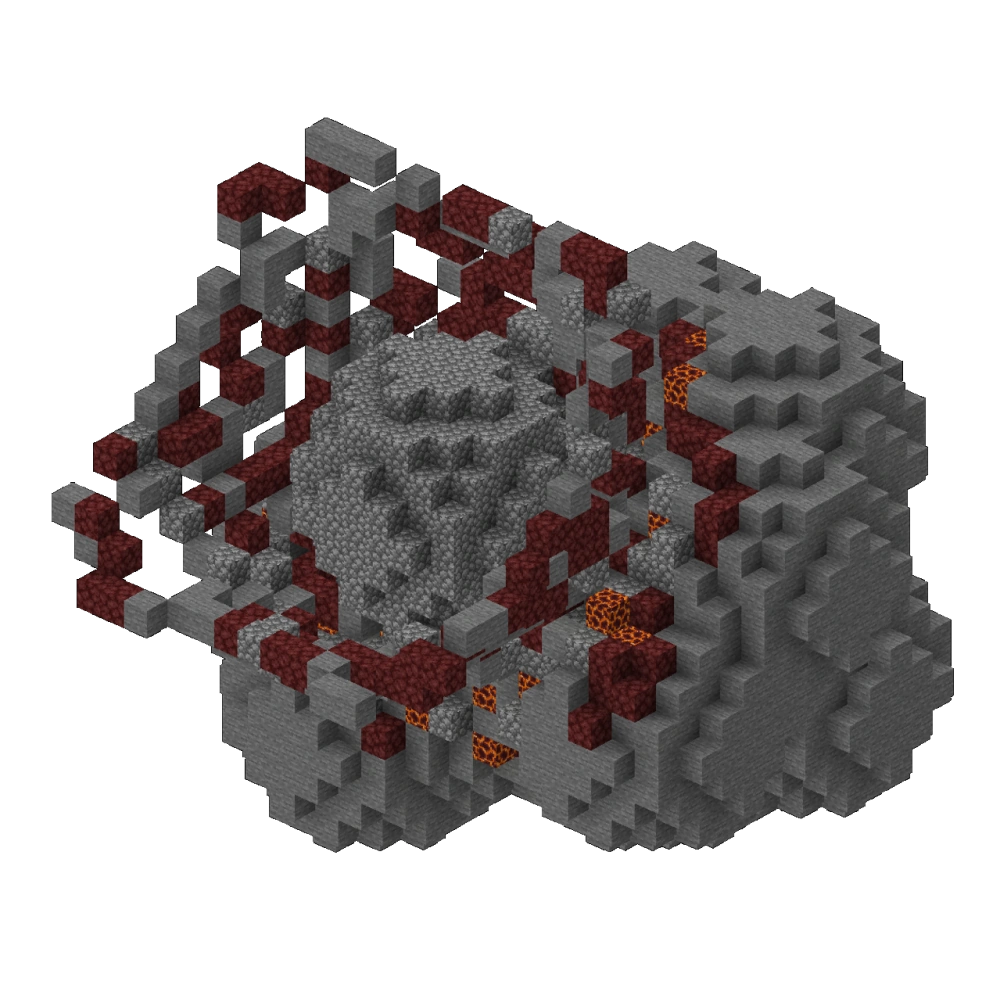
- Haunted Dungeon (Entrance).png 1,000 × 1,000; 1,018 KB
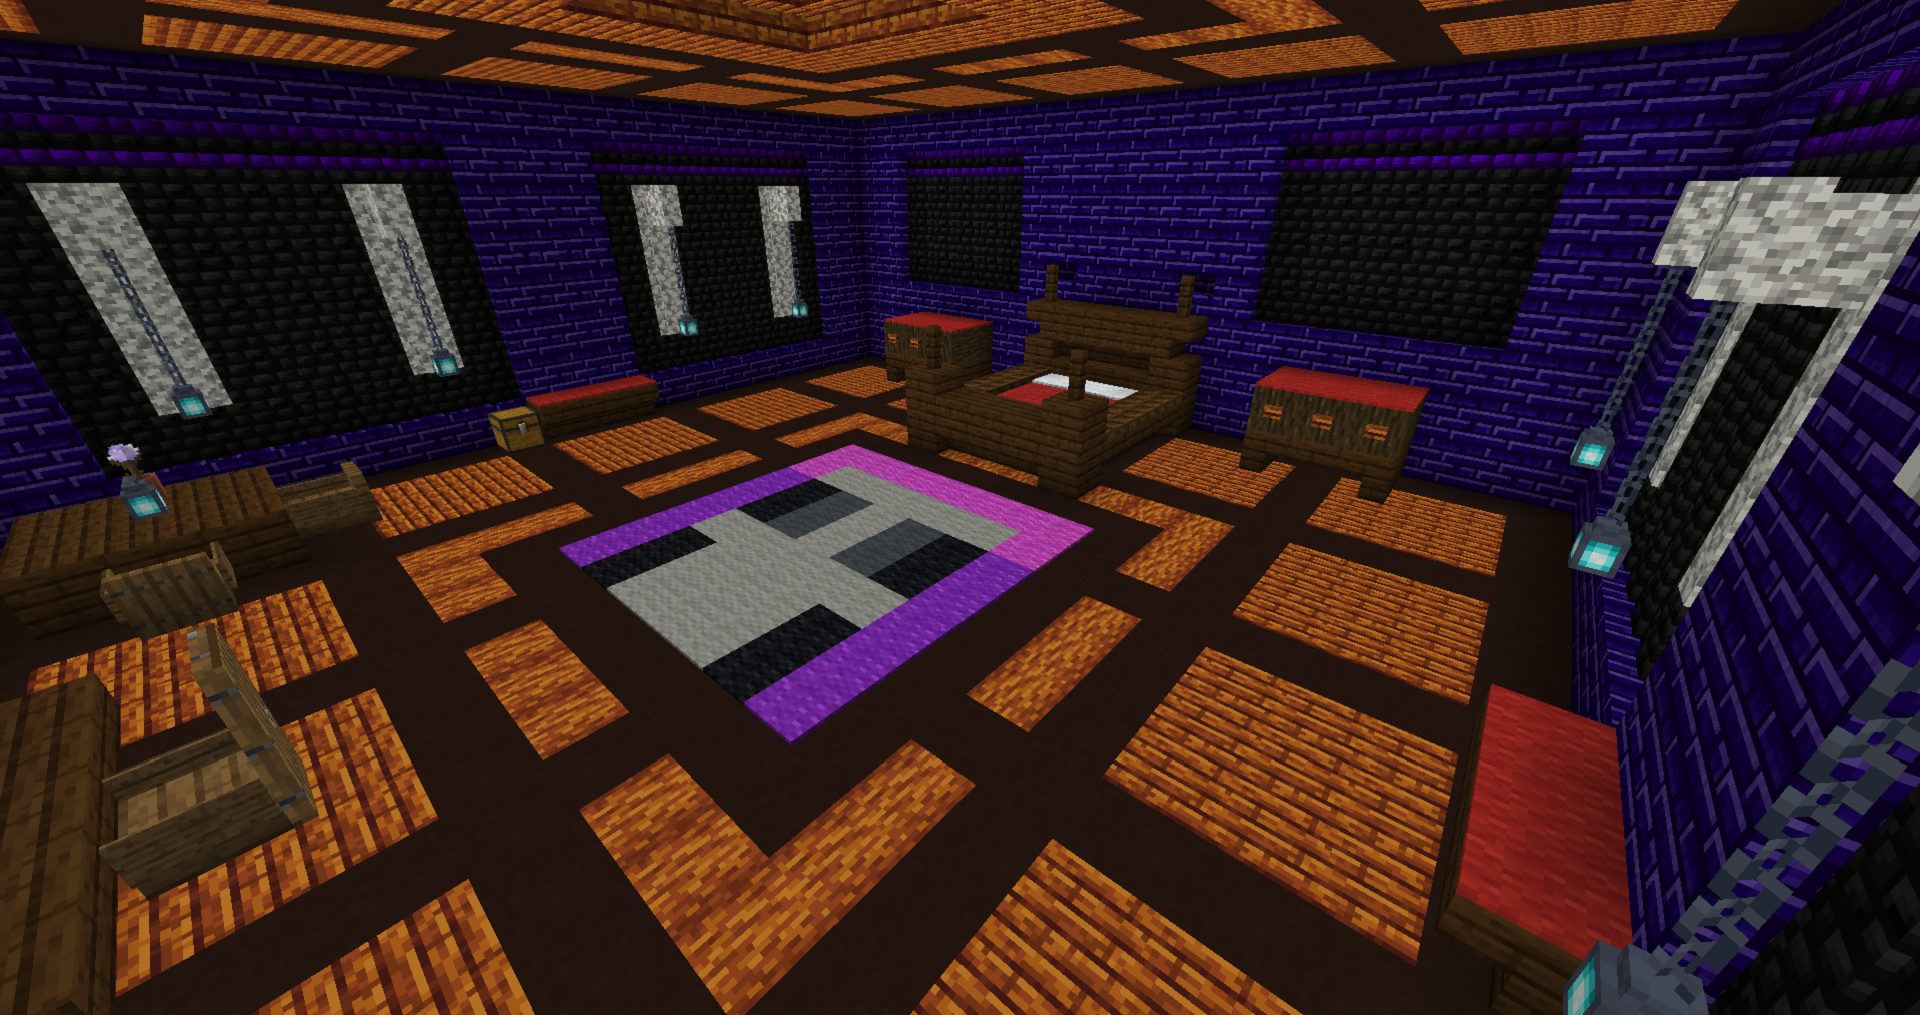
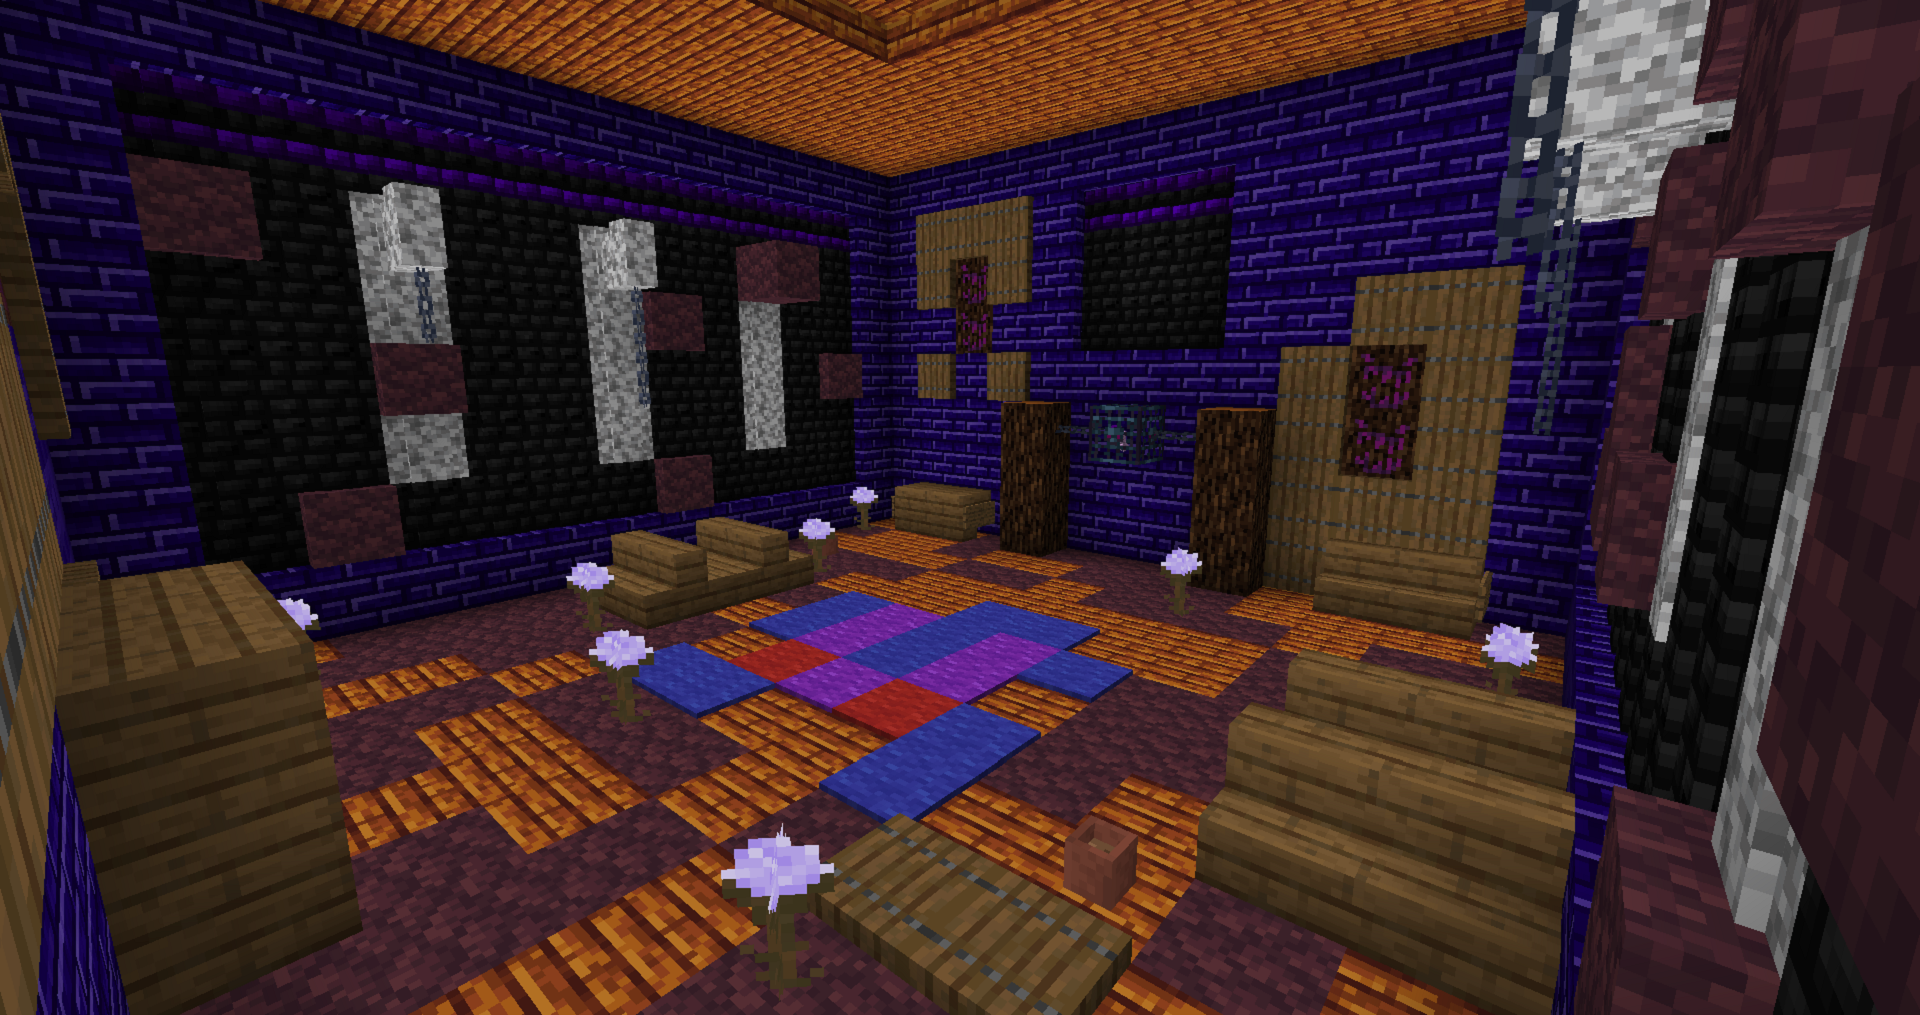
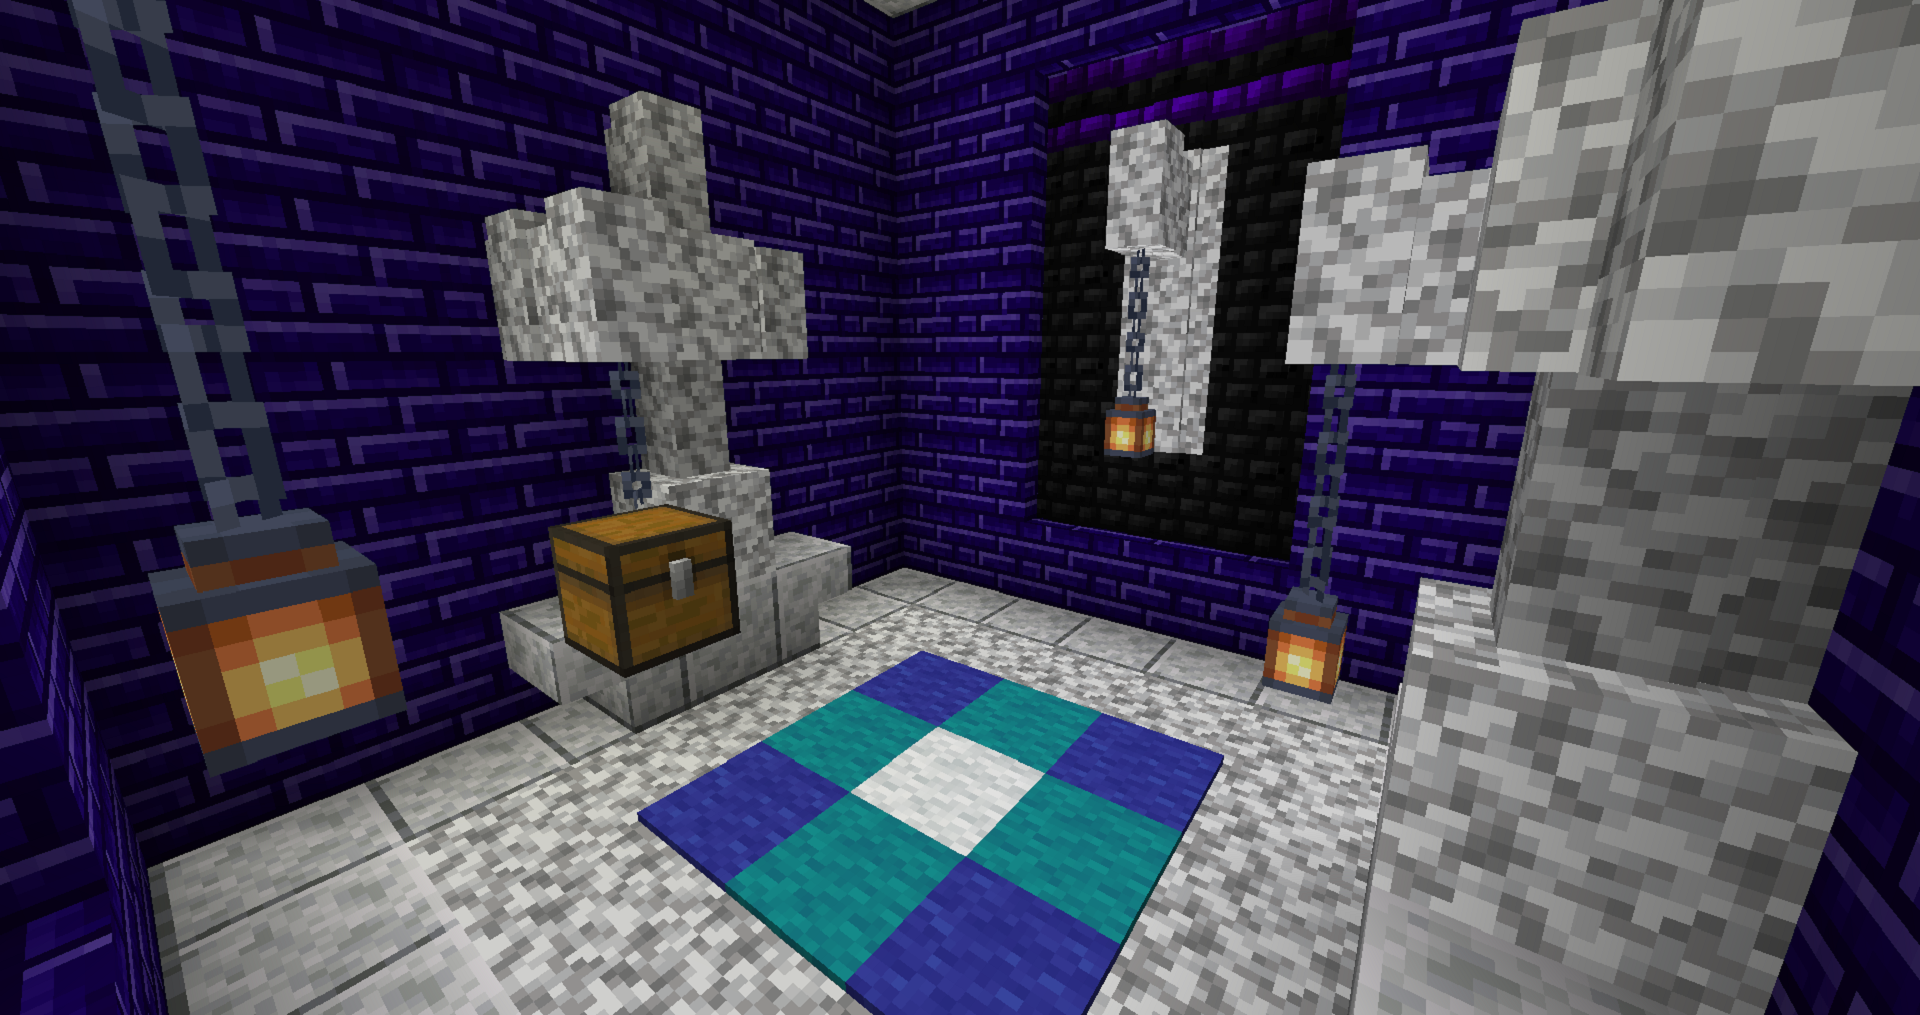
- Haunted Dungeon (Large Rooms Banshee Bedroom).png 1,920 × 1,015; 2.53 MB
- Haunted Dungeon (Large Rooms Breeding Grounds).png 1,920 × 1,015; 2.18 MB
- Haunted Dungeon (Large Rooms Labrynth).png 1,920 × 1,015; 1.4 MB
- Haunted Dungeon (Large Rooms Torture Chamber).png 1,920 × 1,015; 2.28 MB
- Haunted Dungeon (Medium Rooms Haunted Grounds).png 1,920 × 1,015; 2.22 MB
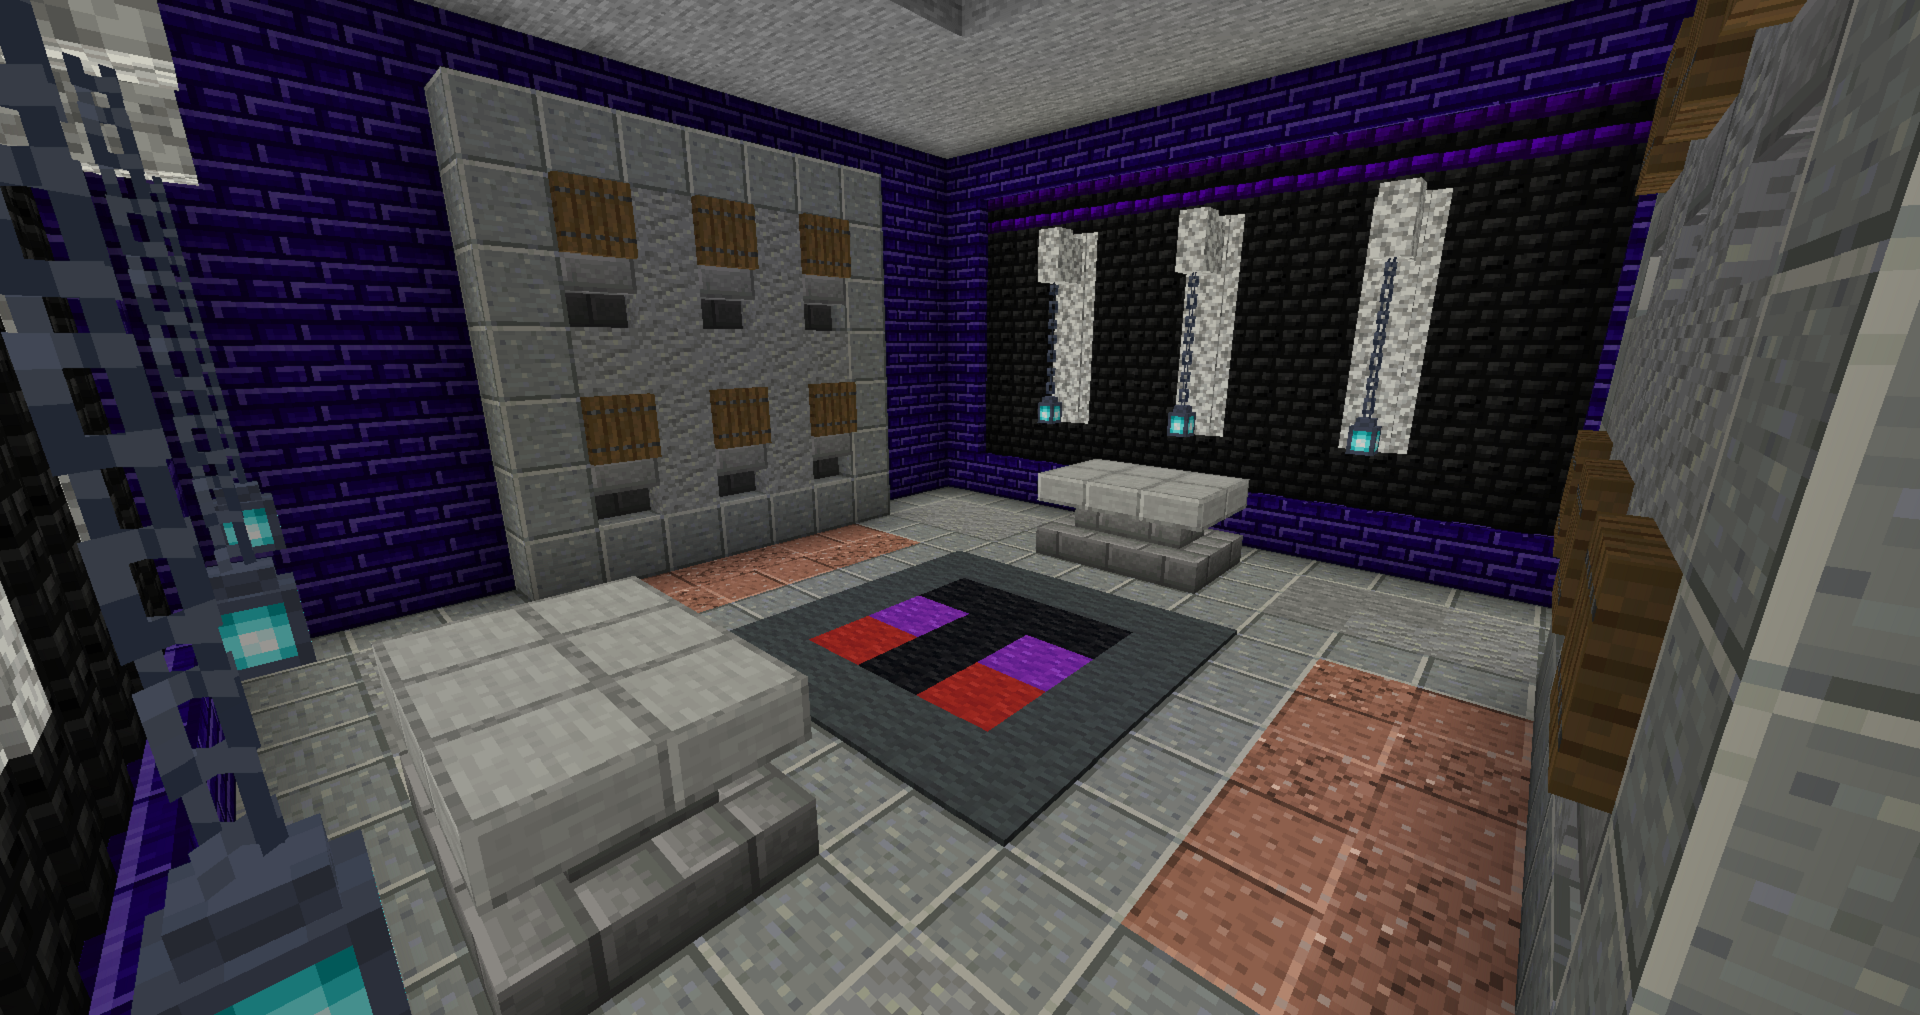
- Haunted Dungeon (Medium Rooms Large Study).png 1,920 × 1,015; 1.62 MB
- Haunted Dungeon (Medium Rooms Tomb).png 1,920 × 1,015; 1.93 MB
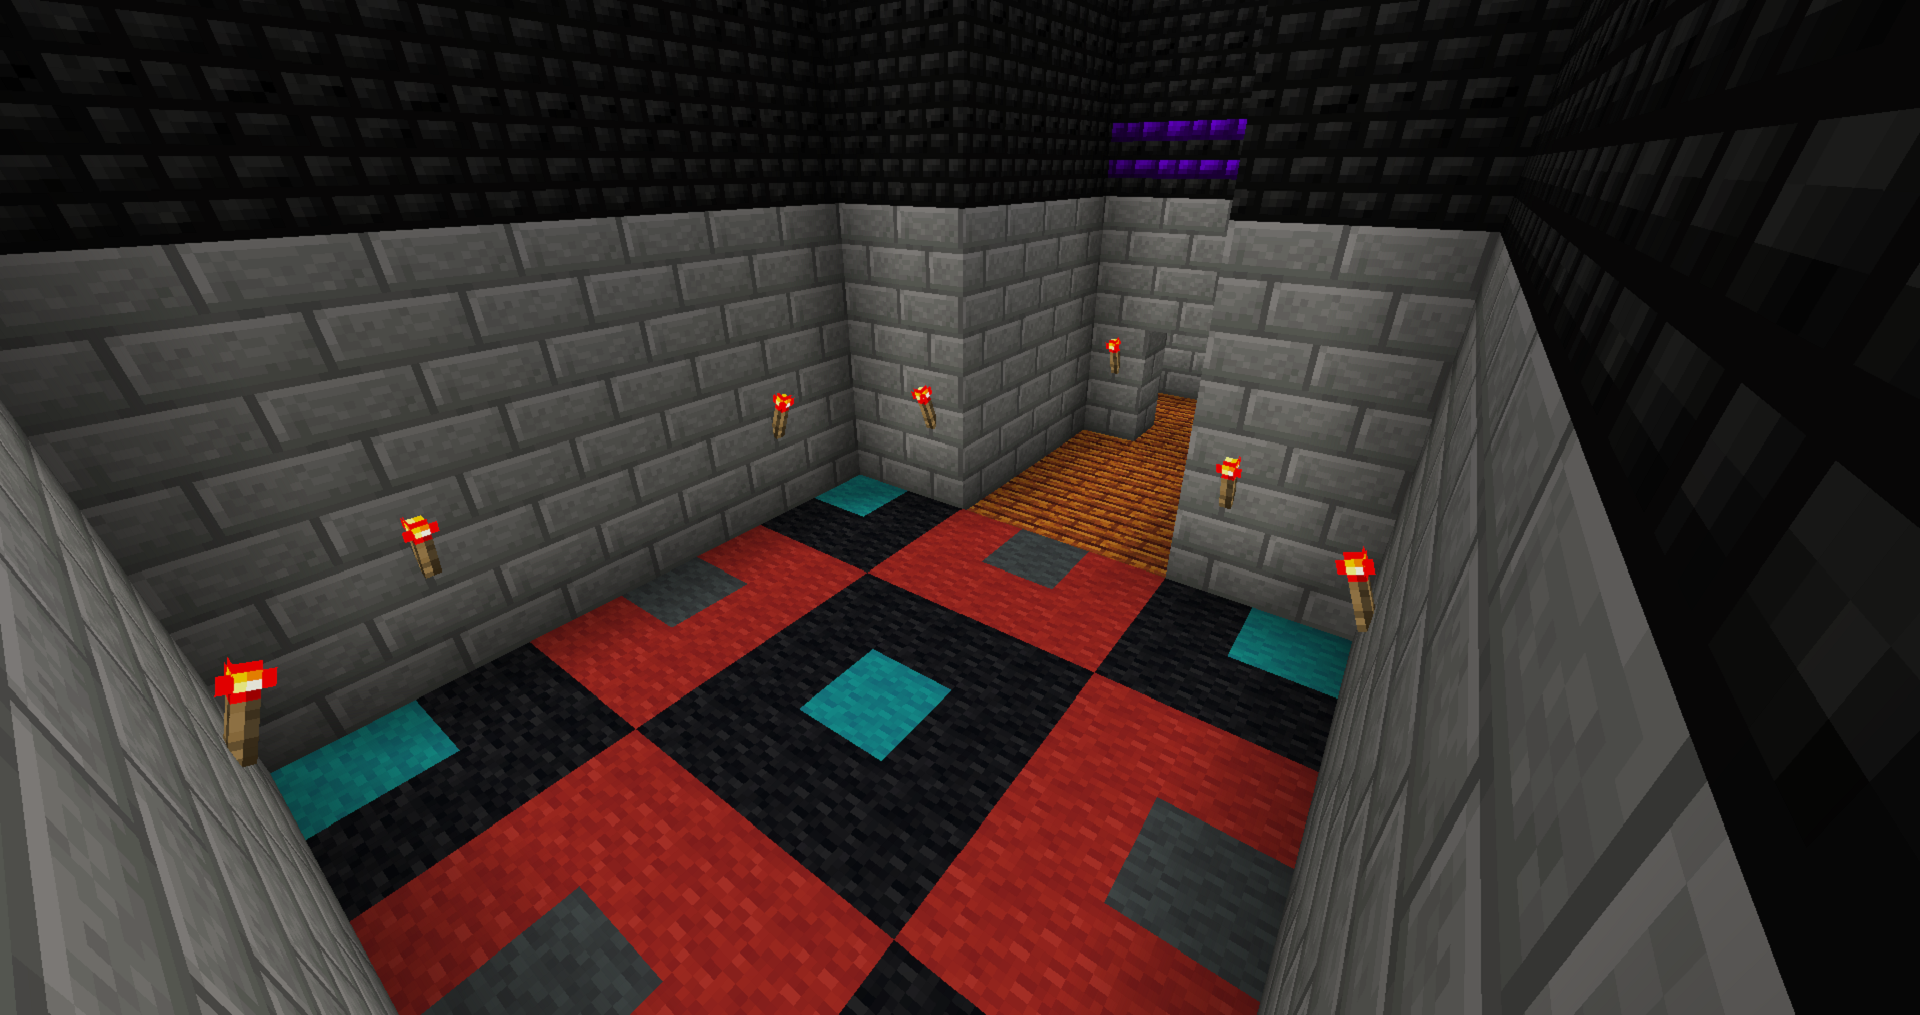
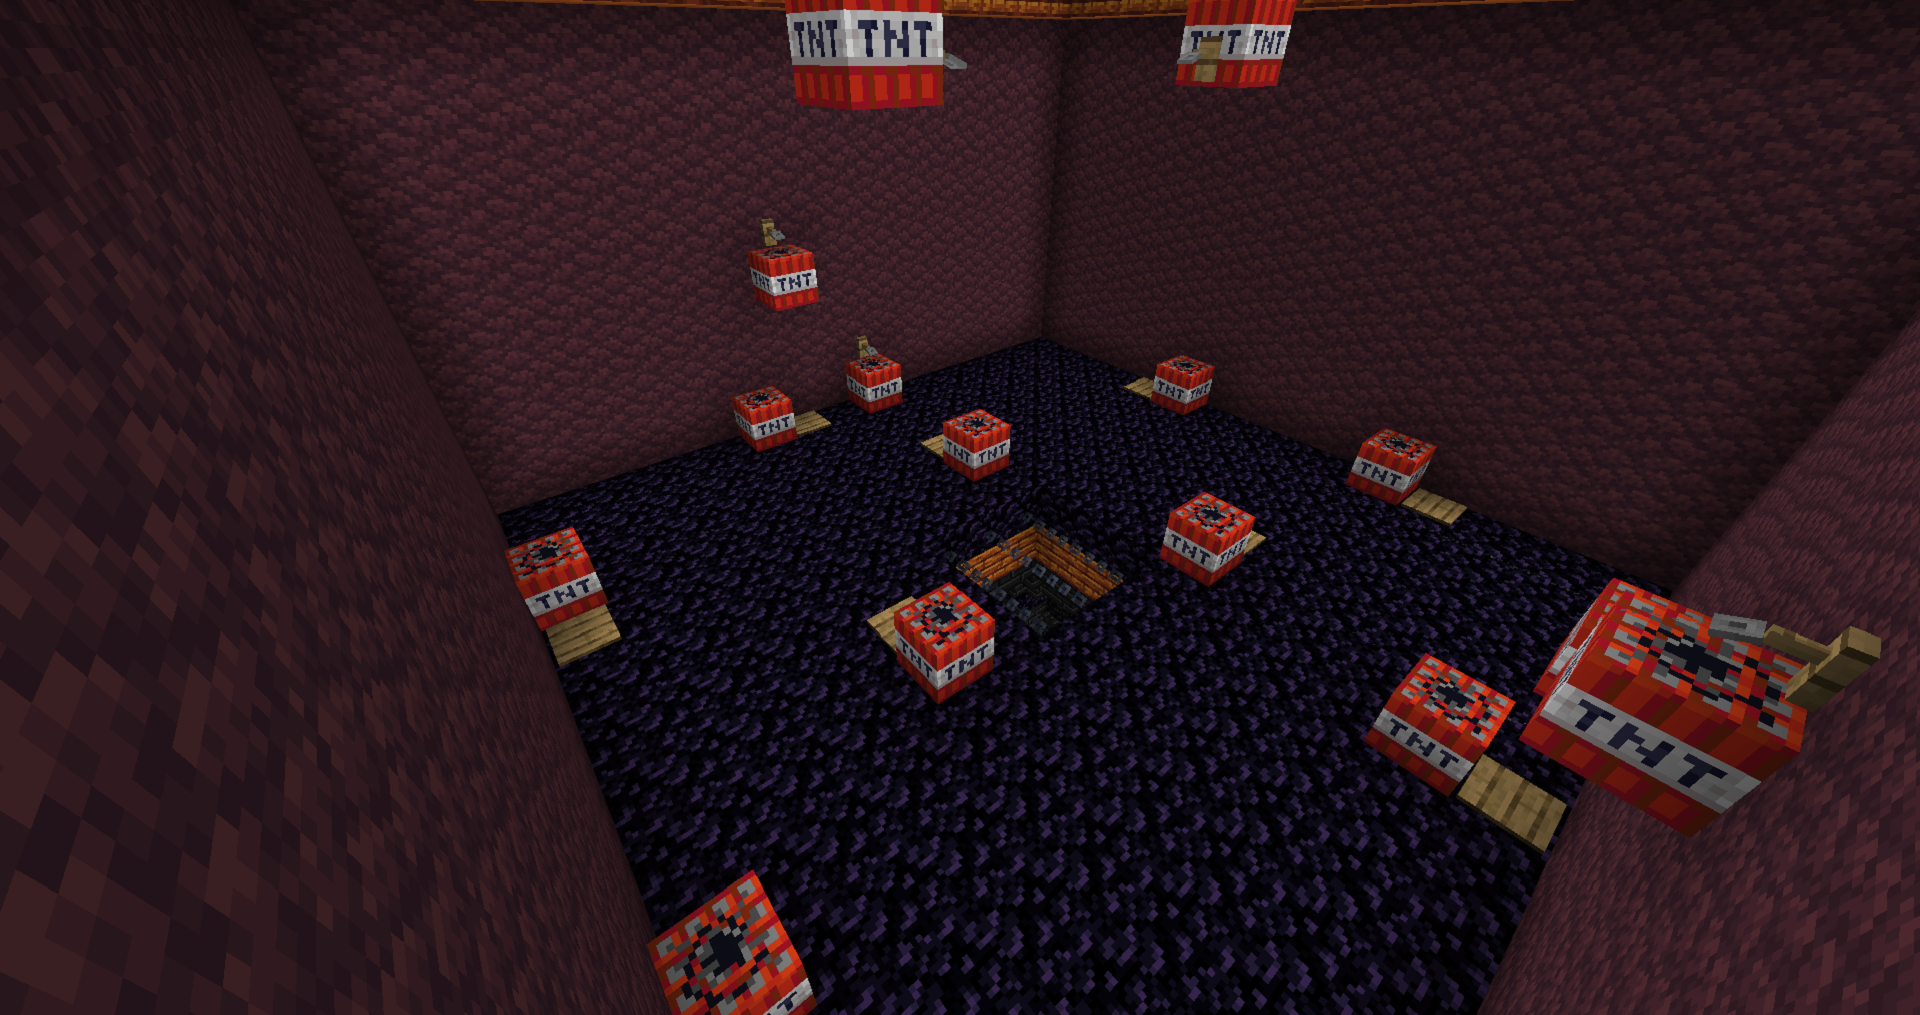
- Haunted Dungeon (Medium Rooms Traps).png 1,920 × 1,015; 2 MB
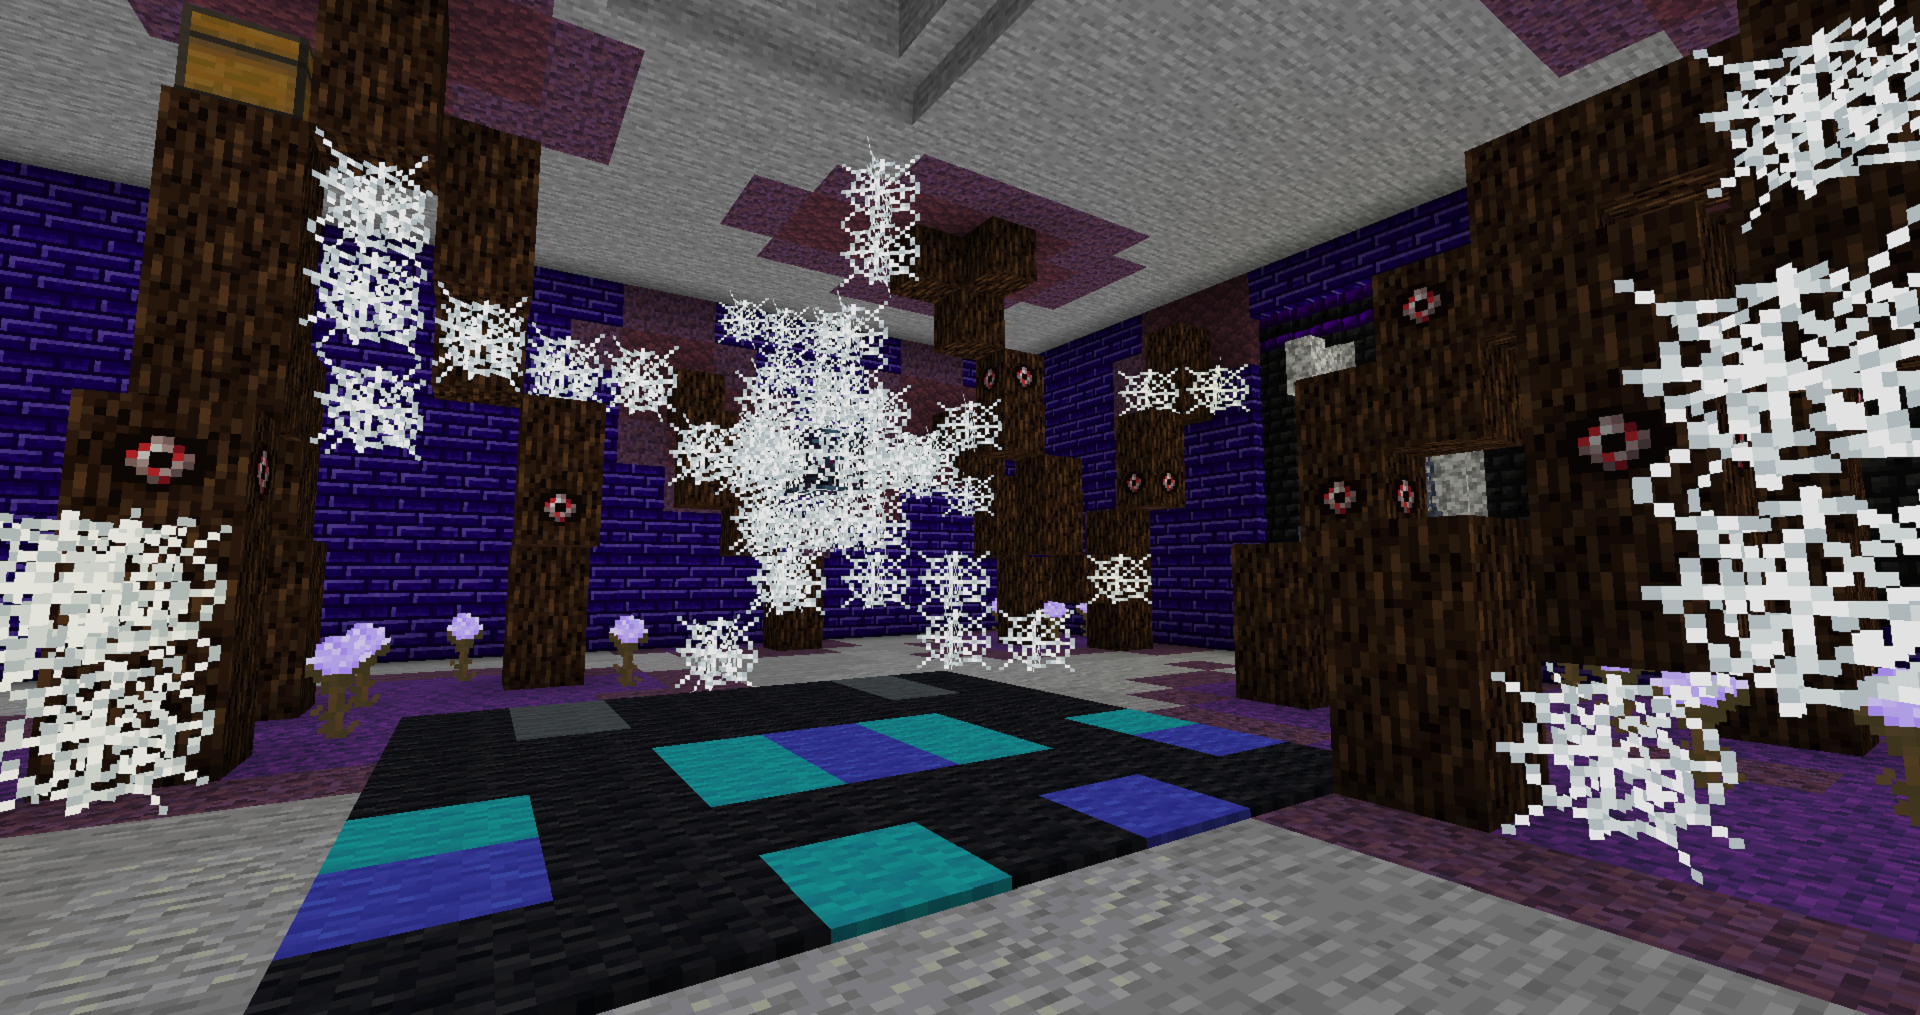
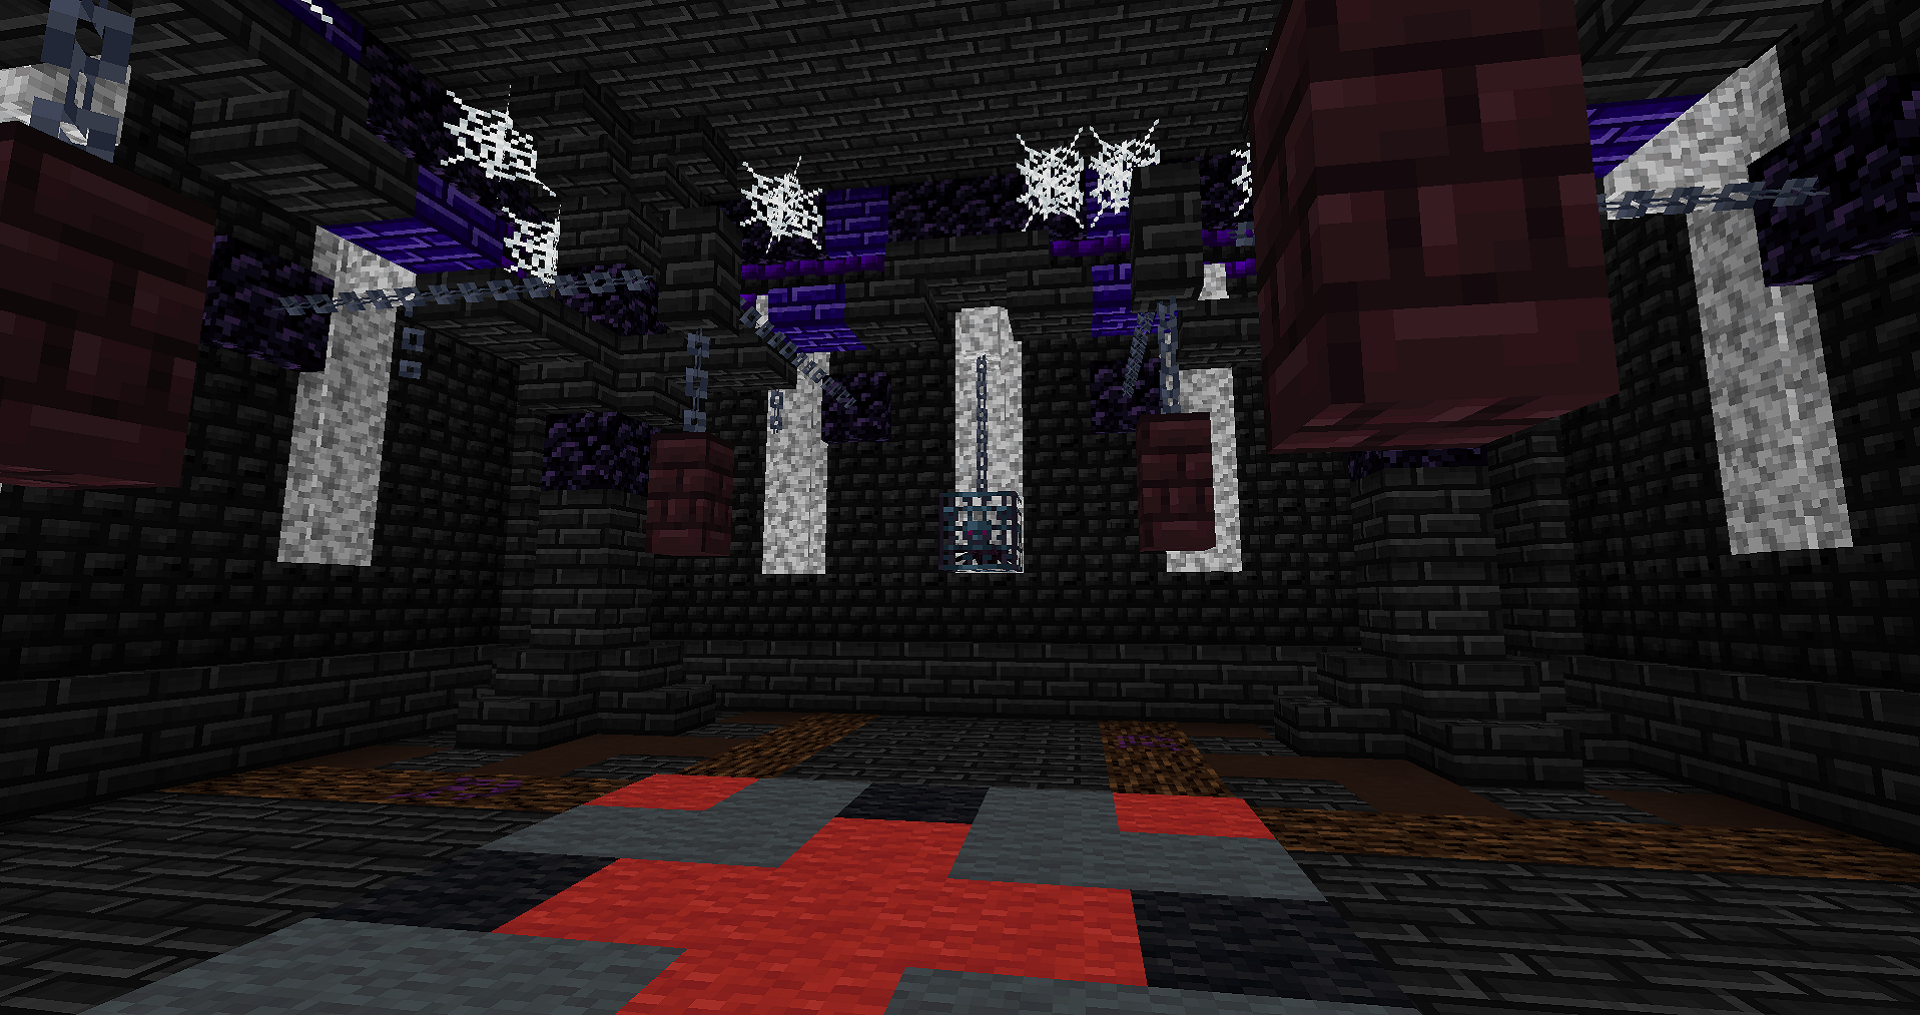
- Haunted Dungeon (Medium Rooms Webbed Crypt).png 1,920 × 1,015; 1.53 MB
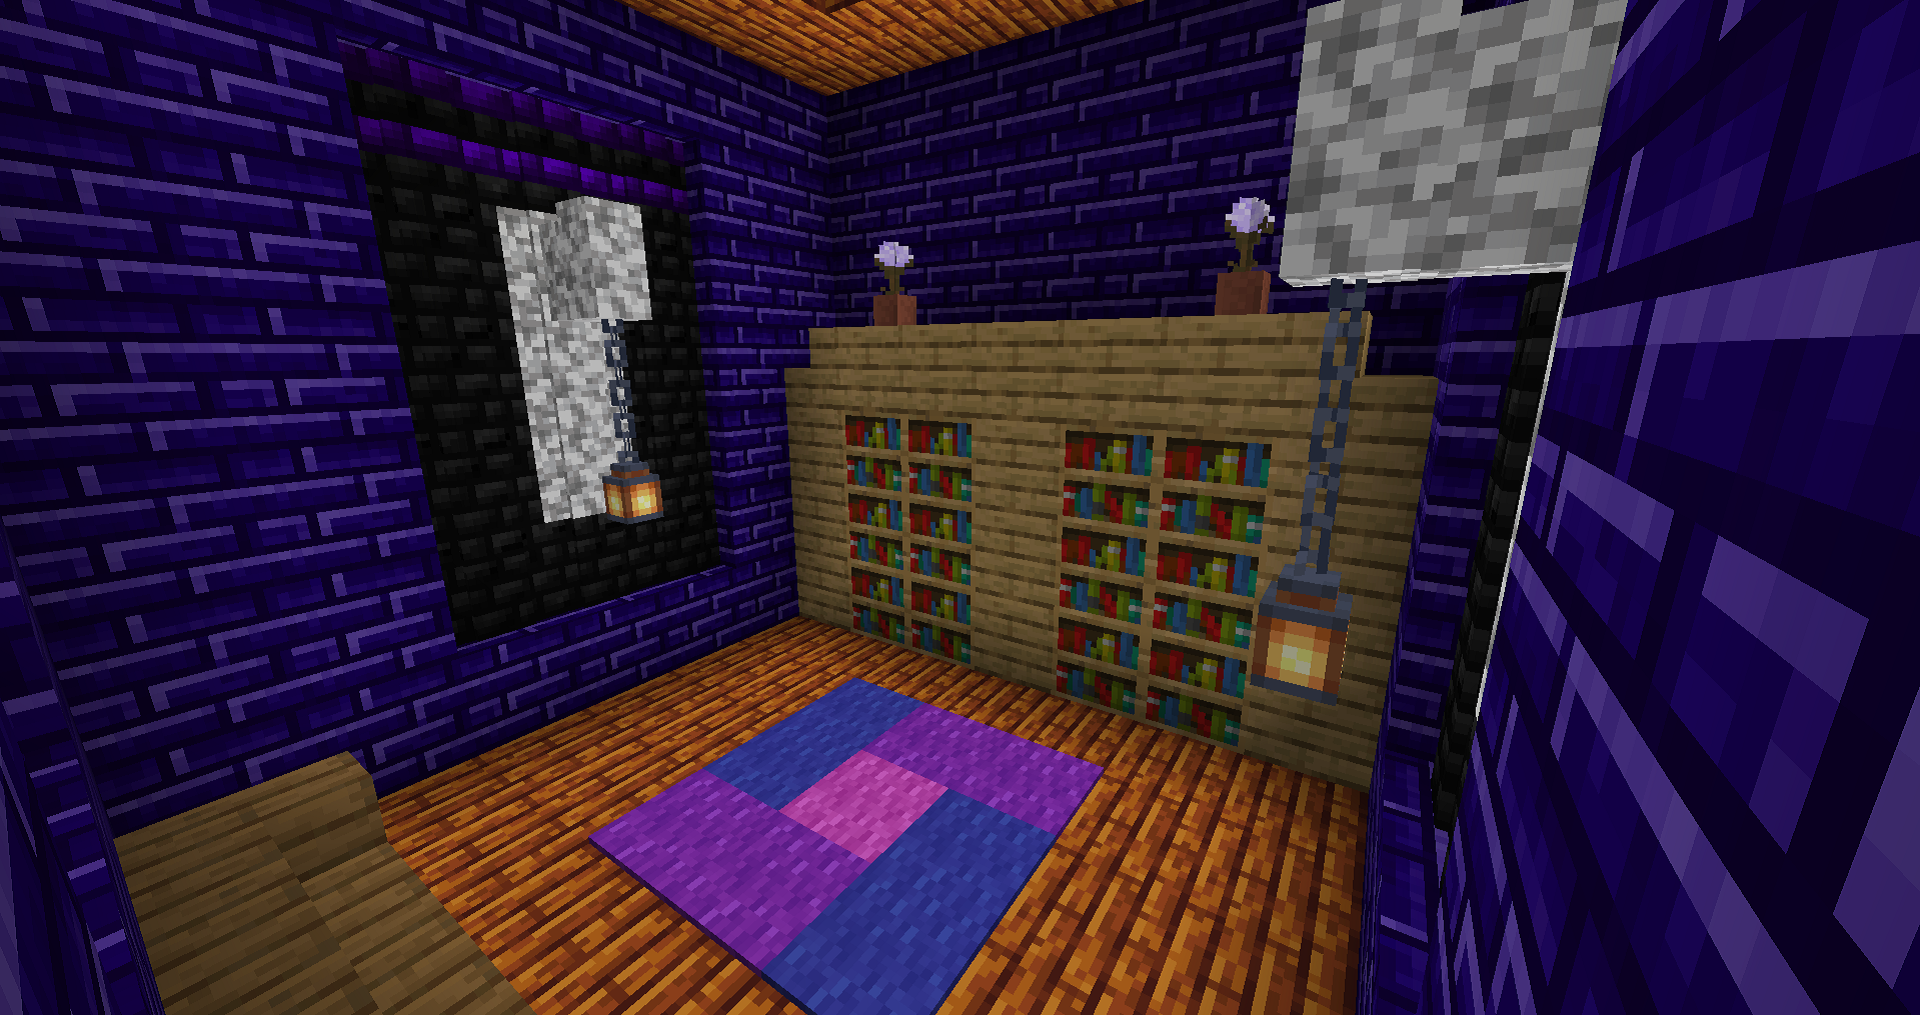
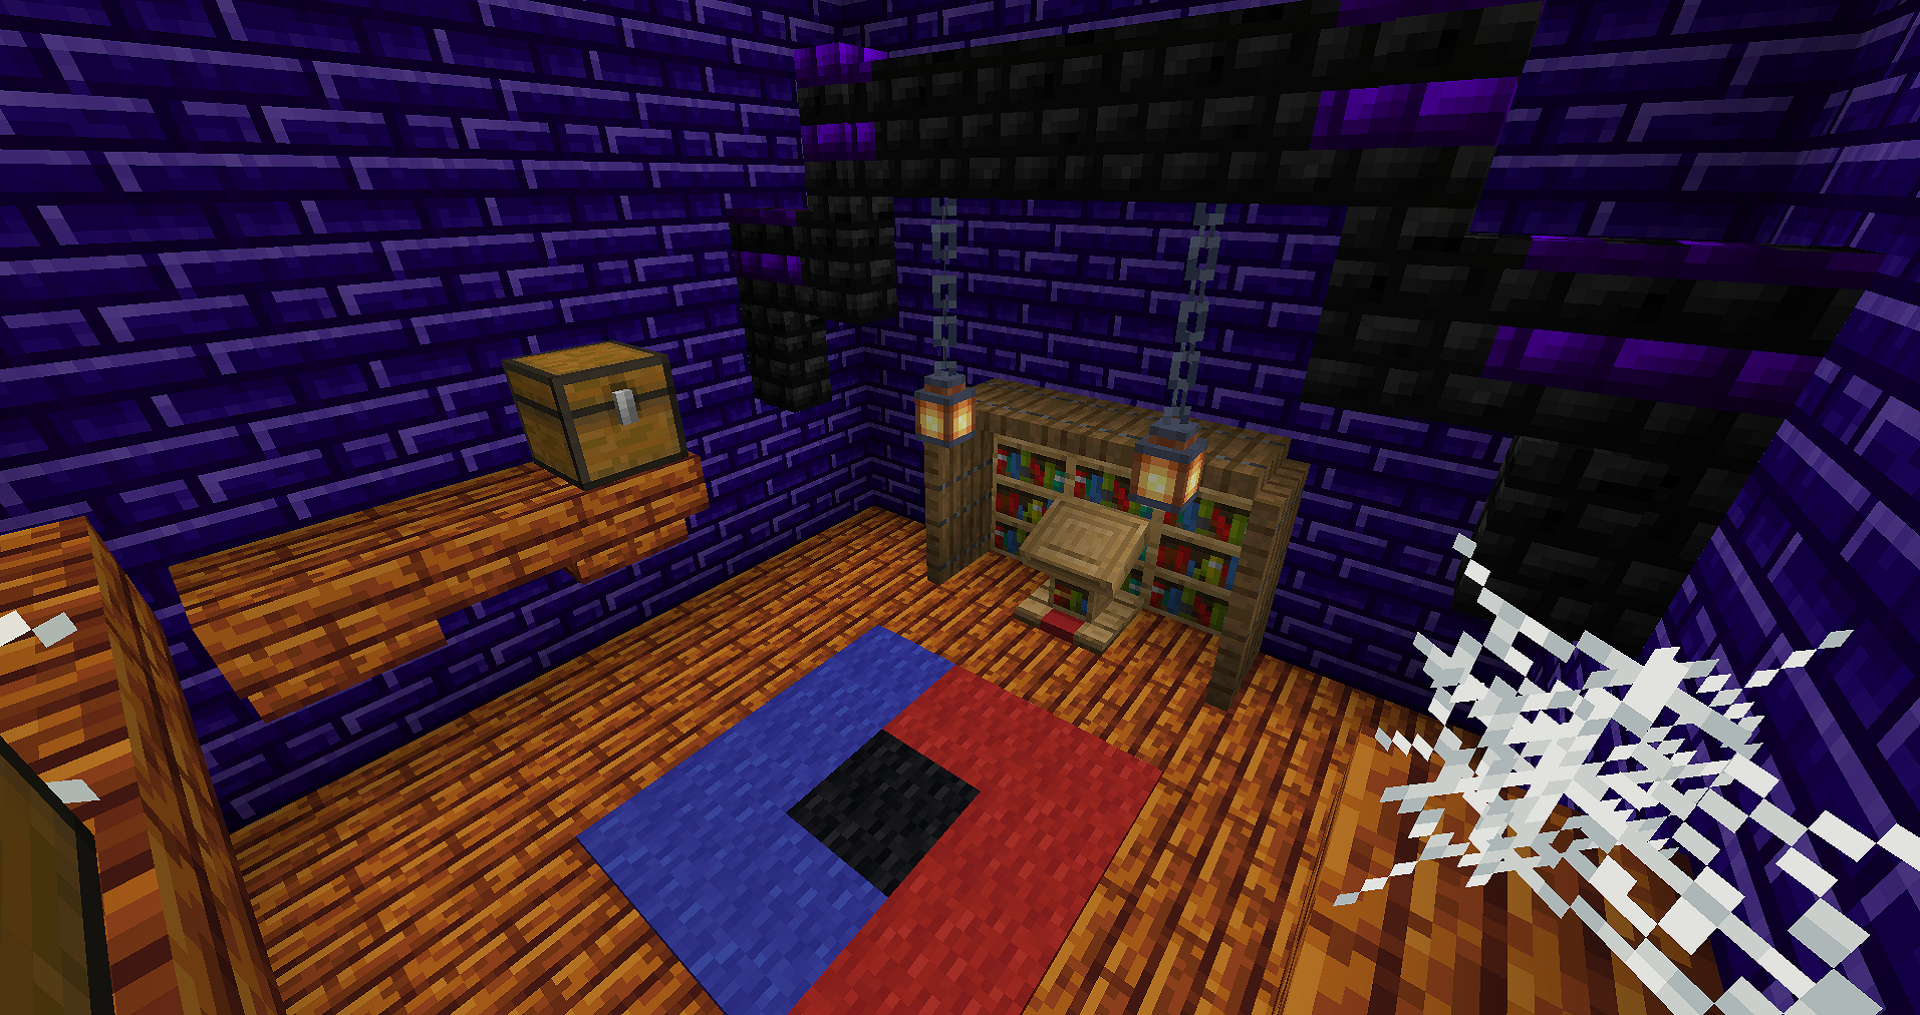
- Haunted Dungeon (Small Rooms Bookcase).png 1,920 × 1,015; 1.51 MB
- Haunted Dungeon (Small Rooms Cellar).png 1,920 × 1,015; 1.5 MB
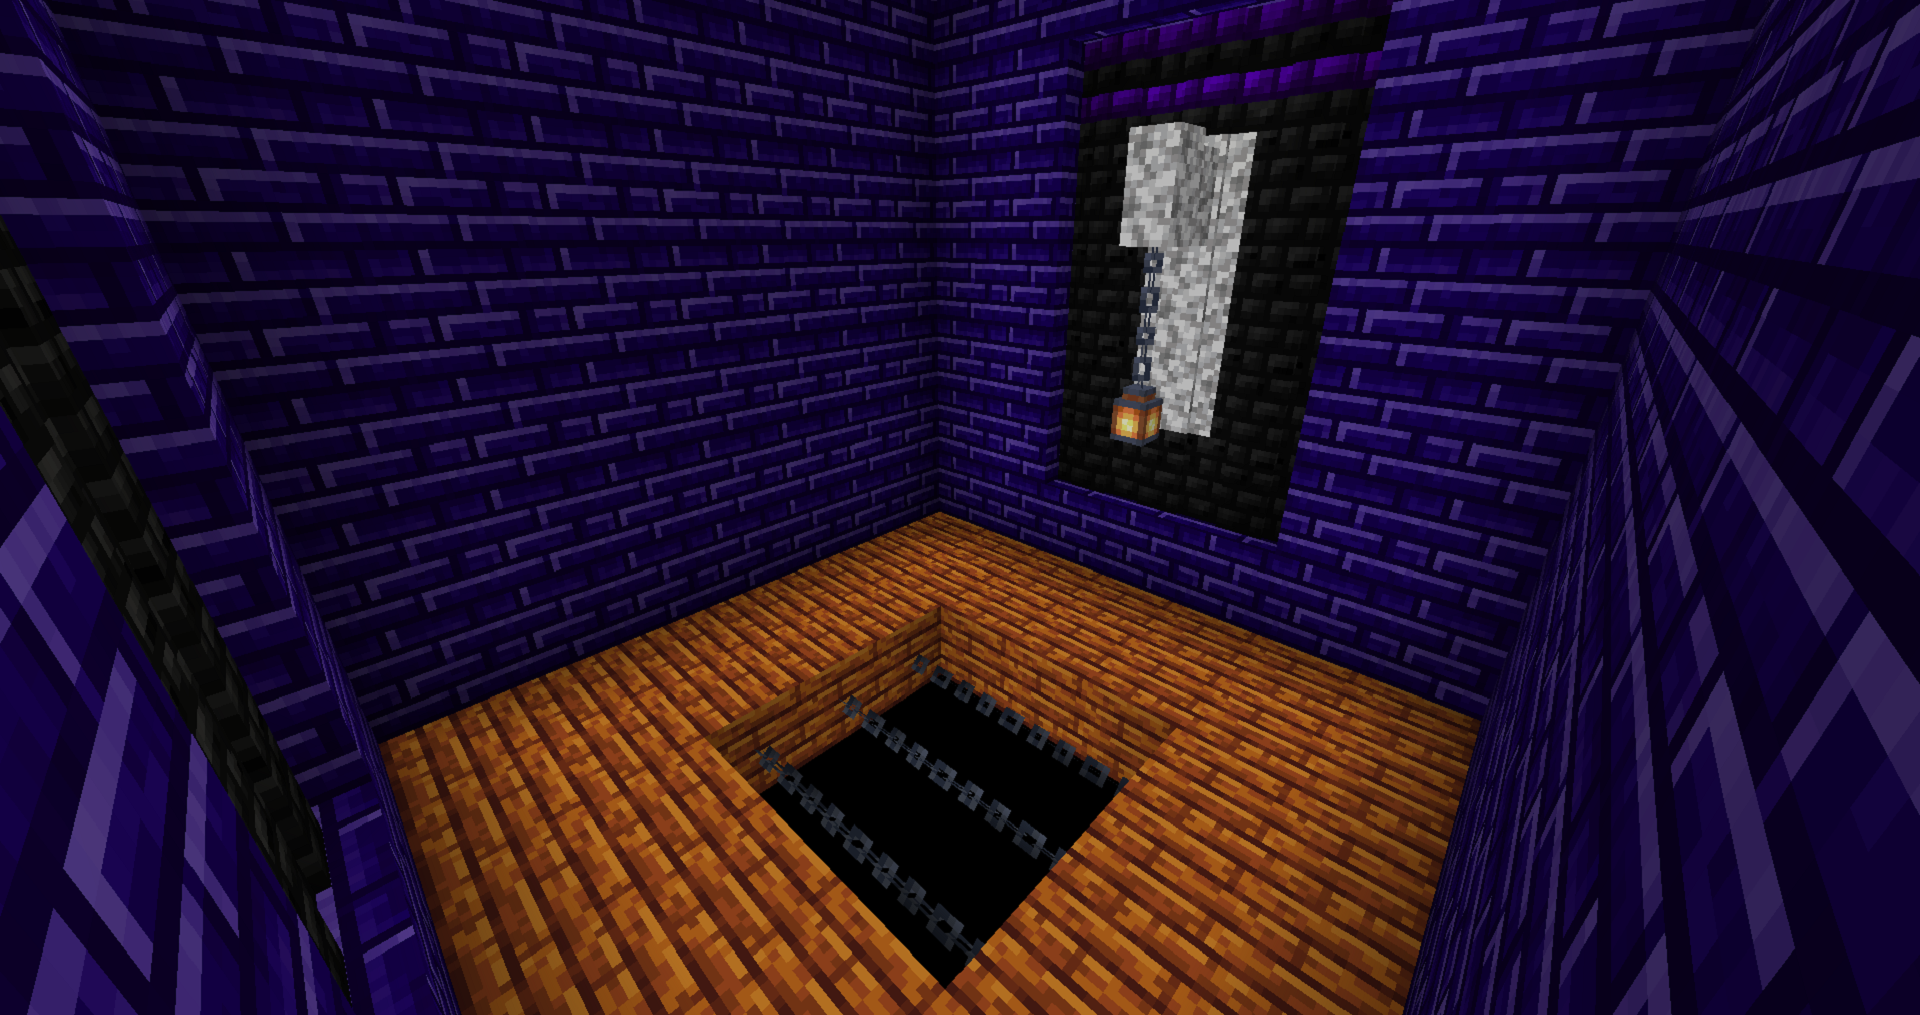
- Haunted Dungeon (Small Rooms Empty).png 1,920 × 1,015; 1.74 MB
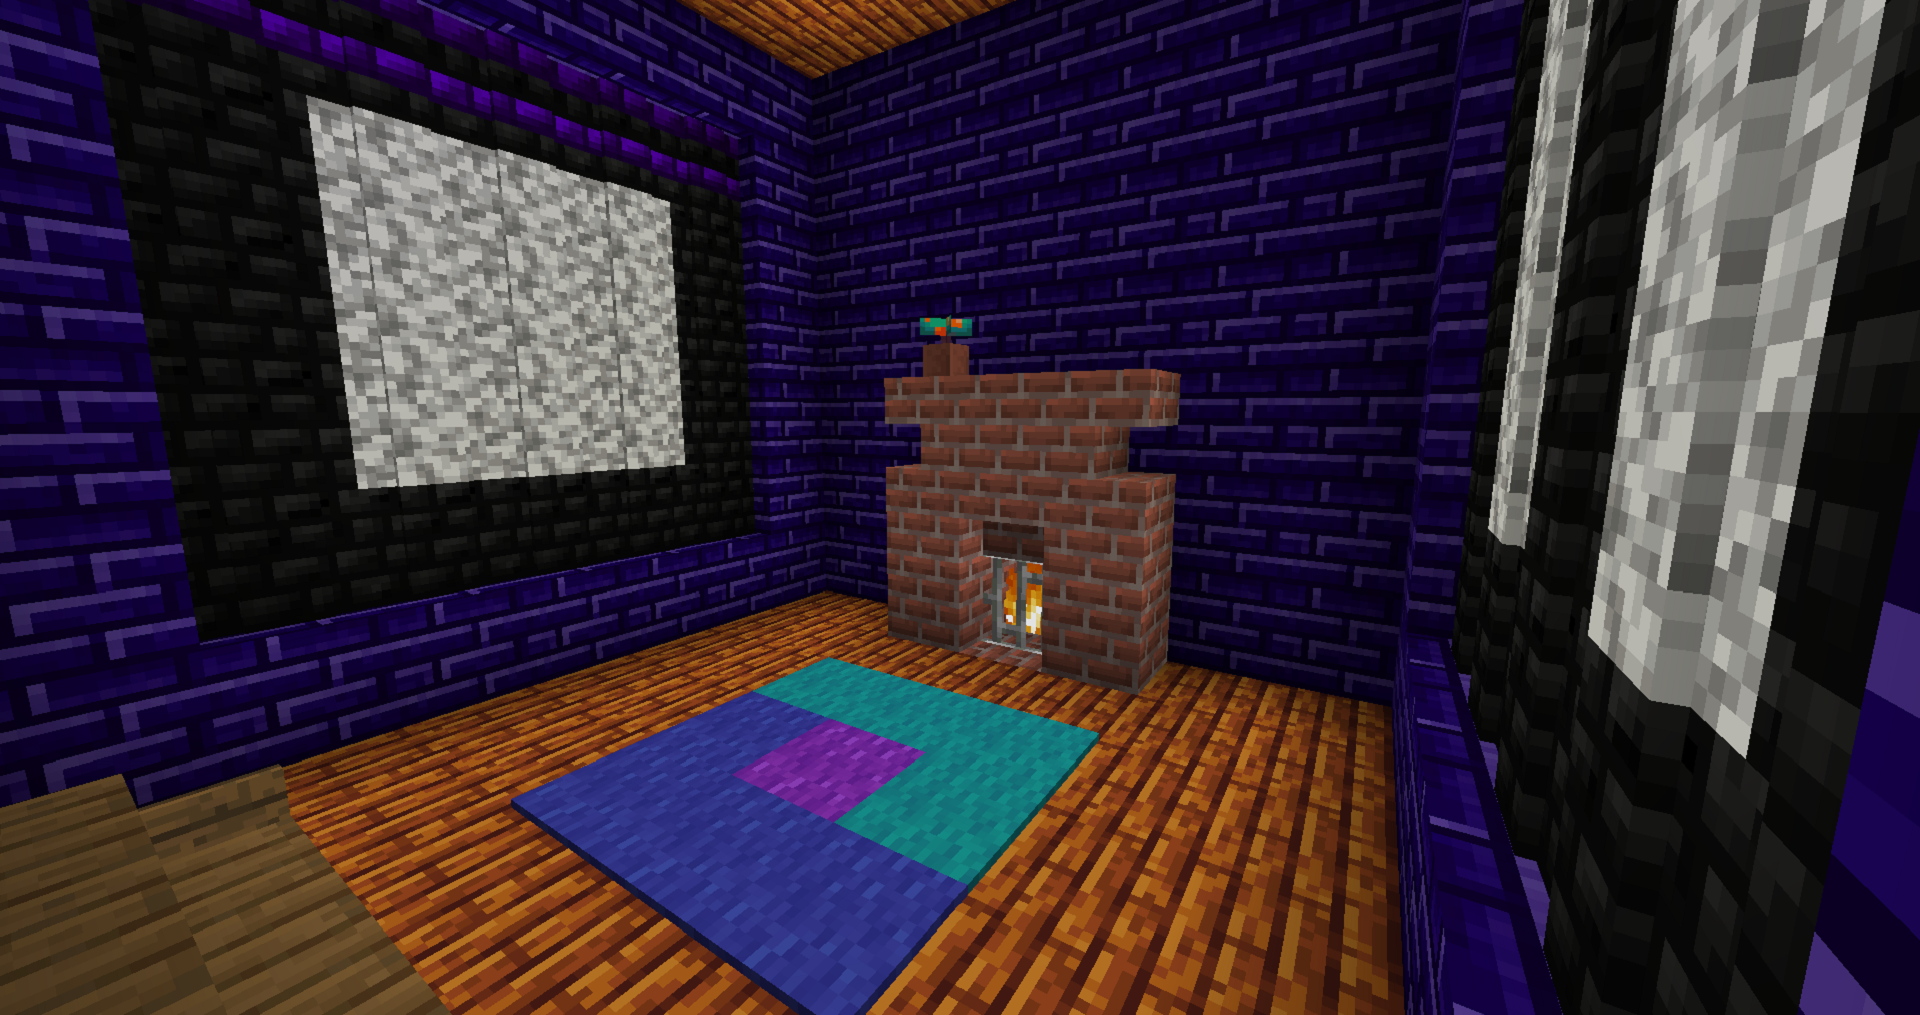
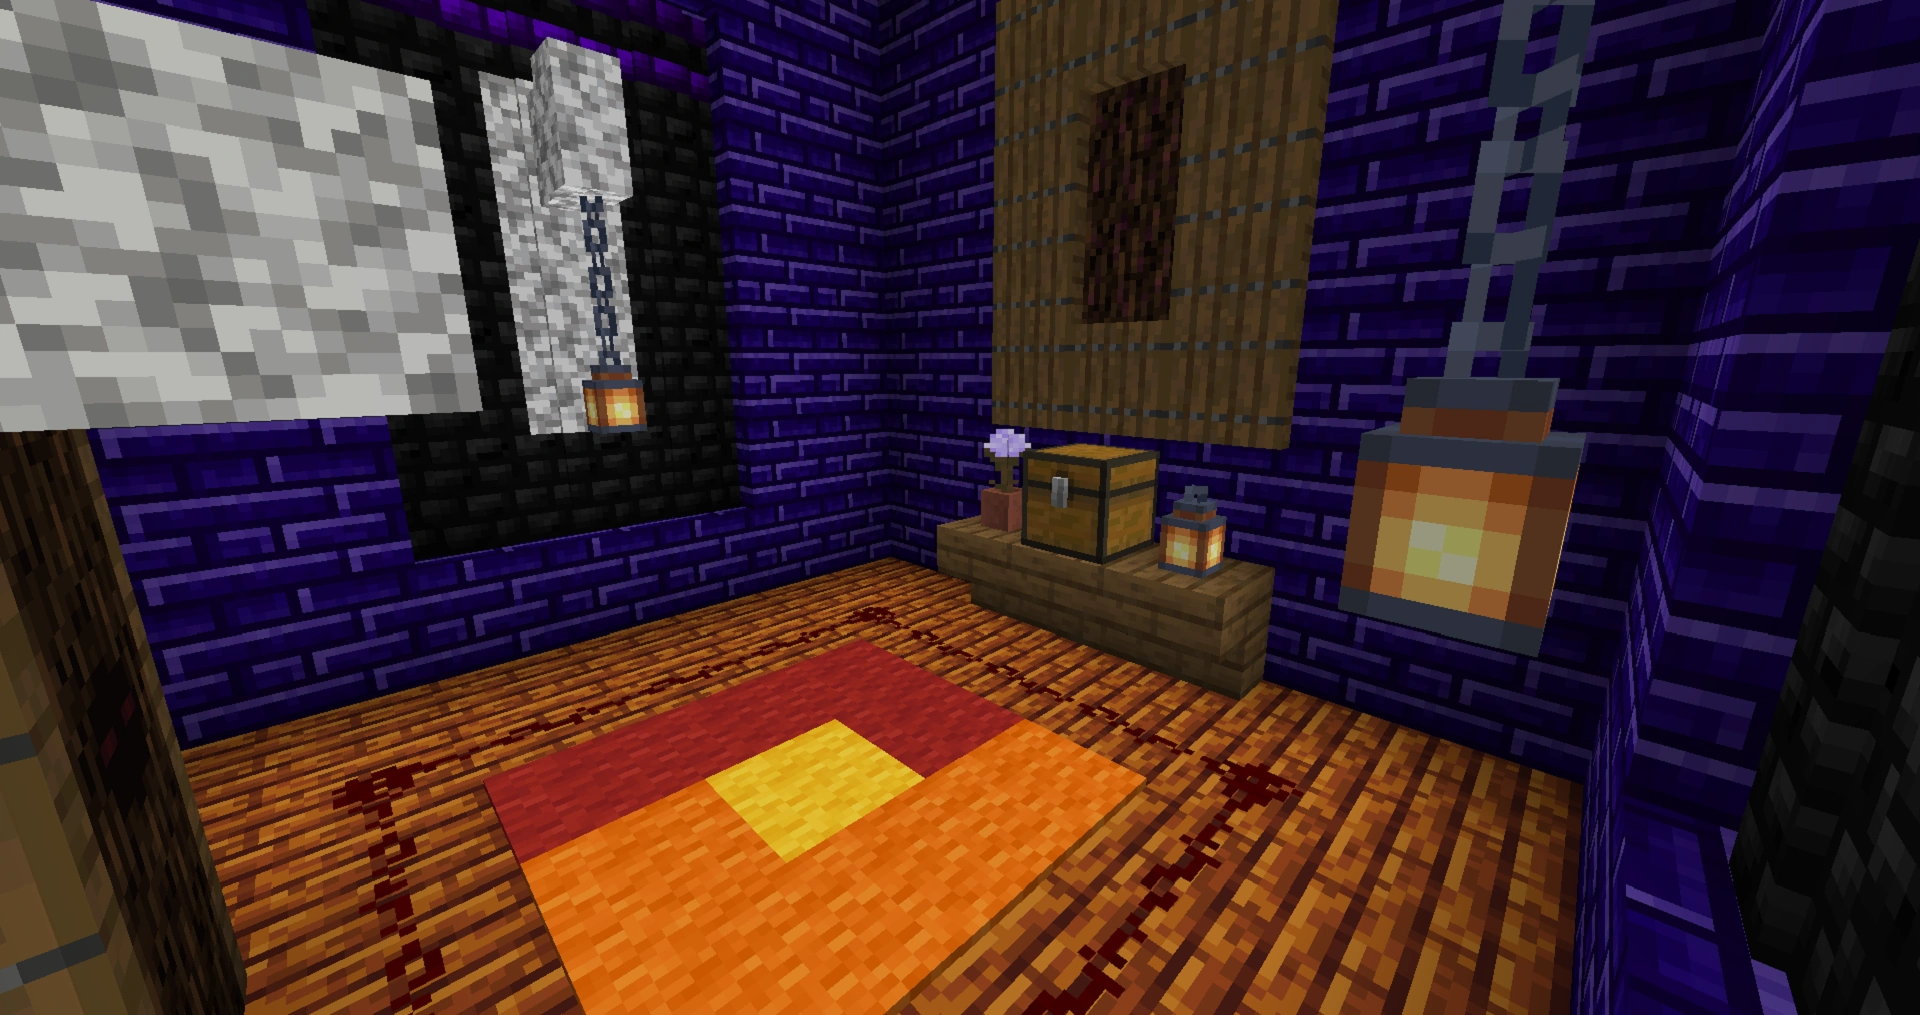
- Haunted Dungeon (Small Rooms Fireplace).png 1,920 × 1,015; 1.68 MB
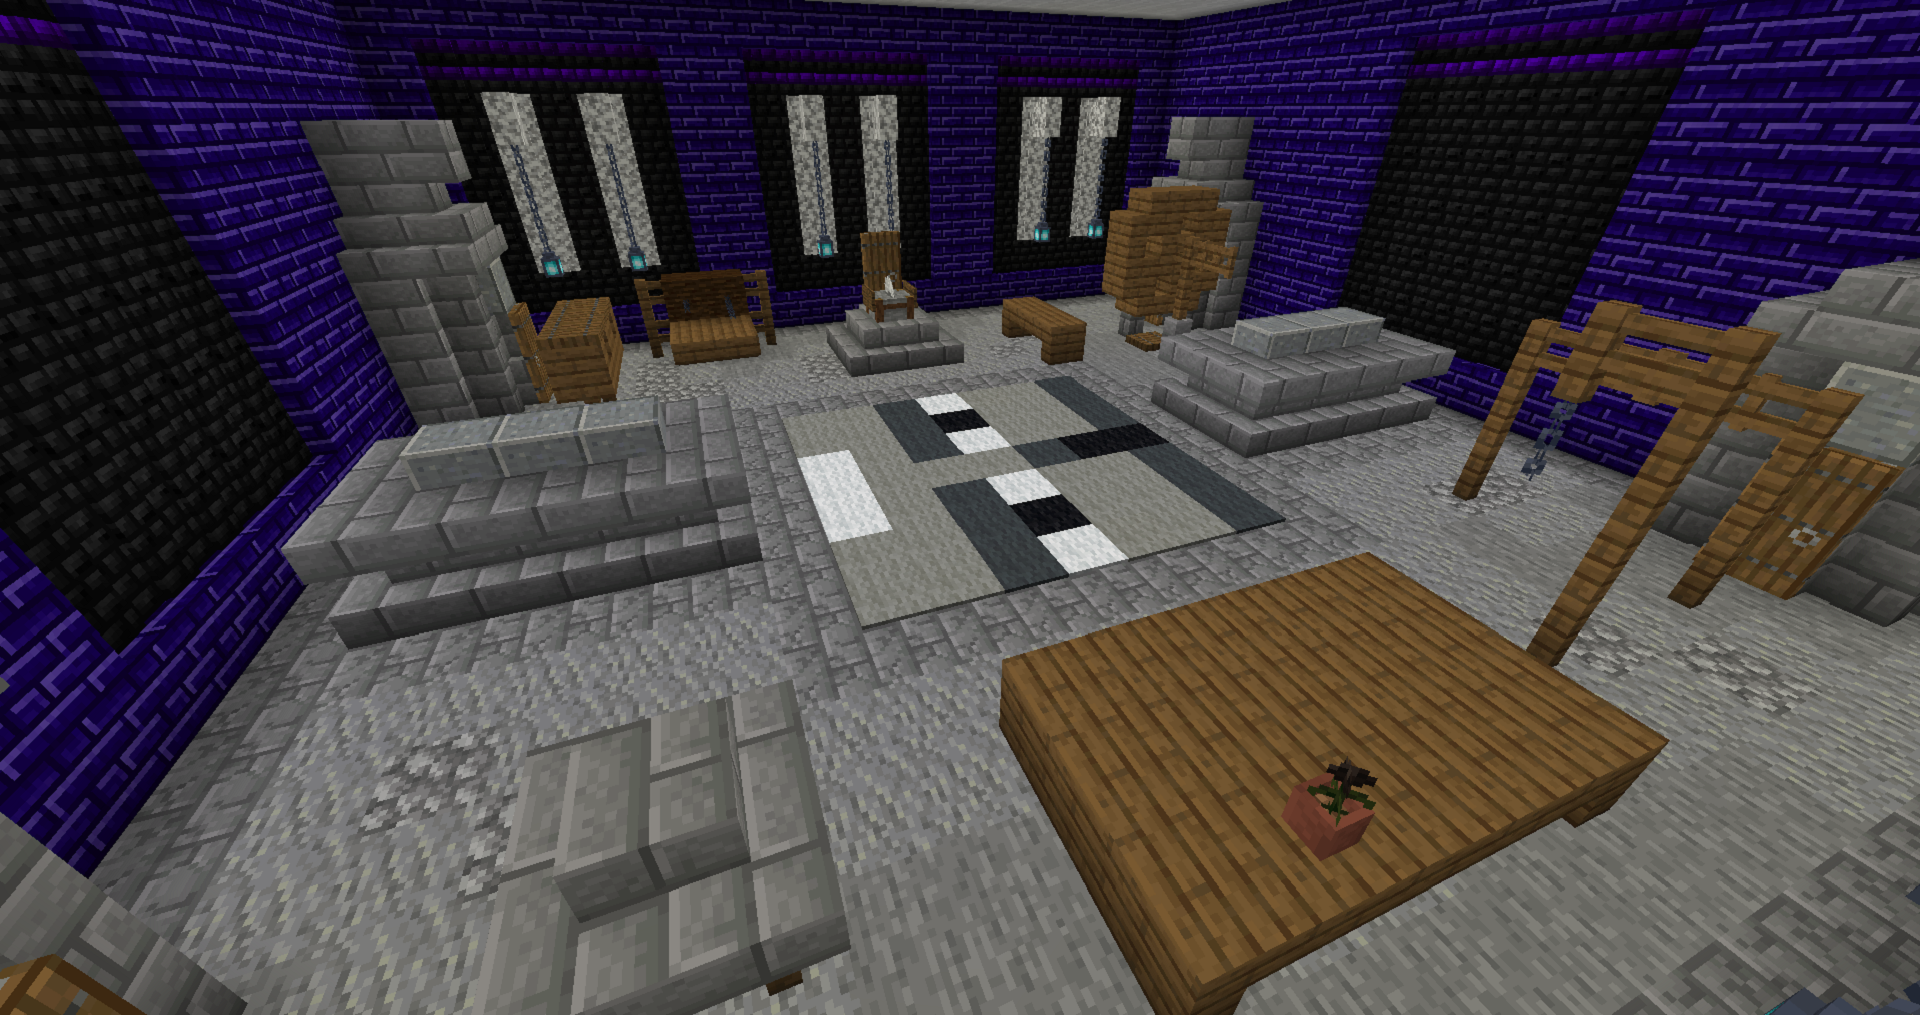
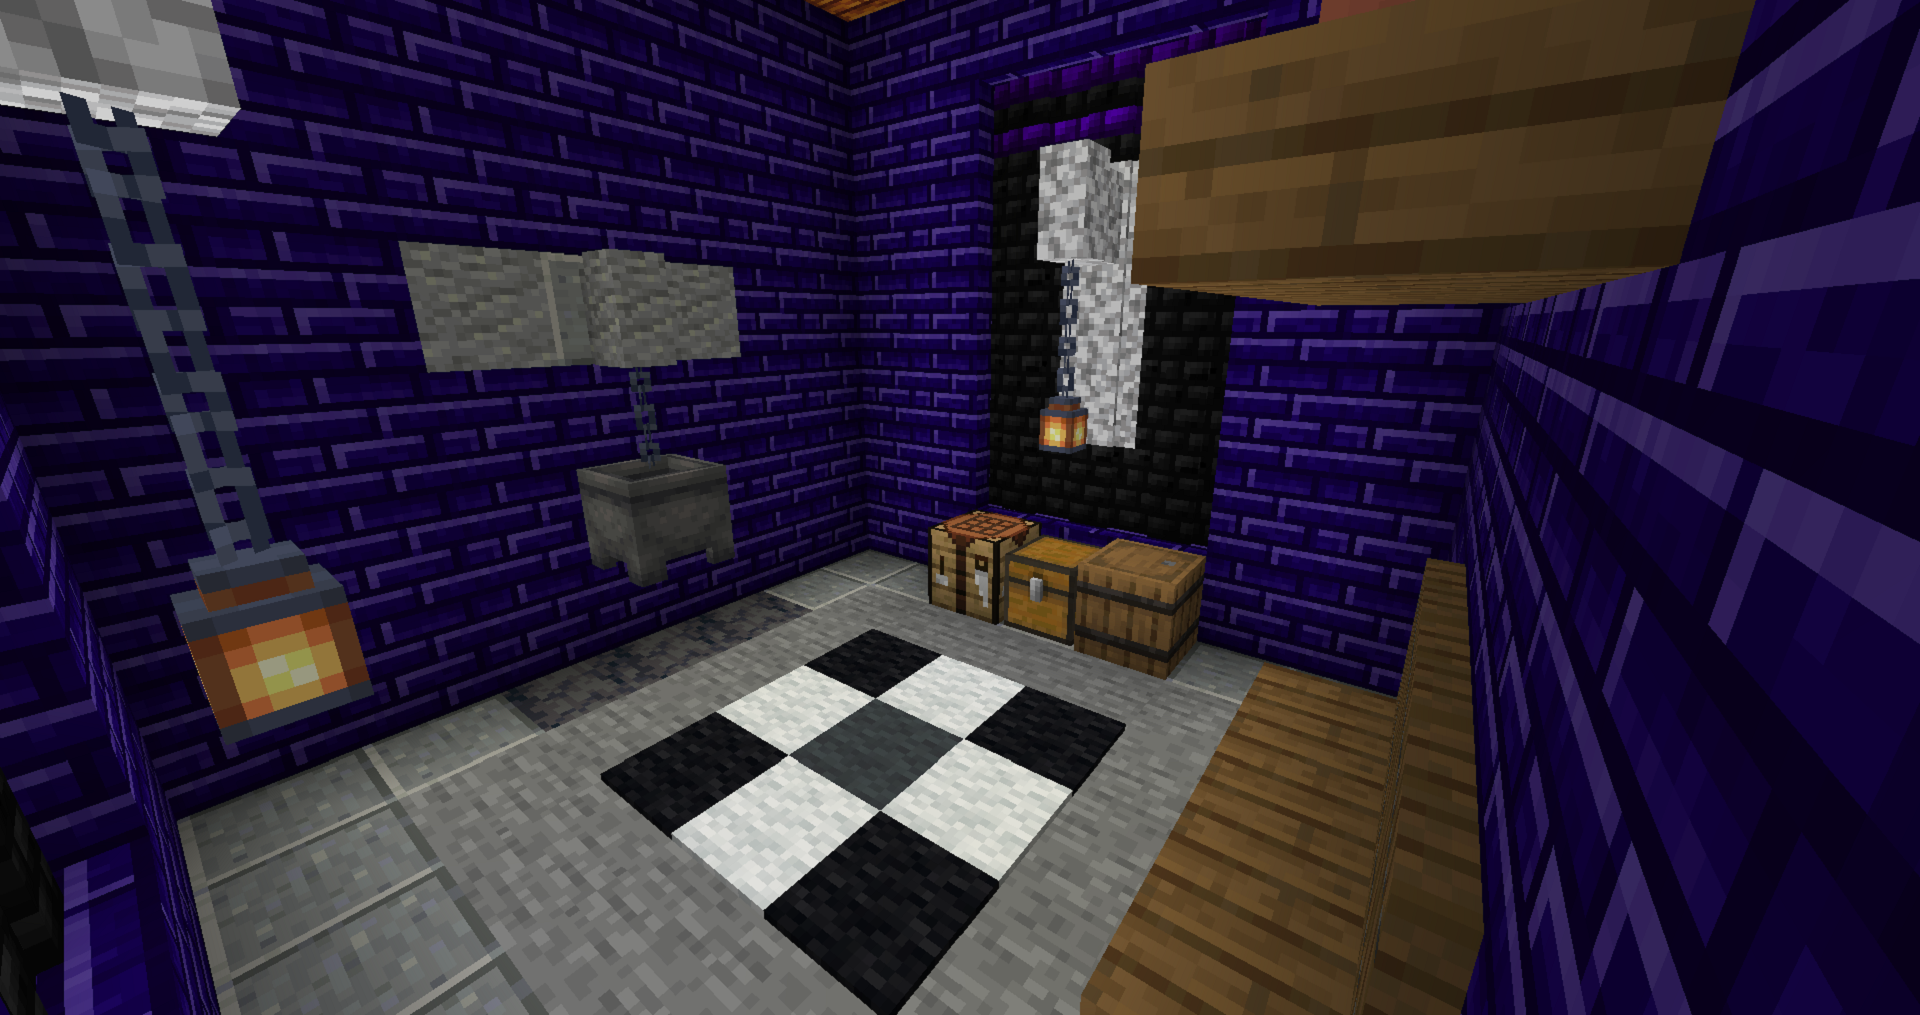
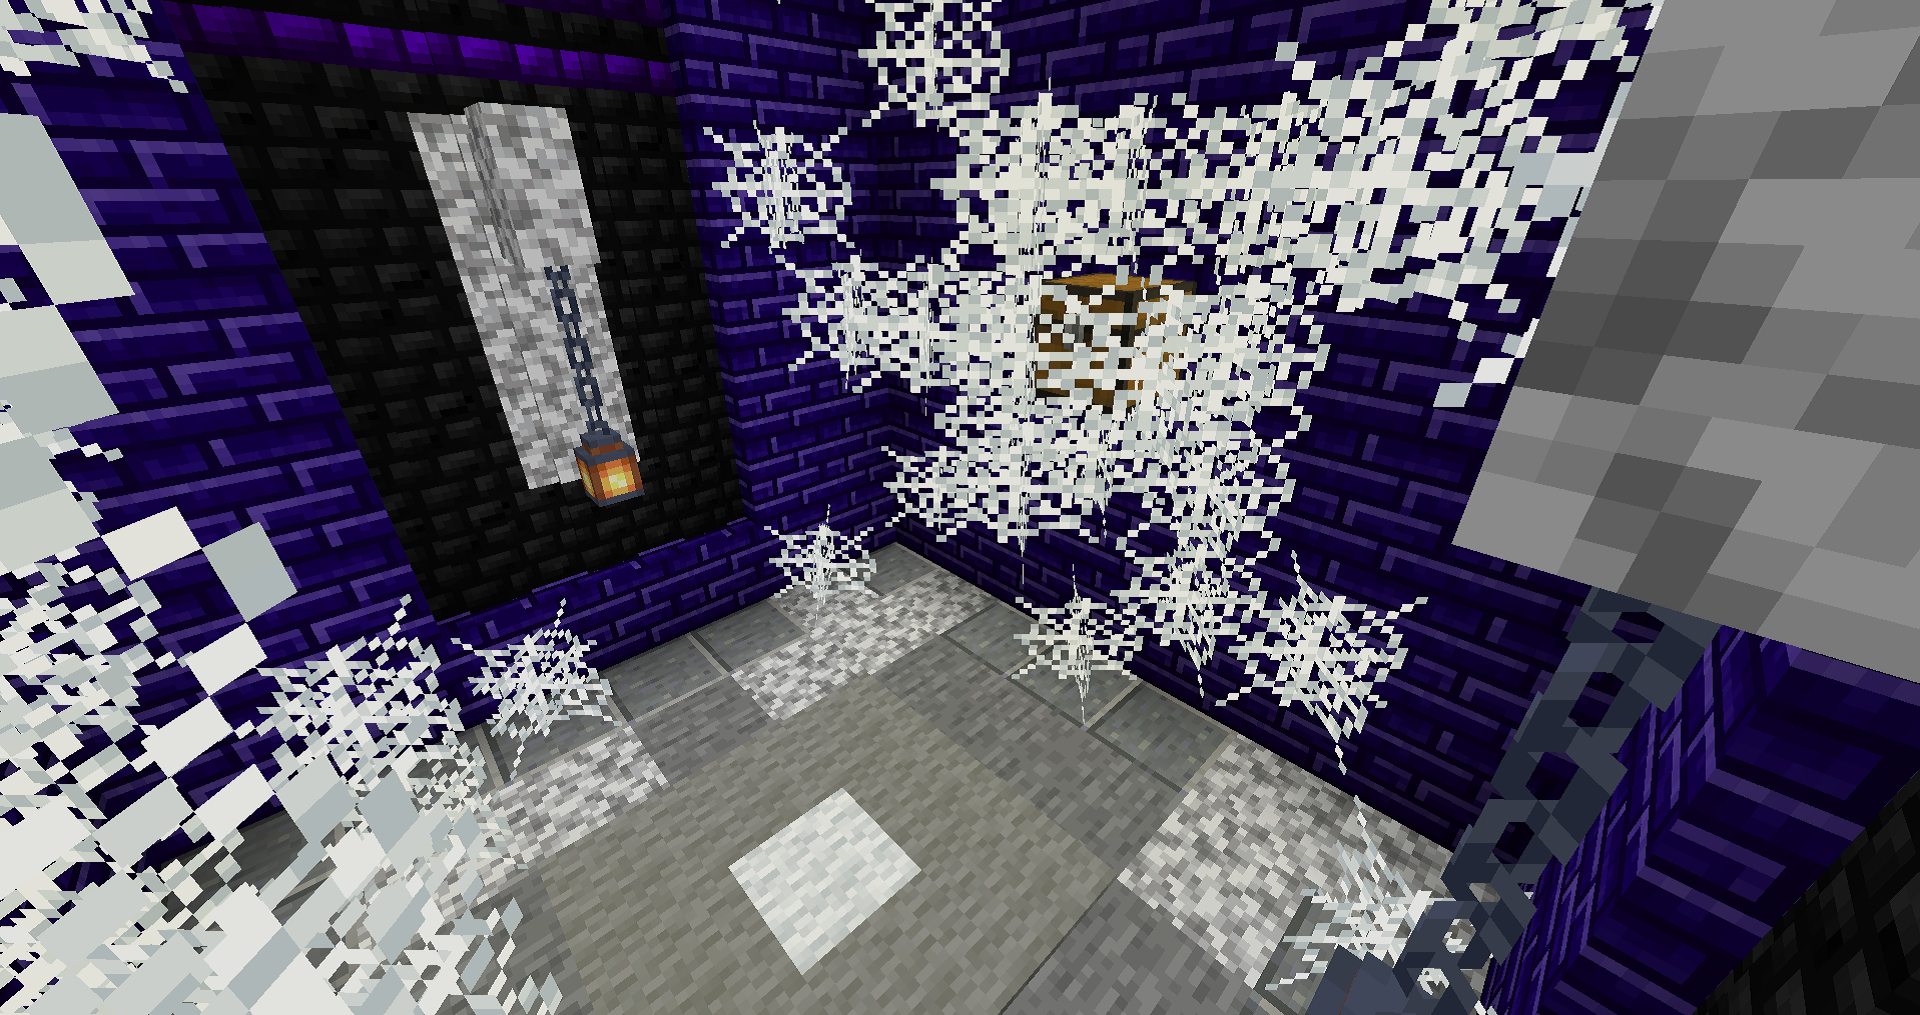
- Haunted Dungeon (Small Rooms Marble).png 1,920 × 1,015; 1.72 MB
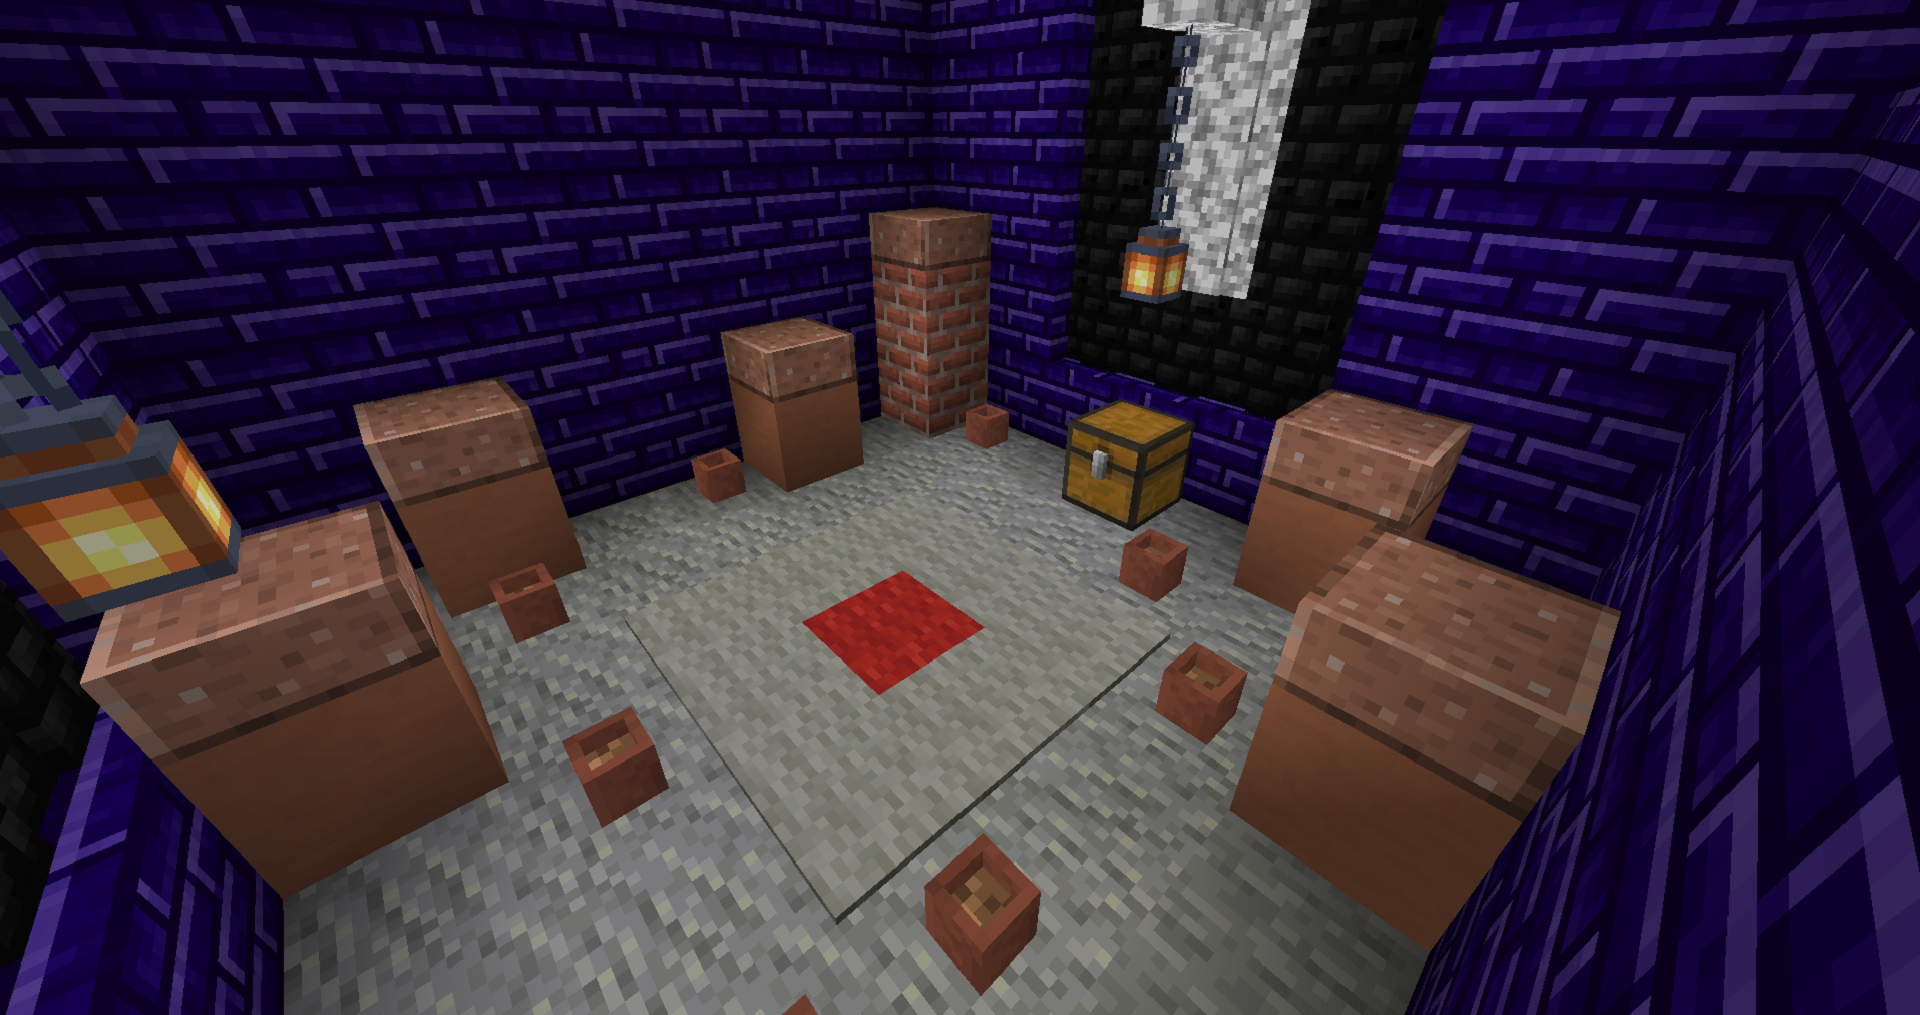
- Haunted Dungeon (Small Rooms Potter).png 1,920 × 1,015; 1.55 MB
- Haunted Dungeon (Small Rooms Ritual).png 1,920 × 1,015; 1.47 MB
- Haunted Dungeon (Small Rooms Storage).png 1,920 × 1,015; 1.31 MB
- Haunted Dungeon (Small Rooms Study).png 1,920 × 1,015; 1.89 MB
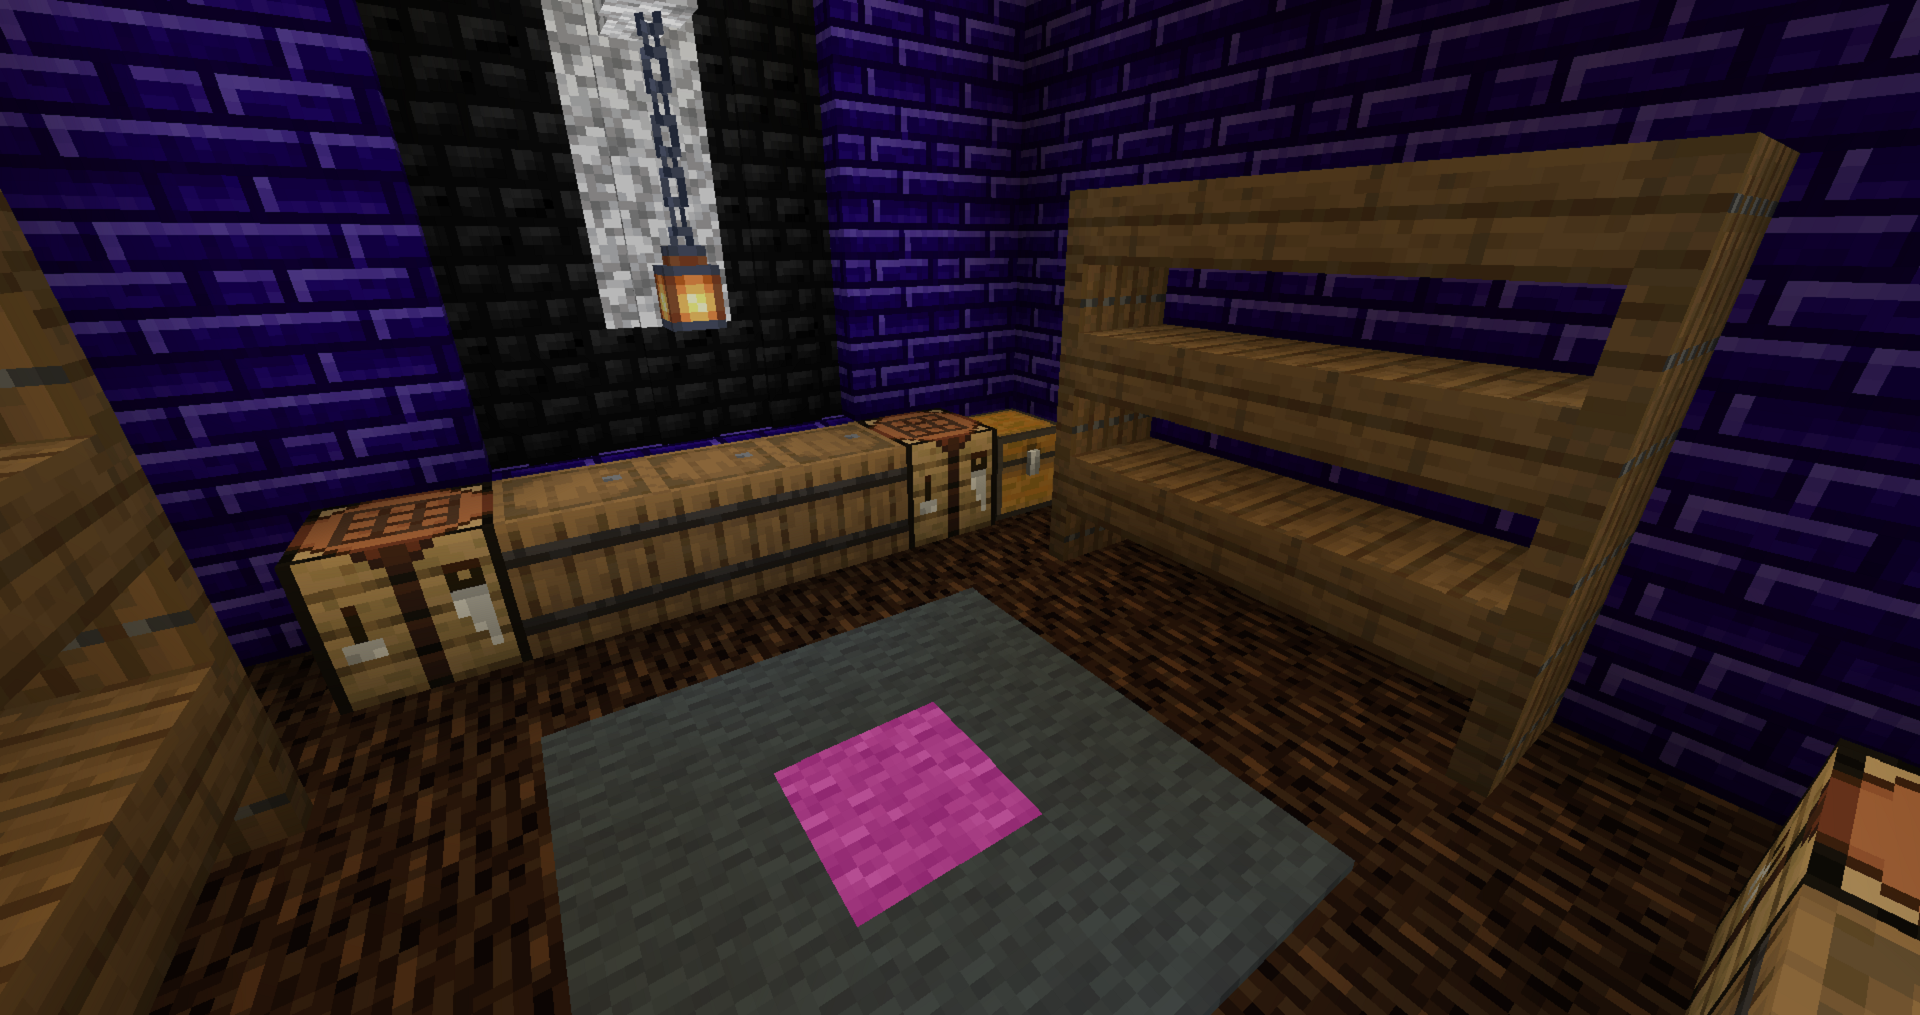
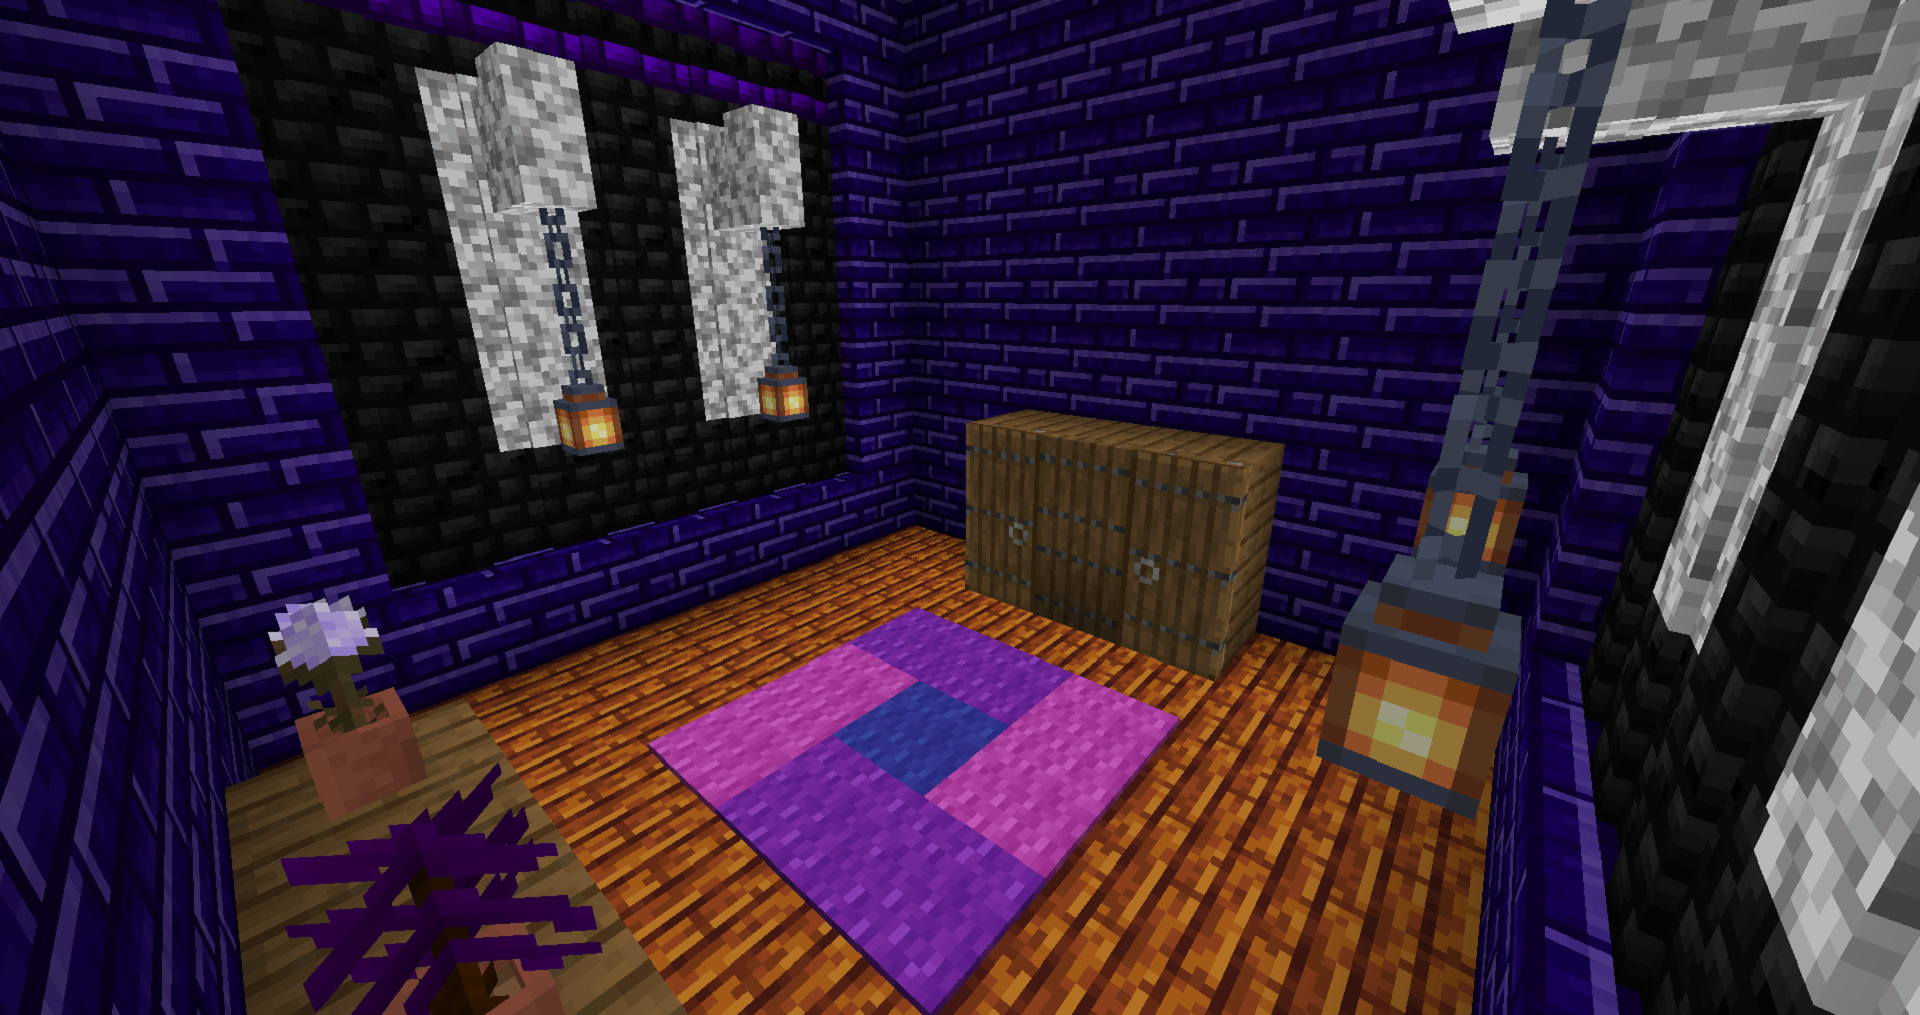
- Haunted Dungeon (Small Rooms Wardrobe).png 1,920 × 1,015; 1.68 MB
- Haunted Dungeon (Small Rooms Webs).png 1,920 × 1,015; 1.3 MB
- Haunted Forest.png 960 × 500; 625 KB
- Health Bar.png 225 × 56; 5 KB
- Helm of the Treasurer Armor (level 1000).png 245 × 235; 11 KB
- Hive Nest Inside.png 1,920 × 1,080; 1.61 MB
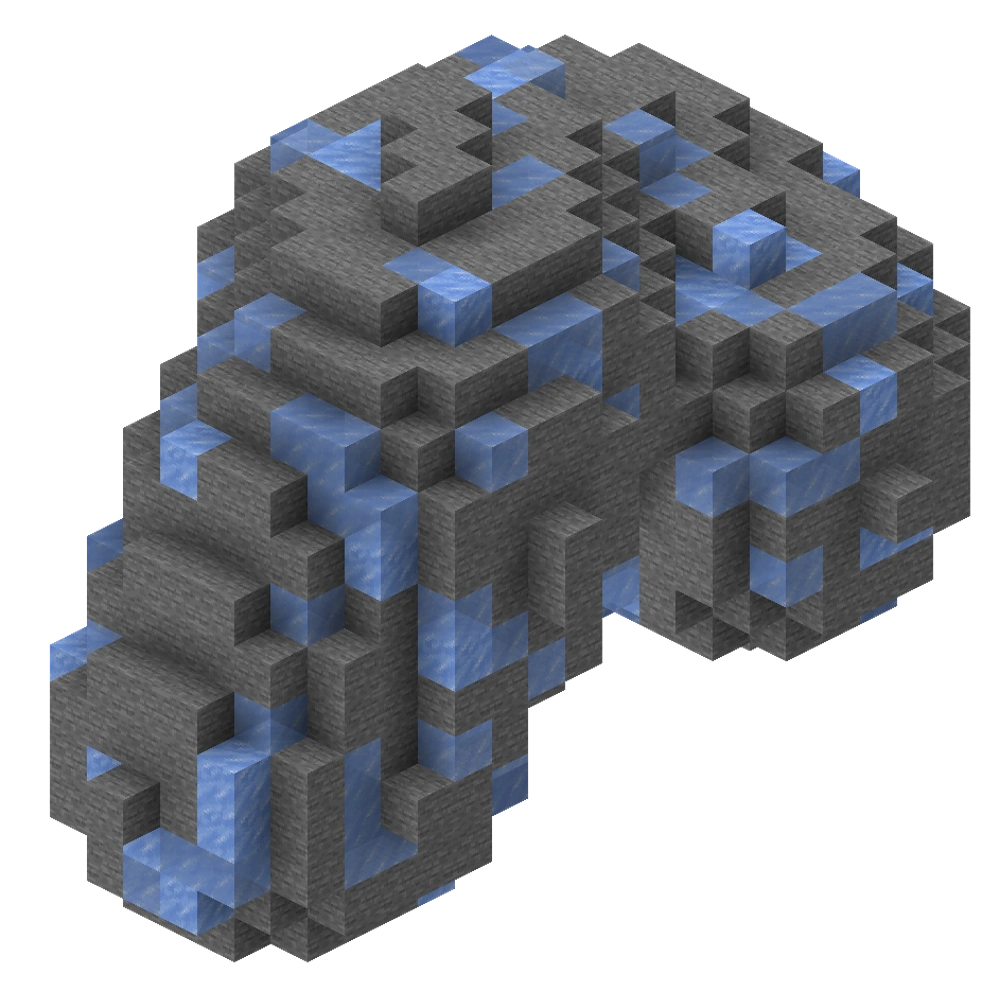
- Icy Asteroid 2.png 1,000 × 1,000; 744 KB
- Illusion Tree Inside.png 1,920 × 1,080; 328 KB
- Immortallis.png 1,920 × 1,080; 3.03 MB
- Infested Asteroid.png 1,000 × 1,000; 683 KB
- Infested Candy Cane With Cane Bugs.png 1,920 × 1,080; 1.49 MB
- Infested Candy Cane.png 1,249 × 702; 1.55 MB
- Infusion Table GUI.png 362 × 339; 32 KB
- Iro-Tech Hills.png 500 × 220; 156 KB
- Iromine.png 1,920 × 1,080; 1.64 MB
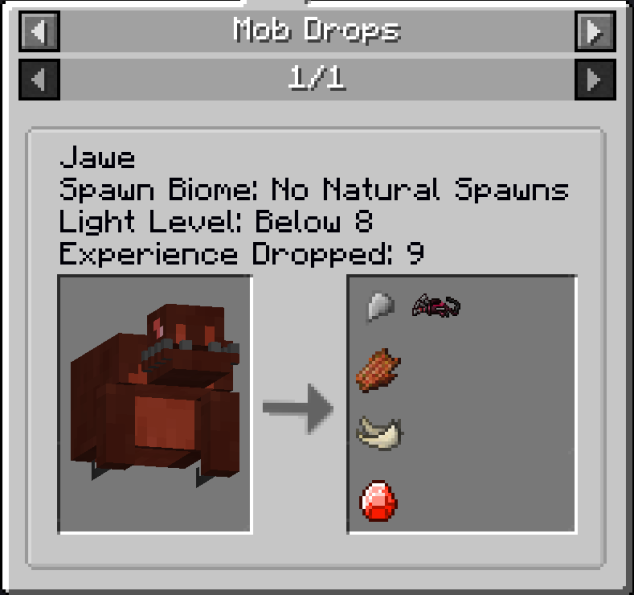
- JER Compatibility.png 634 × 595; 38 KB
- Kaiyu Temple Inside.png 250 × 111; 47 KB
- Kror Cave (Dark Arena).png 1,919 × 1,013; 1.3 MB
- L'Borean (Night Vision).png 1,920 × 1,080; 1.77 MB
- L'Borean Buffet.png 1,917 × 1,017; 1.76 MB
- L'Borean.png 1,920 × 1,080; 1.19 MB
- Lelyetia.png 1,920 × 1,080; 3.87 MB
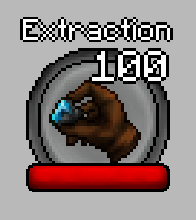
- Level100Extraction.png 196 × 220; 9 KB
- Lunalus (Night Vision).png 1,919 × 1,017; 1.26 MB
- Lunalus.png 1,917 × 1,015; 666 KB
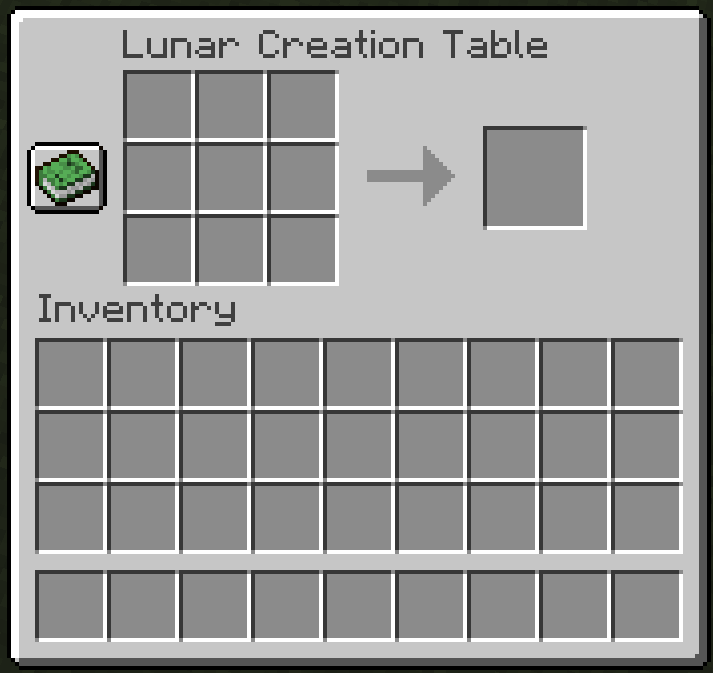
- Lunar Creation Table GUI.png 713 × 673; 36 KB
- Lunar Geode 2.png 1,000 × 1,000; 510 KB
- Lunar Maze End.png 300 × 156; 108 KB
- Lunar Oasis 2.png 1,000 × 1,000; 740 KB
- Lunar Oasis 3.png 1,000 × 1,000; 736 KB
- Marshmallow Hills.png 500 × 260; 106 KB
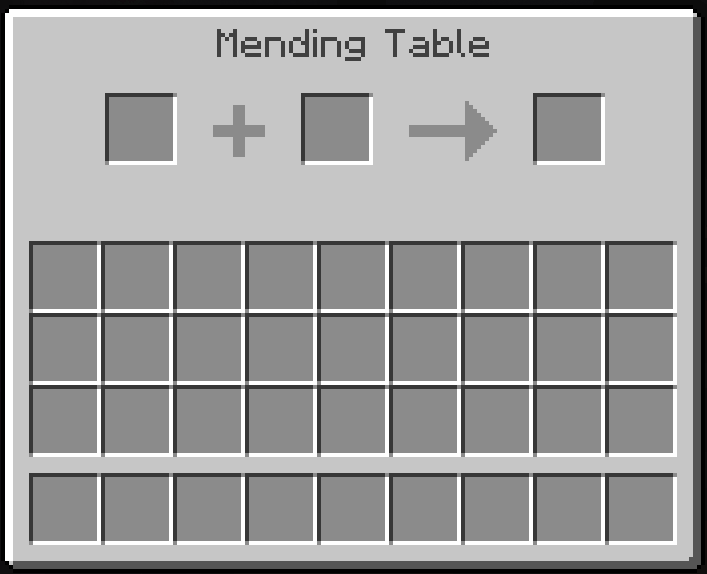
- Mending Table GUI.png 707 × 574; 26 KB
- MinigameProgress.png 347 × 180; 49 KB
- Mushroom Spider Cave.png 1,221 × 909; 457 KB
- Mysterium (Night Vision).png 1,917 × 1,017; 2.3 MB
- Mysterium Topside (Night Vision).png 3,840 × 2,066; 3.77 MB
- Mysterium Topside.png 3,840 × 2,066; 2.85 MB
- Mysterium.png 1,917 × 1,013; 1.24 MB
- Mystic Lotto Shroom.png 989 × 975; 237 KB
- Nethengeic Pit.png 1,919 × 1,013; 1.4 MB
- Nether Asteroid 2.png 1,000 × 1,000; 634 KB
- Nether Asteroid 3.png 1,000 × 1,000; 853 KB
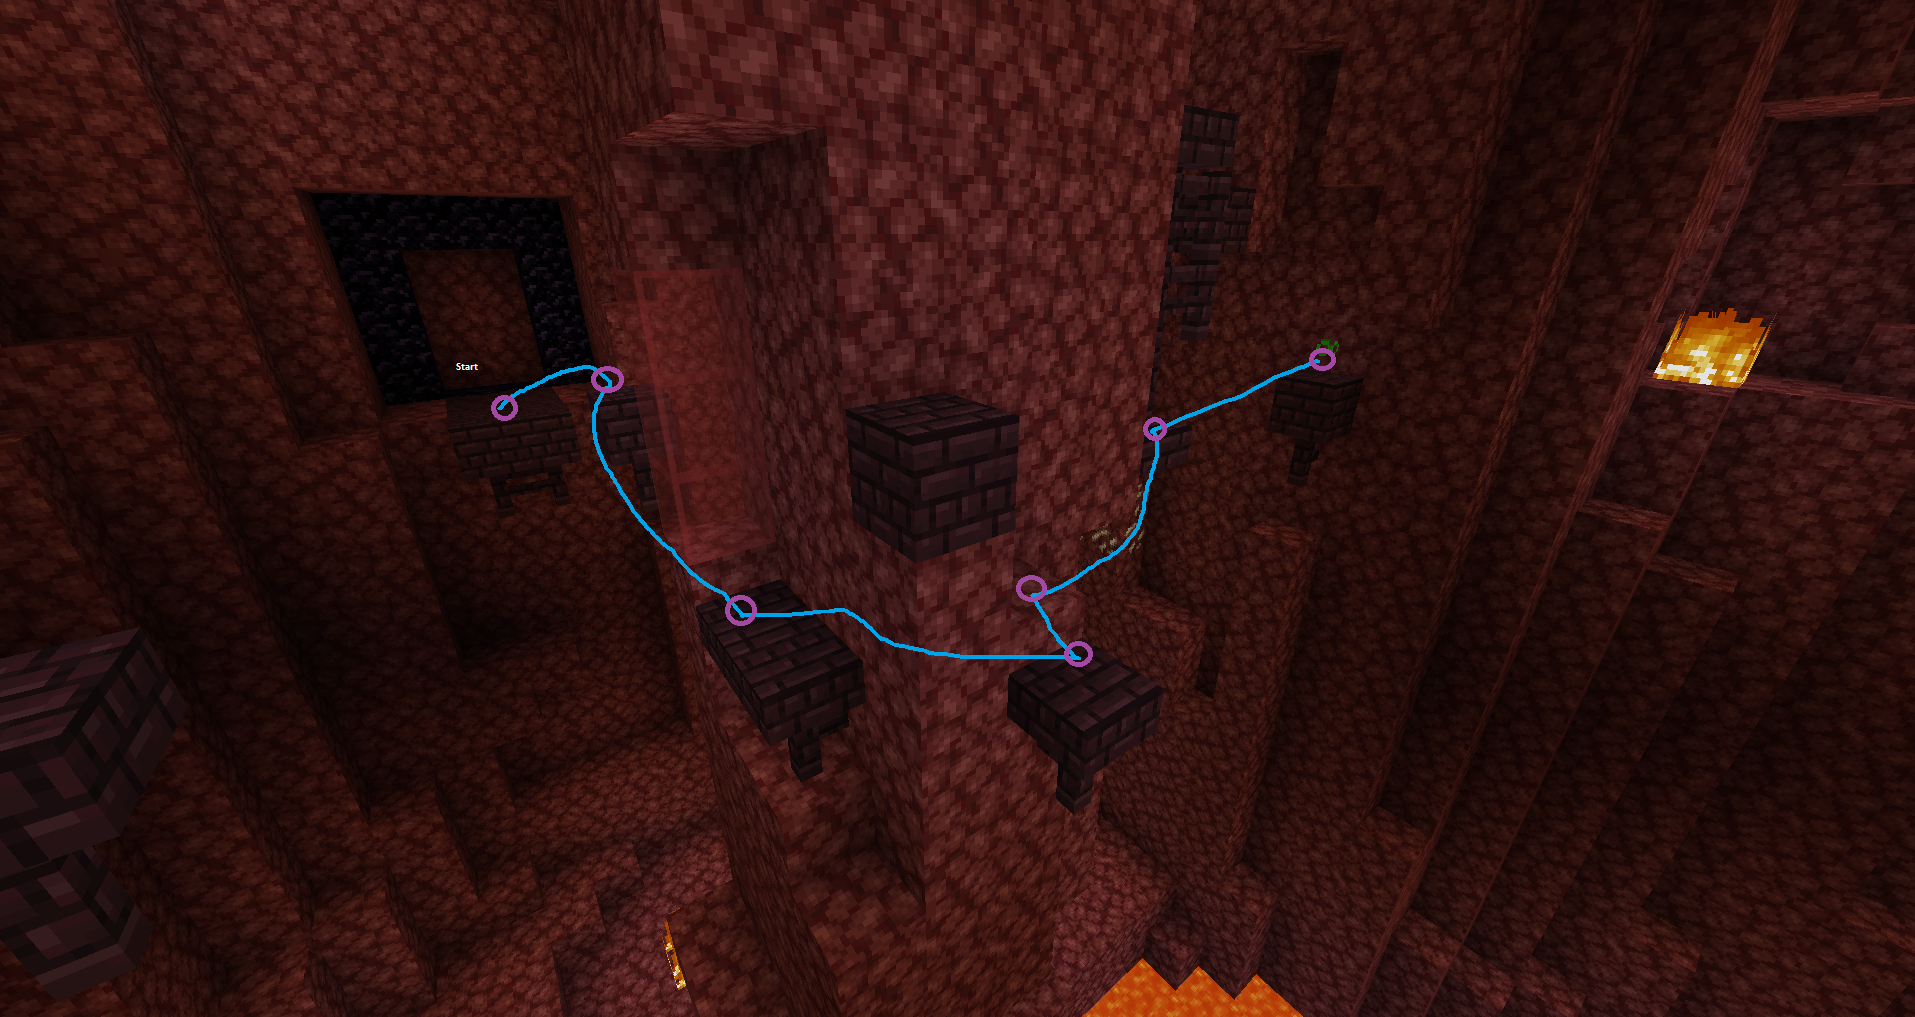
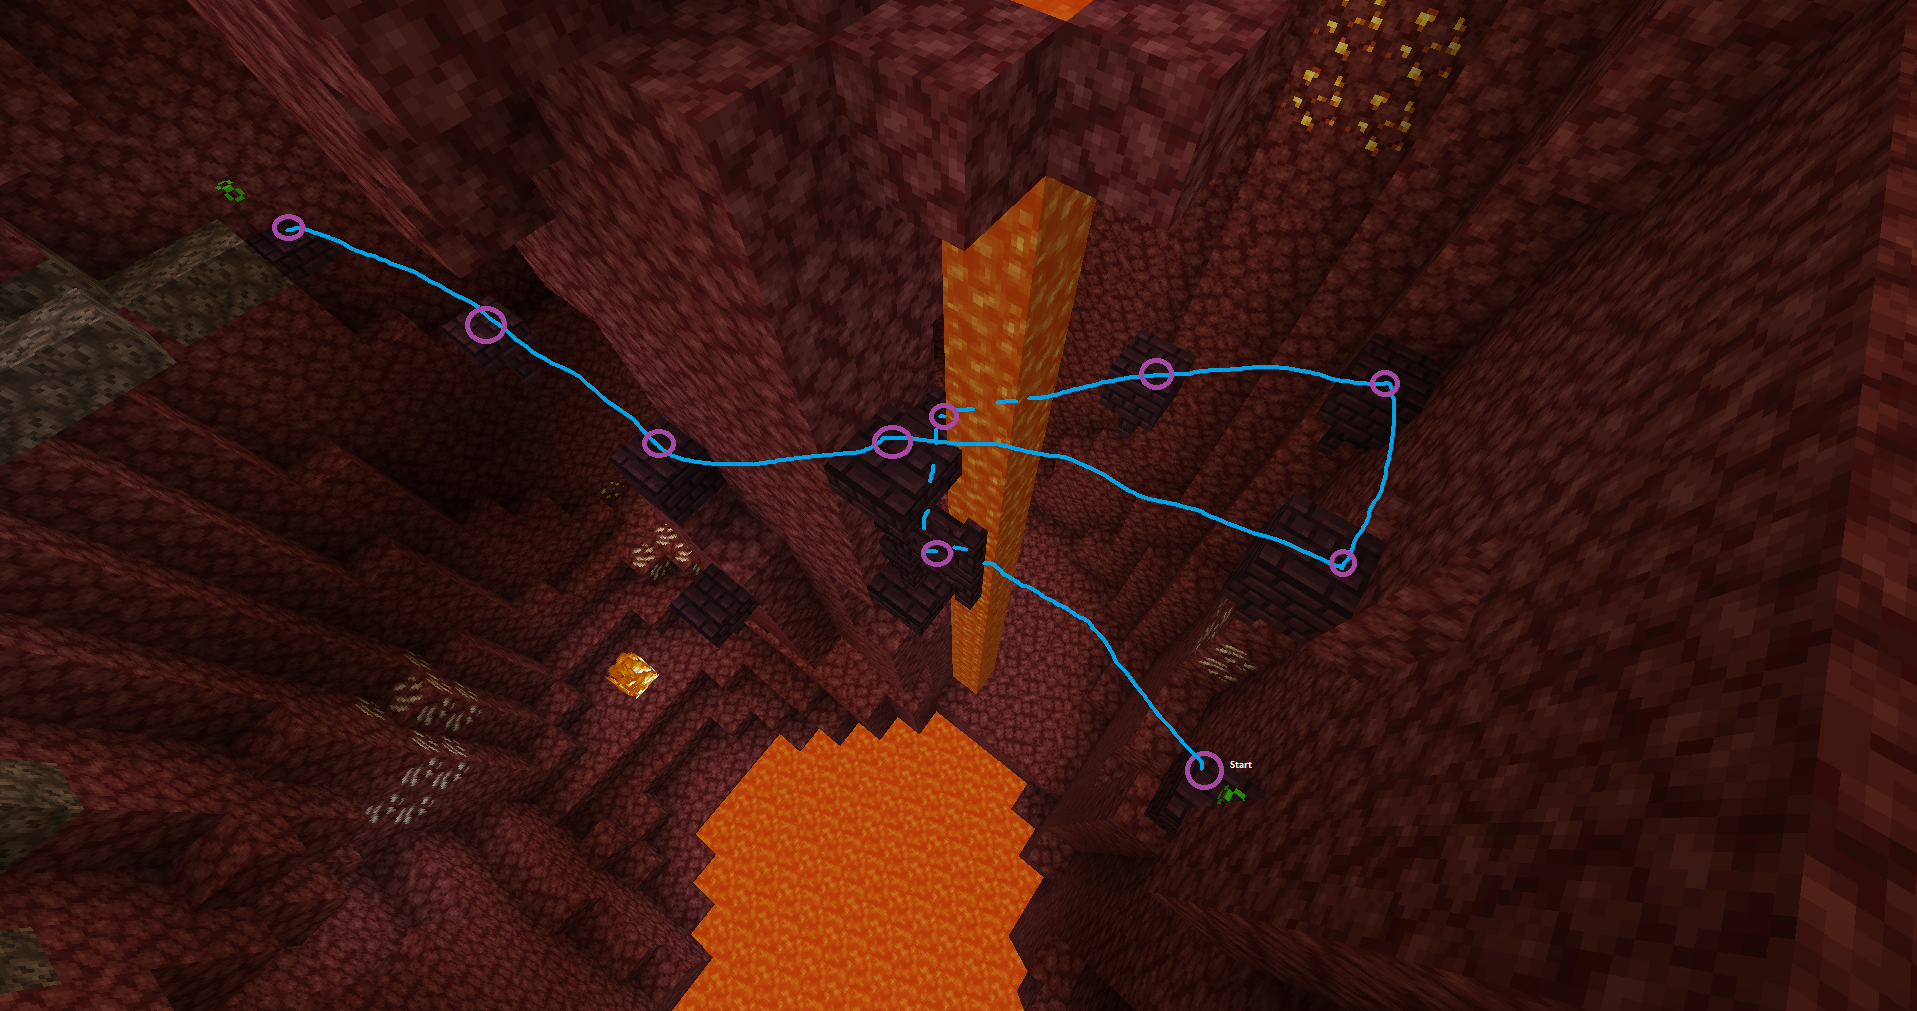
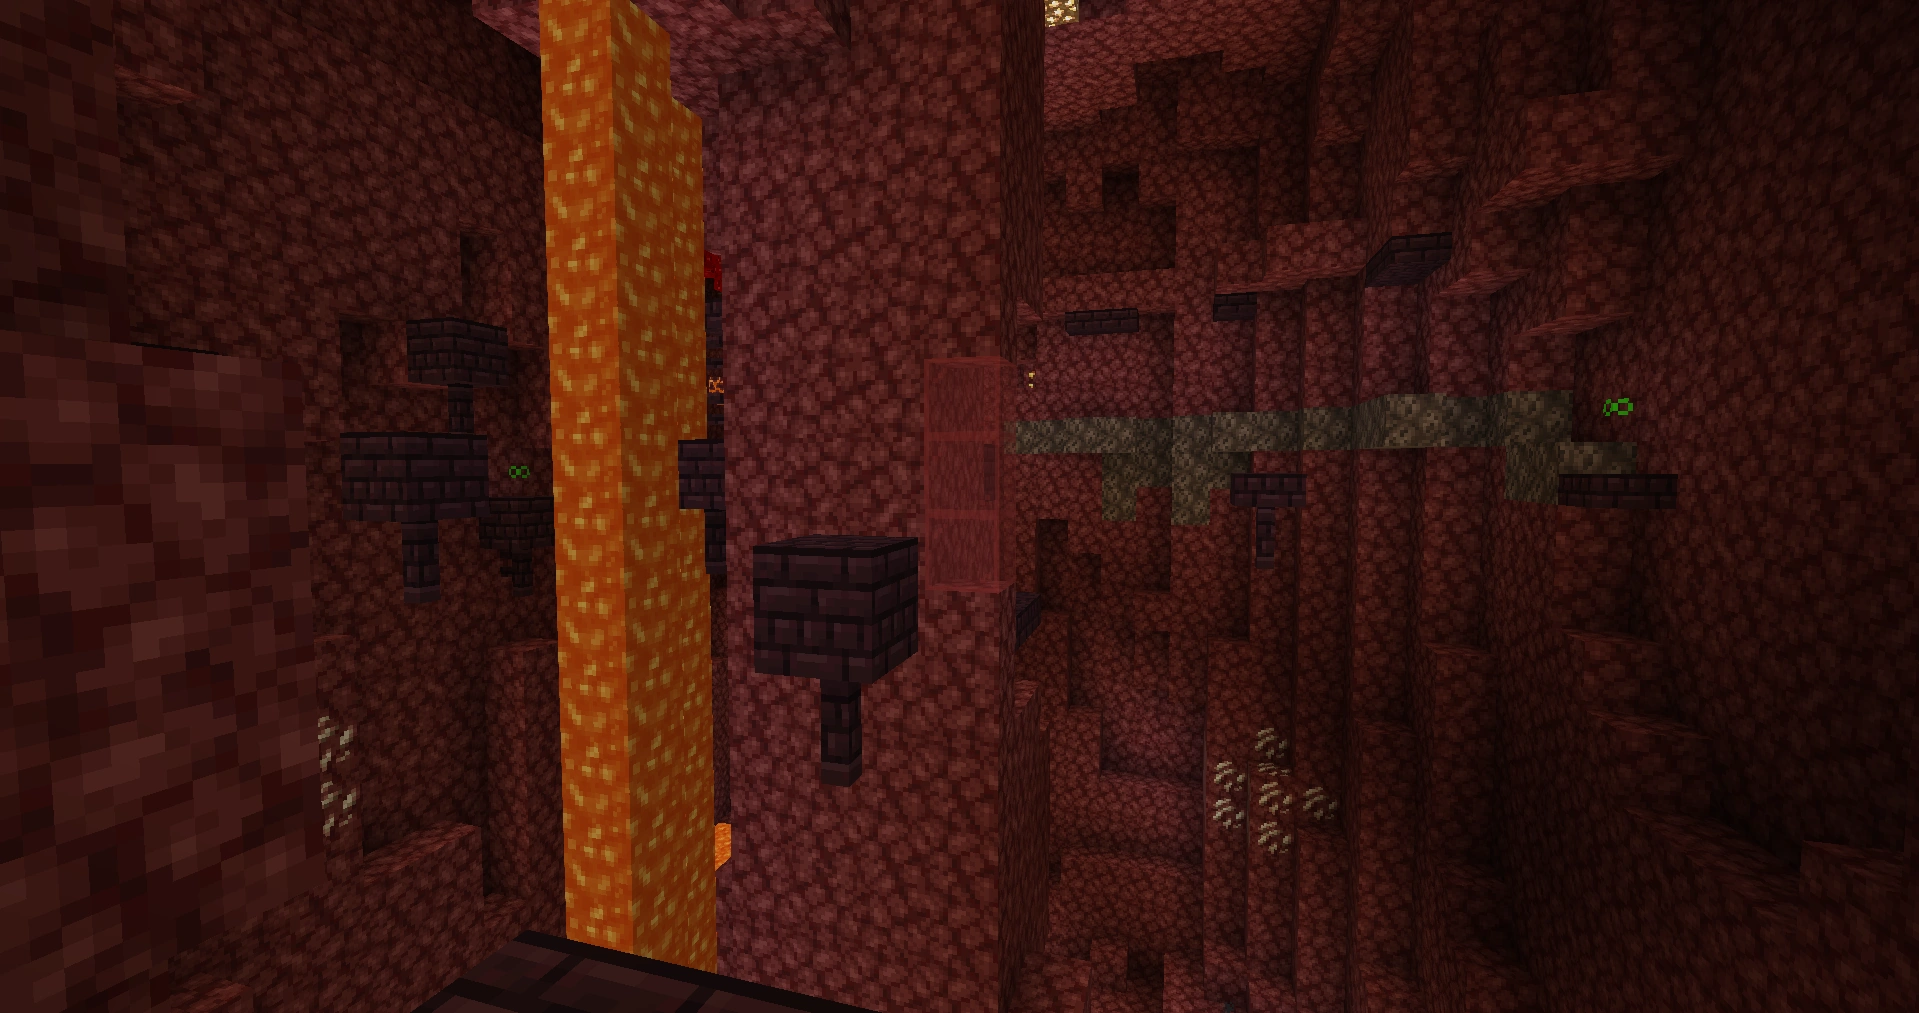
- Nether Tourist Until Checkpoint 1.png 1,915 × 1,017; 1.41 MB
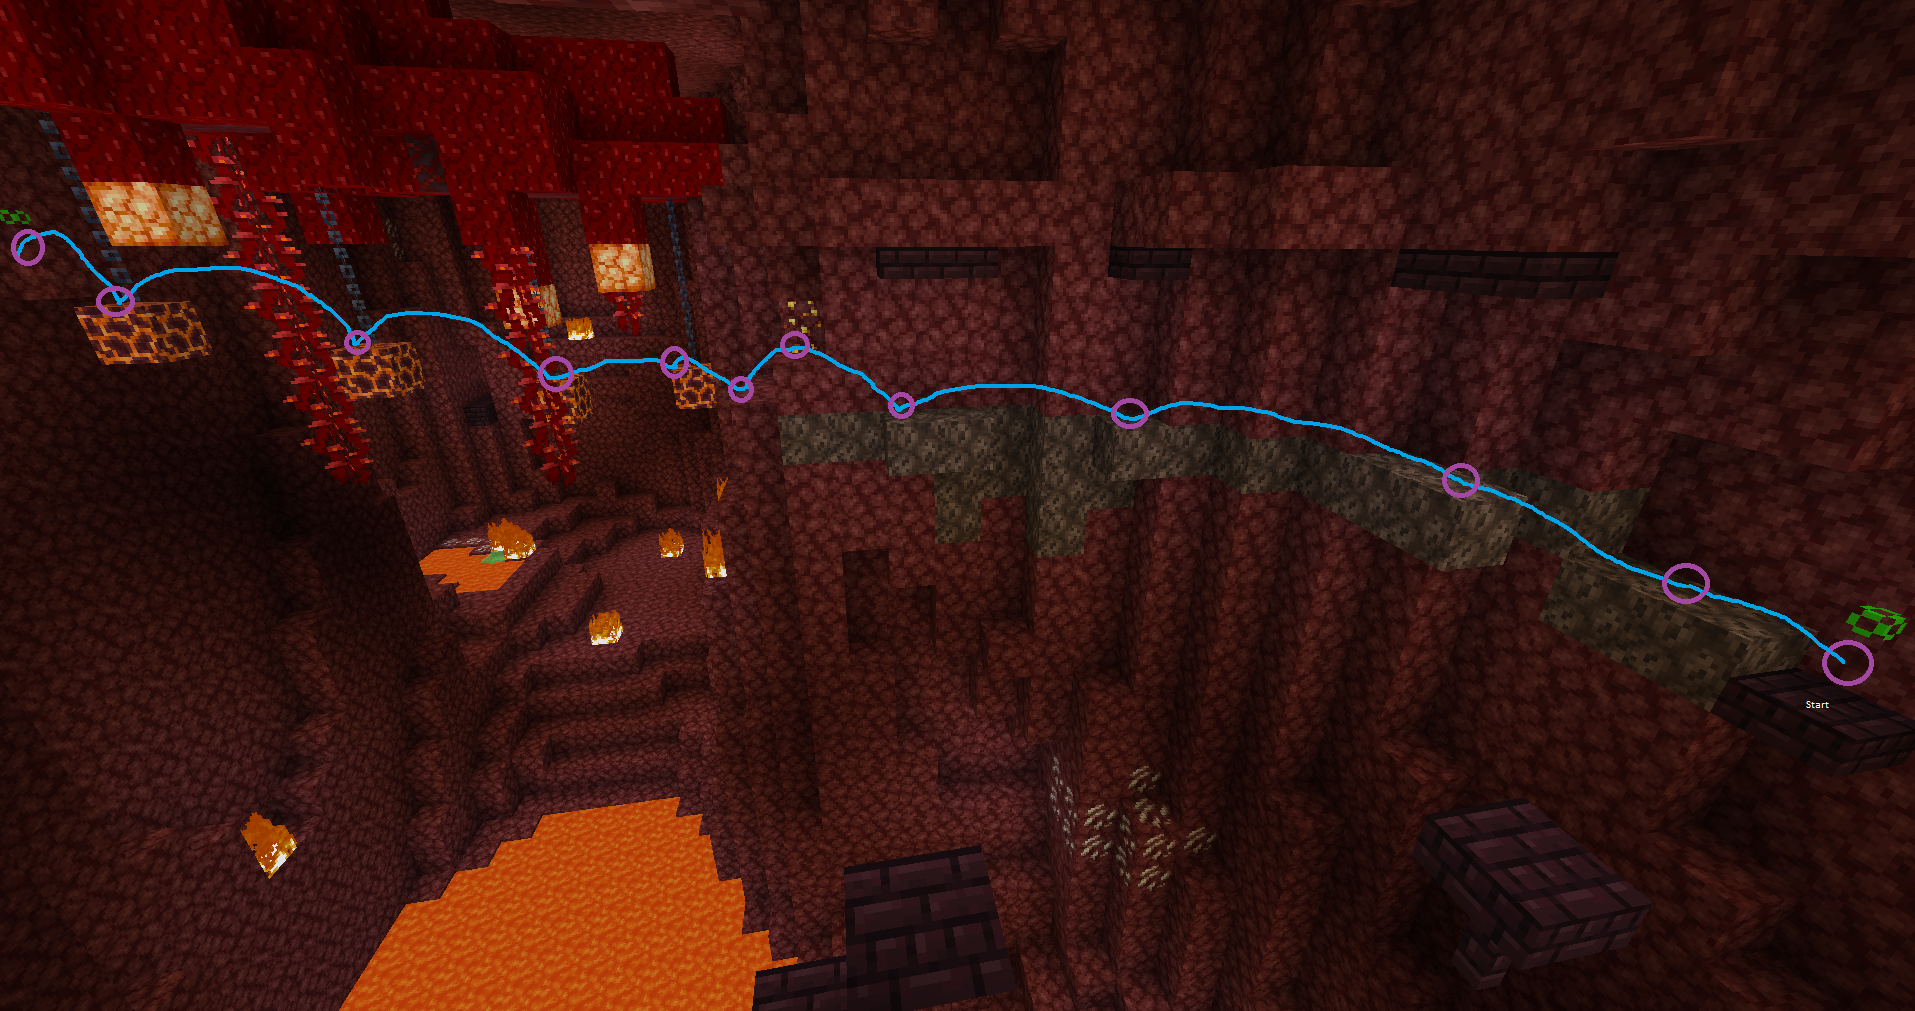
- Nether Tourist Until Checkpoint 2.png 1,917 × 1,011; 1.49 MB
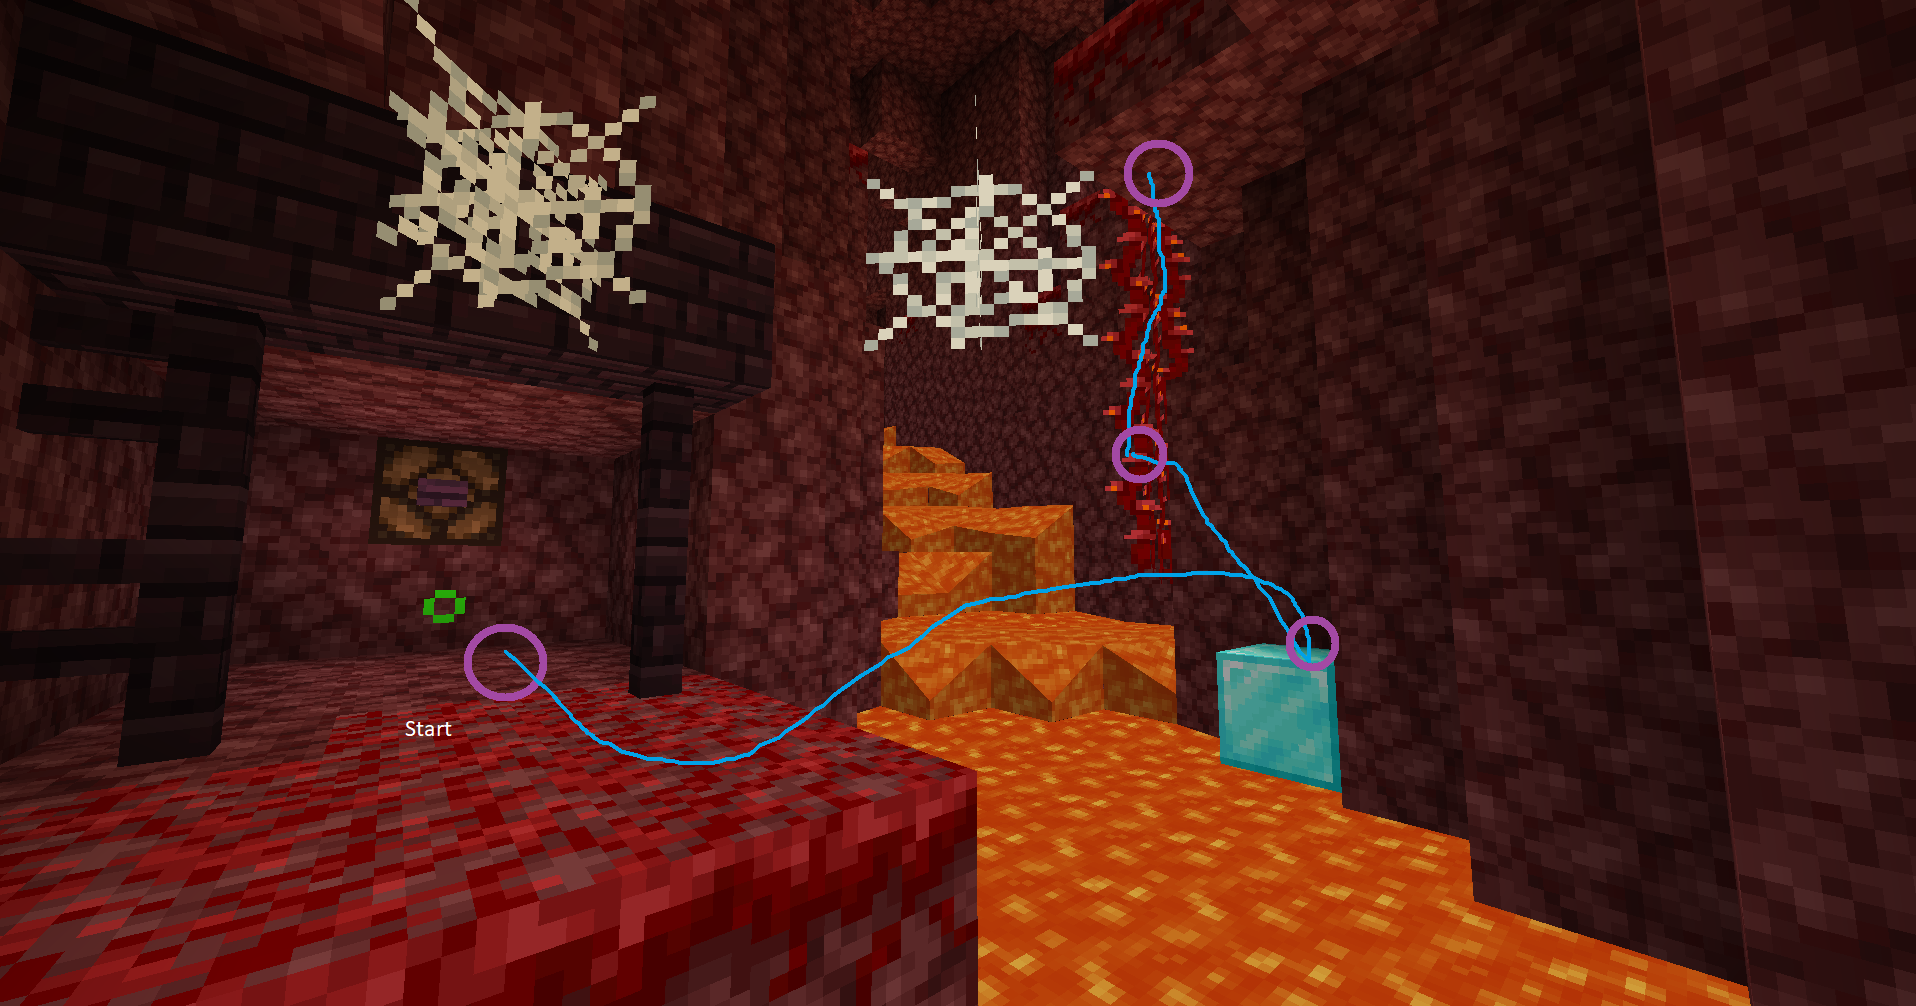
- Nether Tourist Until Checkpoint 3.png 1,915 × 1,011; 1.7 MB
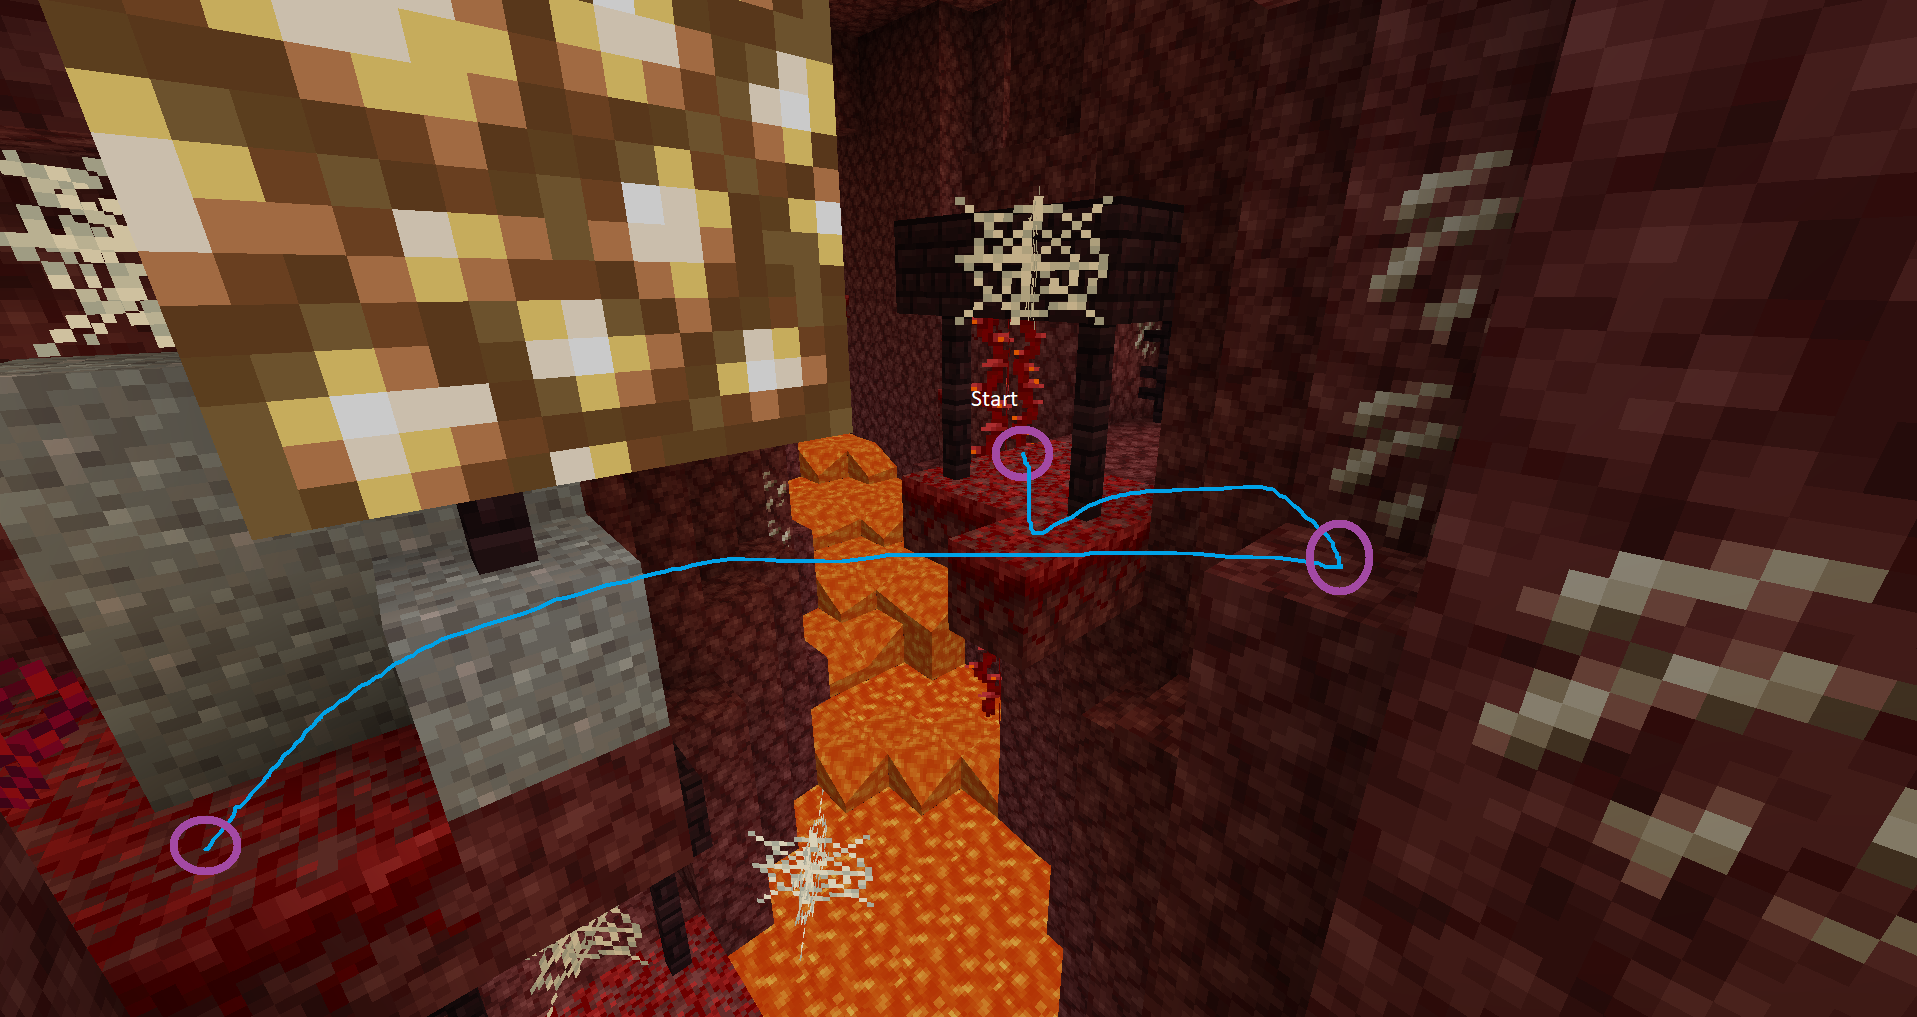
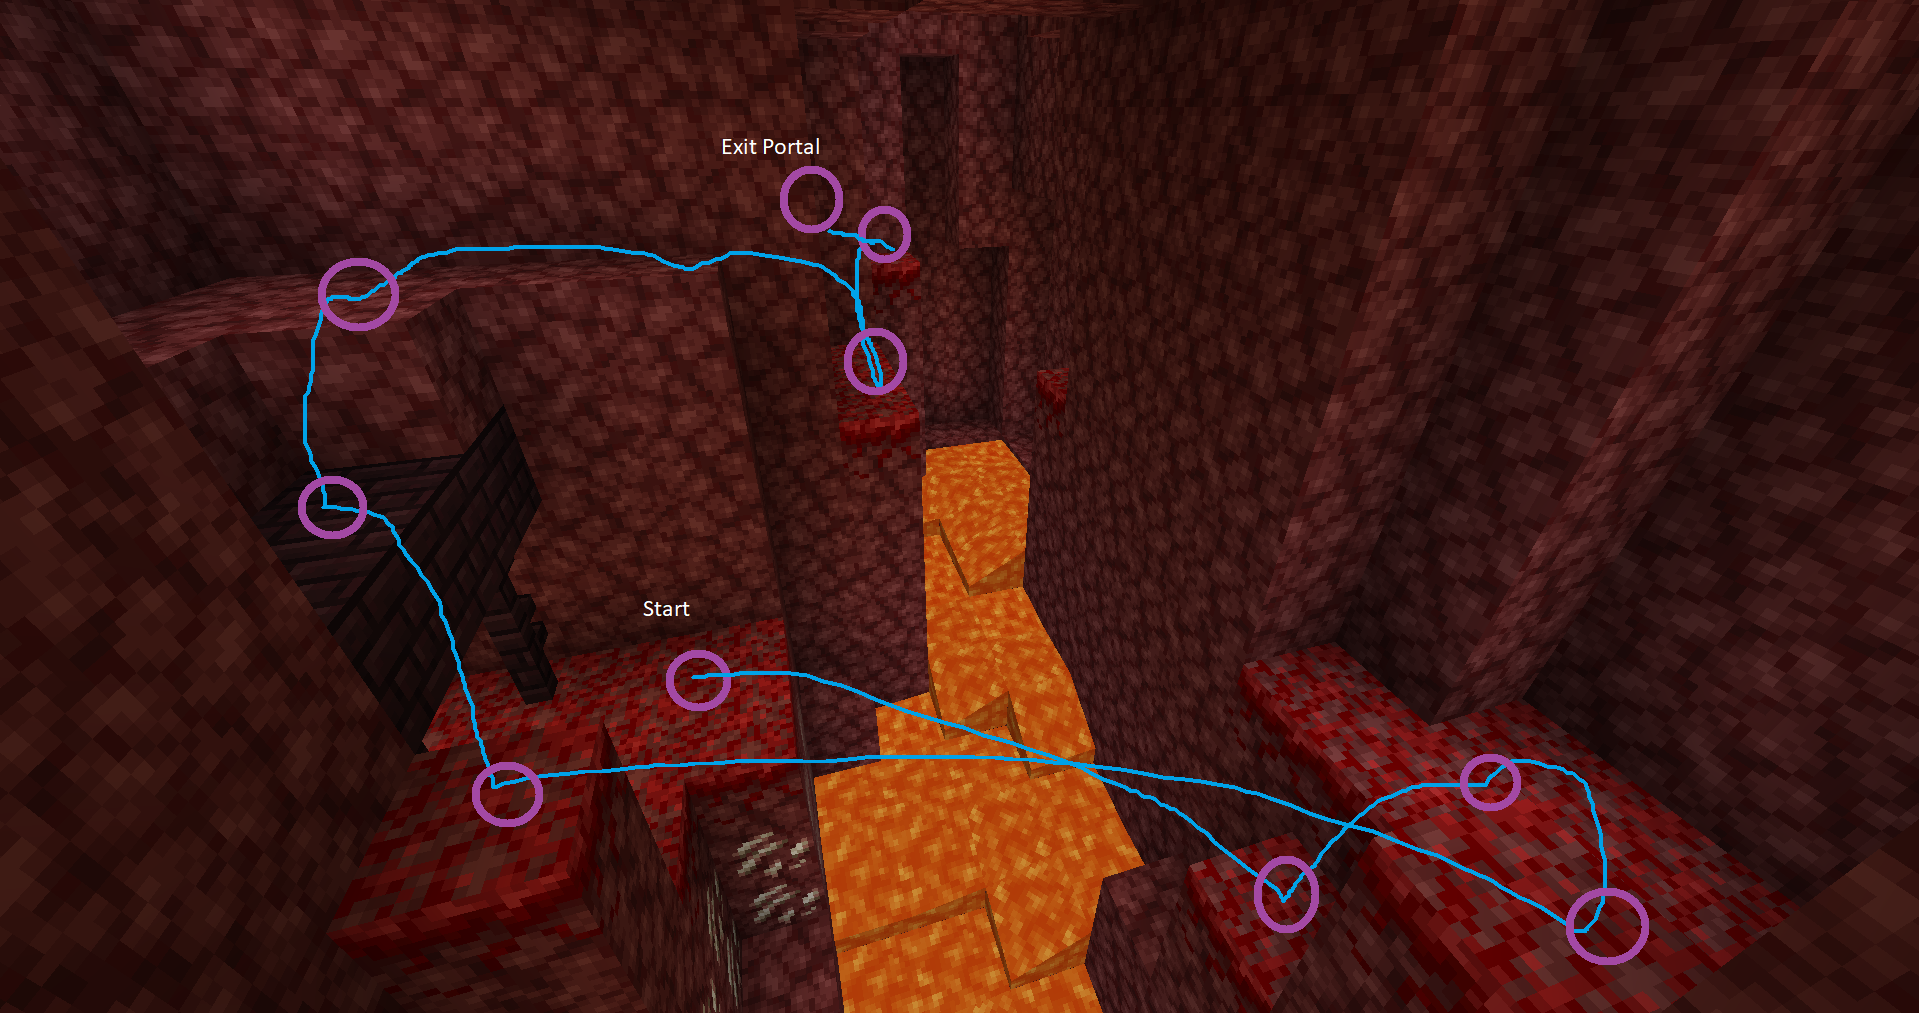
- Nether Tourist Until Exit Portal A.png 1,916 × 1,006; 719 KB
- Nether Tourist Until Exit Portal B.png 1,917 × 1,017; 630 KB
- Nether Tourist Until Exit Portal C.png 1,919 × 1,013; 927 KB
- Nether Tourist.png 1,919 × 1,013; 1.24 MB
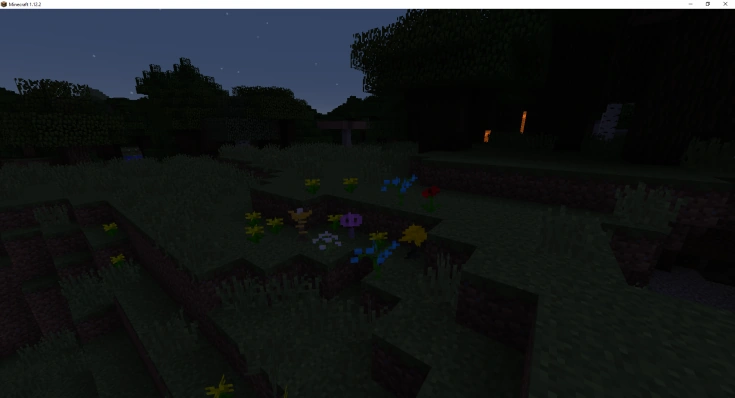
- New 3.3 Plants.png 735 × 398; 268 KB
- New Guardian's Tower.png 1,919 × 1,017; 1.06 MB
- New Skill-Resource Teaser.png 1,084 × 588; 461 KB
- NewAncientPortal.png 1,917 × 1,015; 569 KB
- Nowhere Boss Lobby Interior.png 1,919 × 1,015; 1.48 MB
- Nowhere Utility Lobby Interior.png 1,919 × 1,017; 1.02 MB
- Nowhere.png 1,920 × 1,080; 2.47 MB
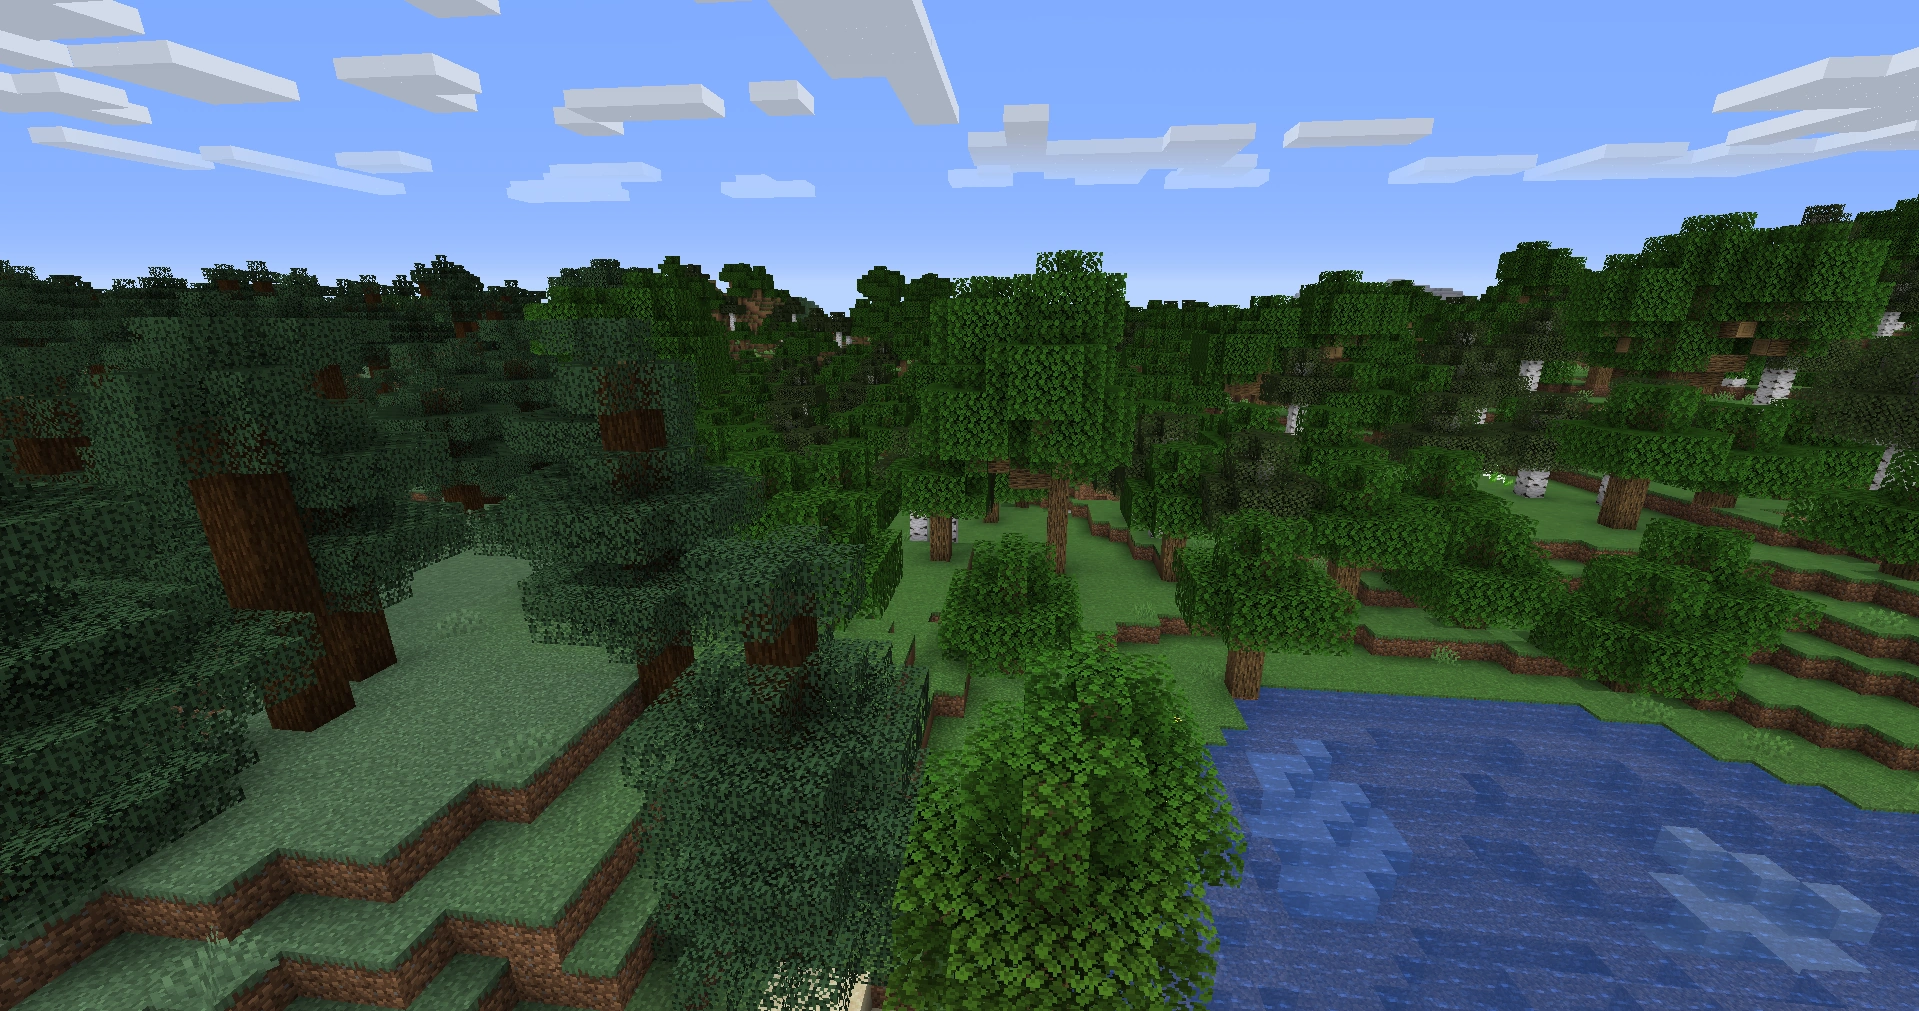
- Overworld.png 1,919 × 1,011; 1.82 MB
- Playtopia.png 845 × 461; 636 KB
- Port to 1.12.png 1,920 × 1,018; 2.19 MB
- PortalDiagram.png 415 × 349; 42 KB
- Power Rune Shrine.png 1,144 × 915; 230 KB
- Precasia.png 1,920 × 1,080; 3.37 MB
- Precasian Fields.png 500 × 258; 222 KB
- Realmstone GUI.png 1,889 × 1,515; 732 KB
- Realmstones Teaser.png 400 × 162; 43 KB
- Resource Systems.png 400 × 87; 10 KB
- Revealed 3.2 Weapon.png 401 × 283; 143 KB
- Rock Candy Hills.png 500 × 257; 186 KB
- Rockrider Boulder.png 1,278 × 999; 375 KB
- Rocky Mazus.png 500 × 258; 179 KB
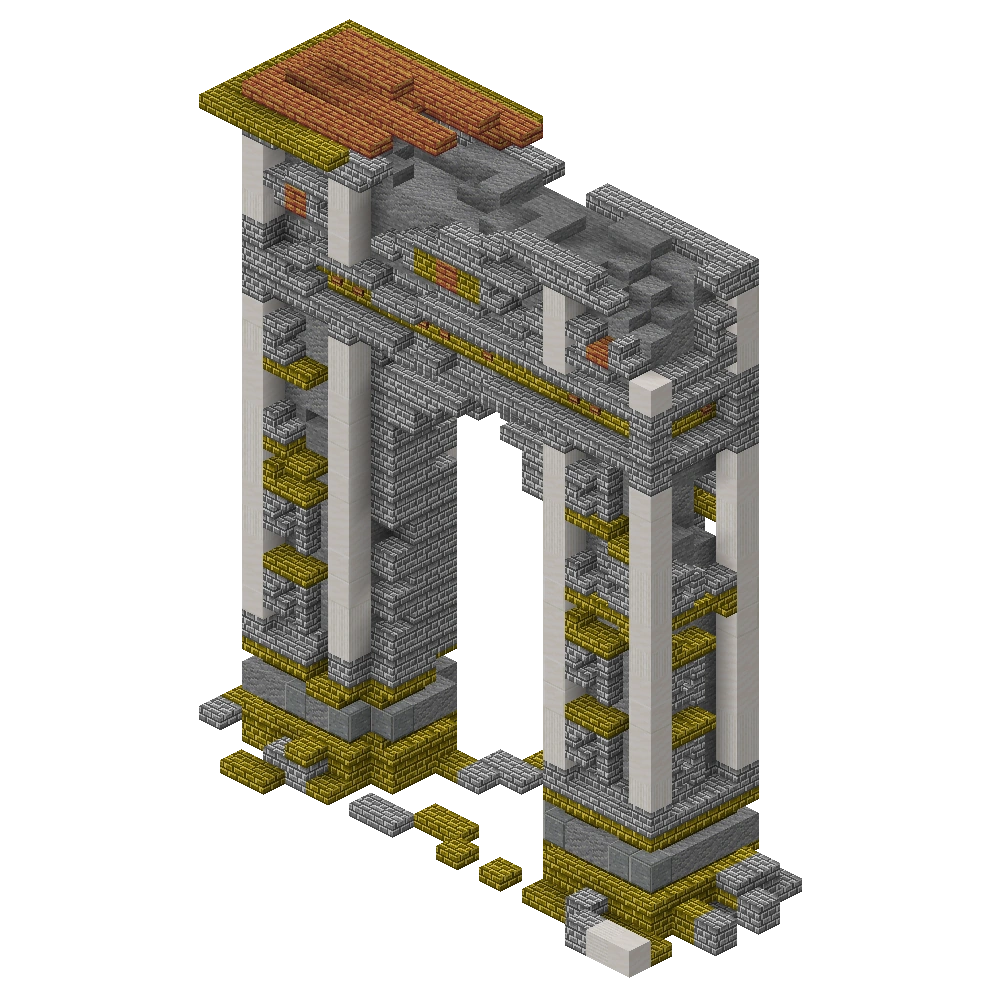
- Ruined Arch.png 1,000 × 1,000; 562 KB
- Ruined Archer Outpost.png 1,000 × 1,000; 241 KB
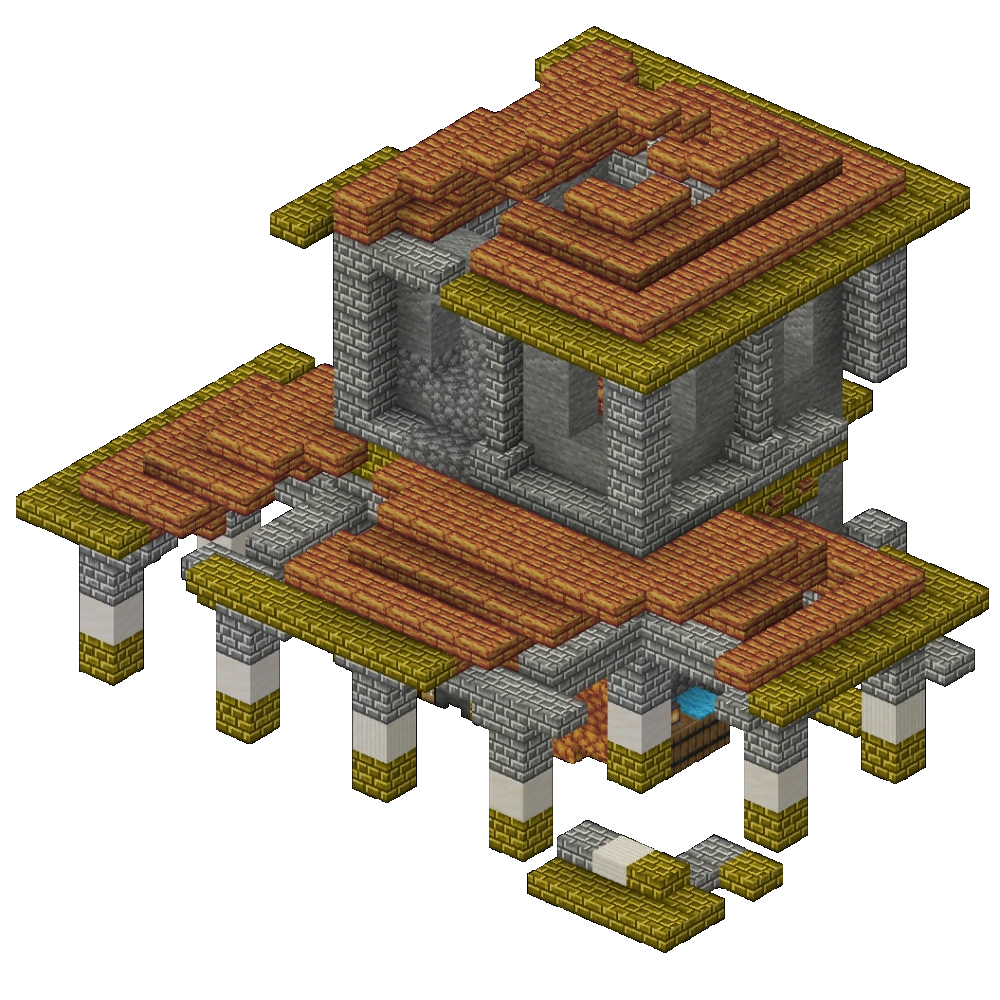
- Ruined House 1.png 1,000 × 1,000; 1.11 MB
- Ruined House 2.png 1,000 × 1,000; 1.06 MB
- Ruined Statue.png 1,000 × 1,000; 481 KB
- Ruined Teleporter Frame Map.png 385 × 382; 21 KB
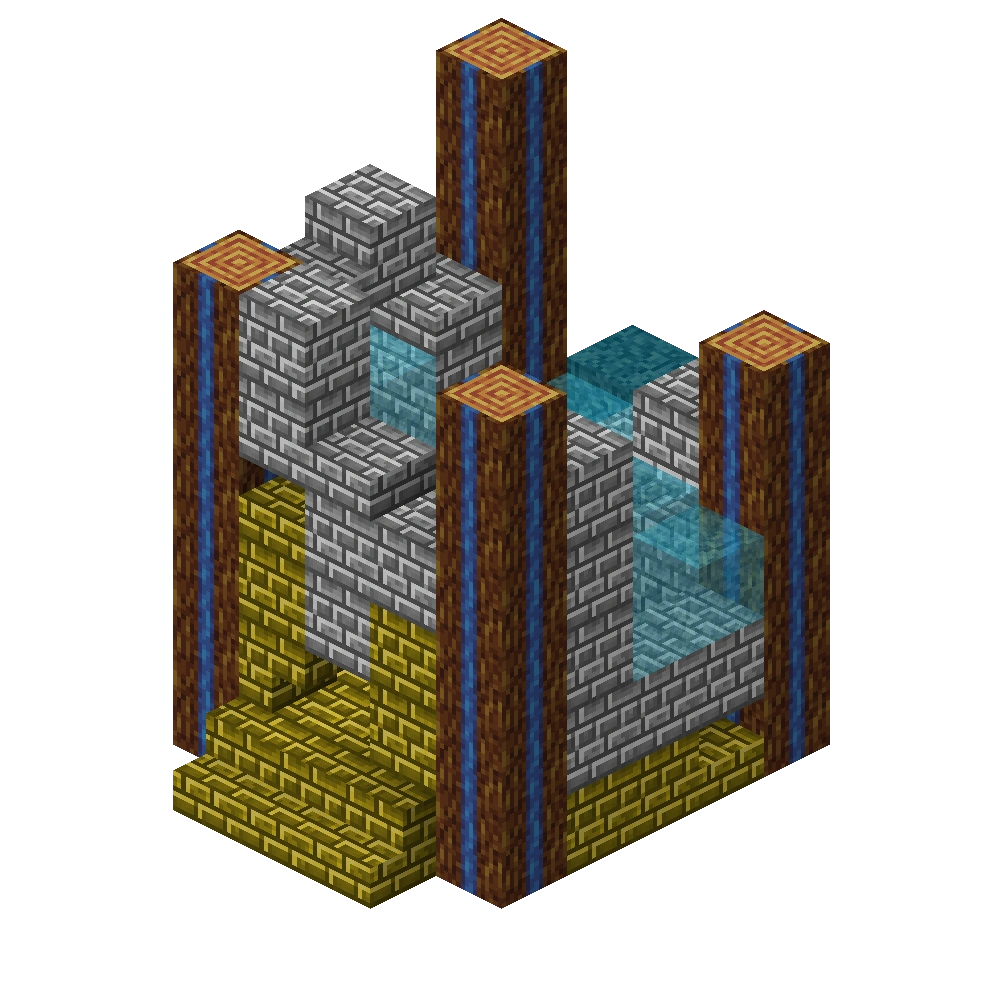
- Ruined Teleporter Frame.png 1,000 × 1,000; 424 KB
- Runandor.png 1,920 × 1,080; 2.95 MB


.png)
.png)
.png)
.png)
.png)
.png)
.png)
.png)
.png)
.png)
.png)
.png)
.png)
.png)
.png)
.png)
.png)
.png)
.png)
.png)
.png)
.png)
.png)
.png)
.png)
.png)
.png)
.png)
.png)
.png)
.png)
.png)
.png)
.png)
.png)
.png)
.png)
.png)
.png)
.png)
.png)